

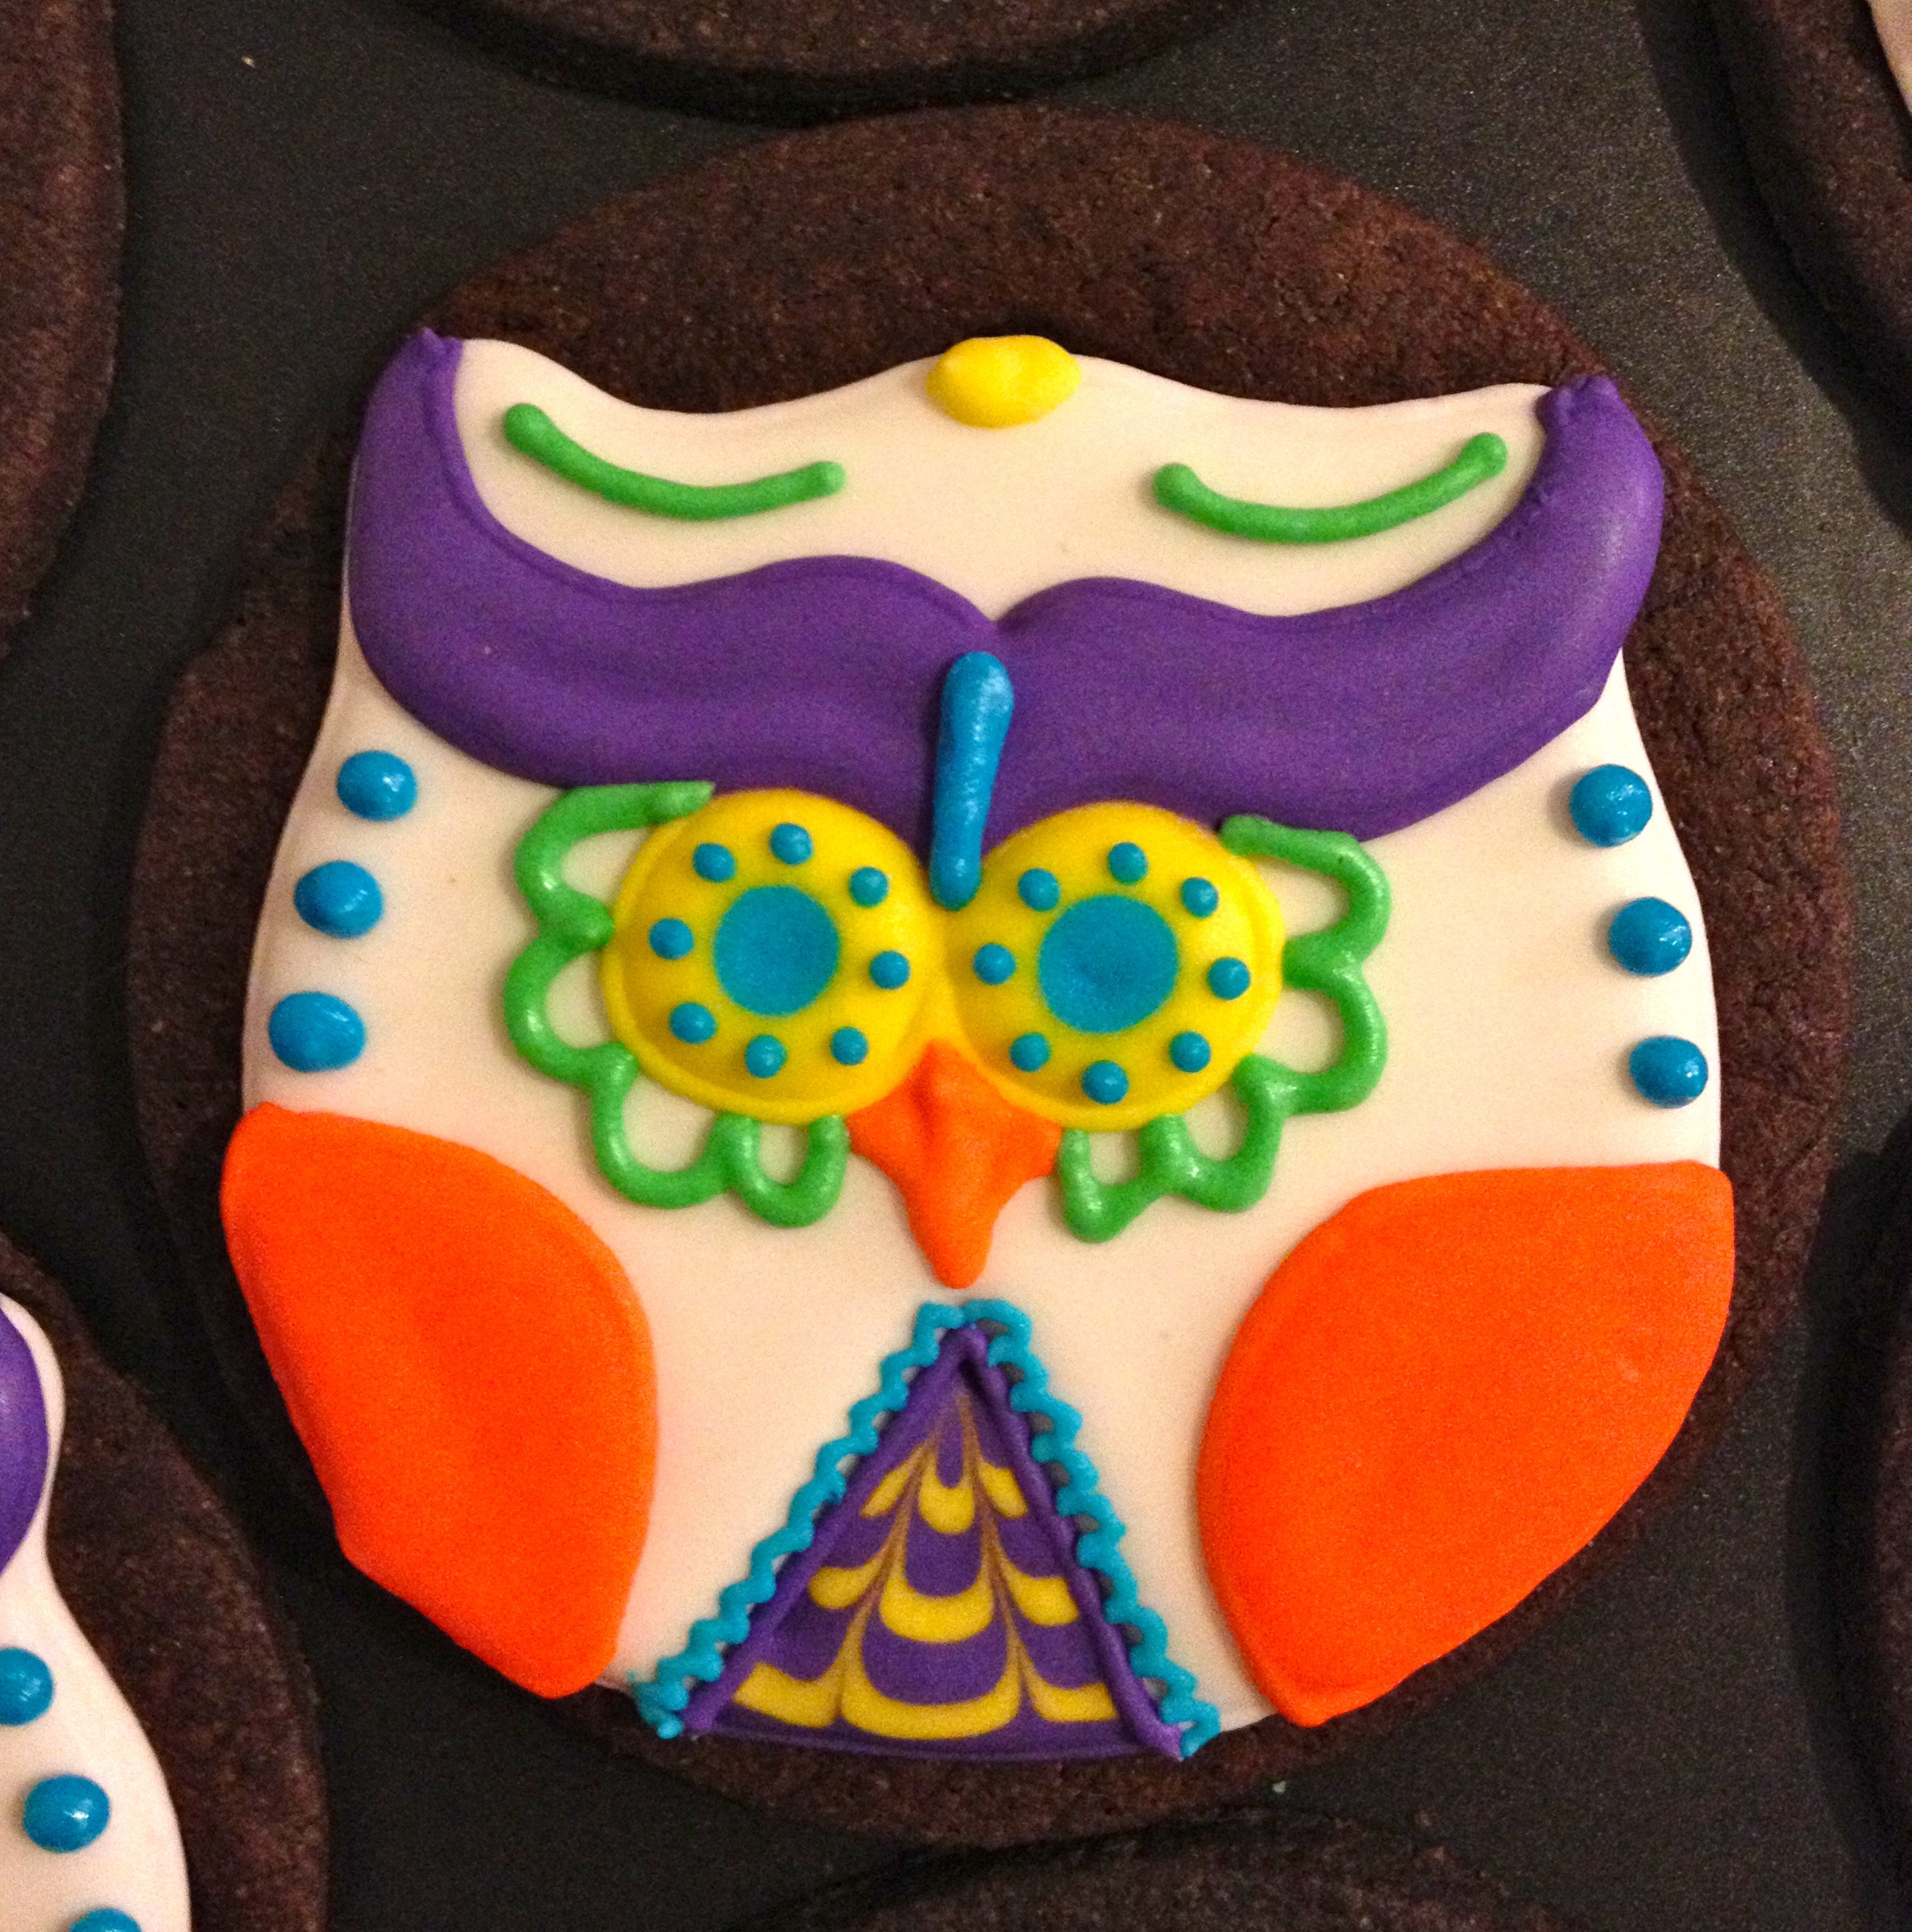
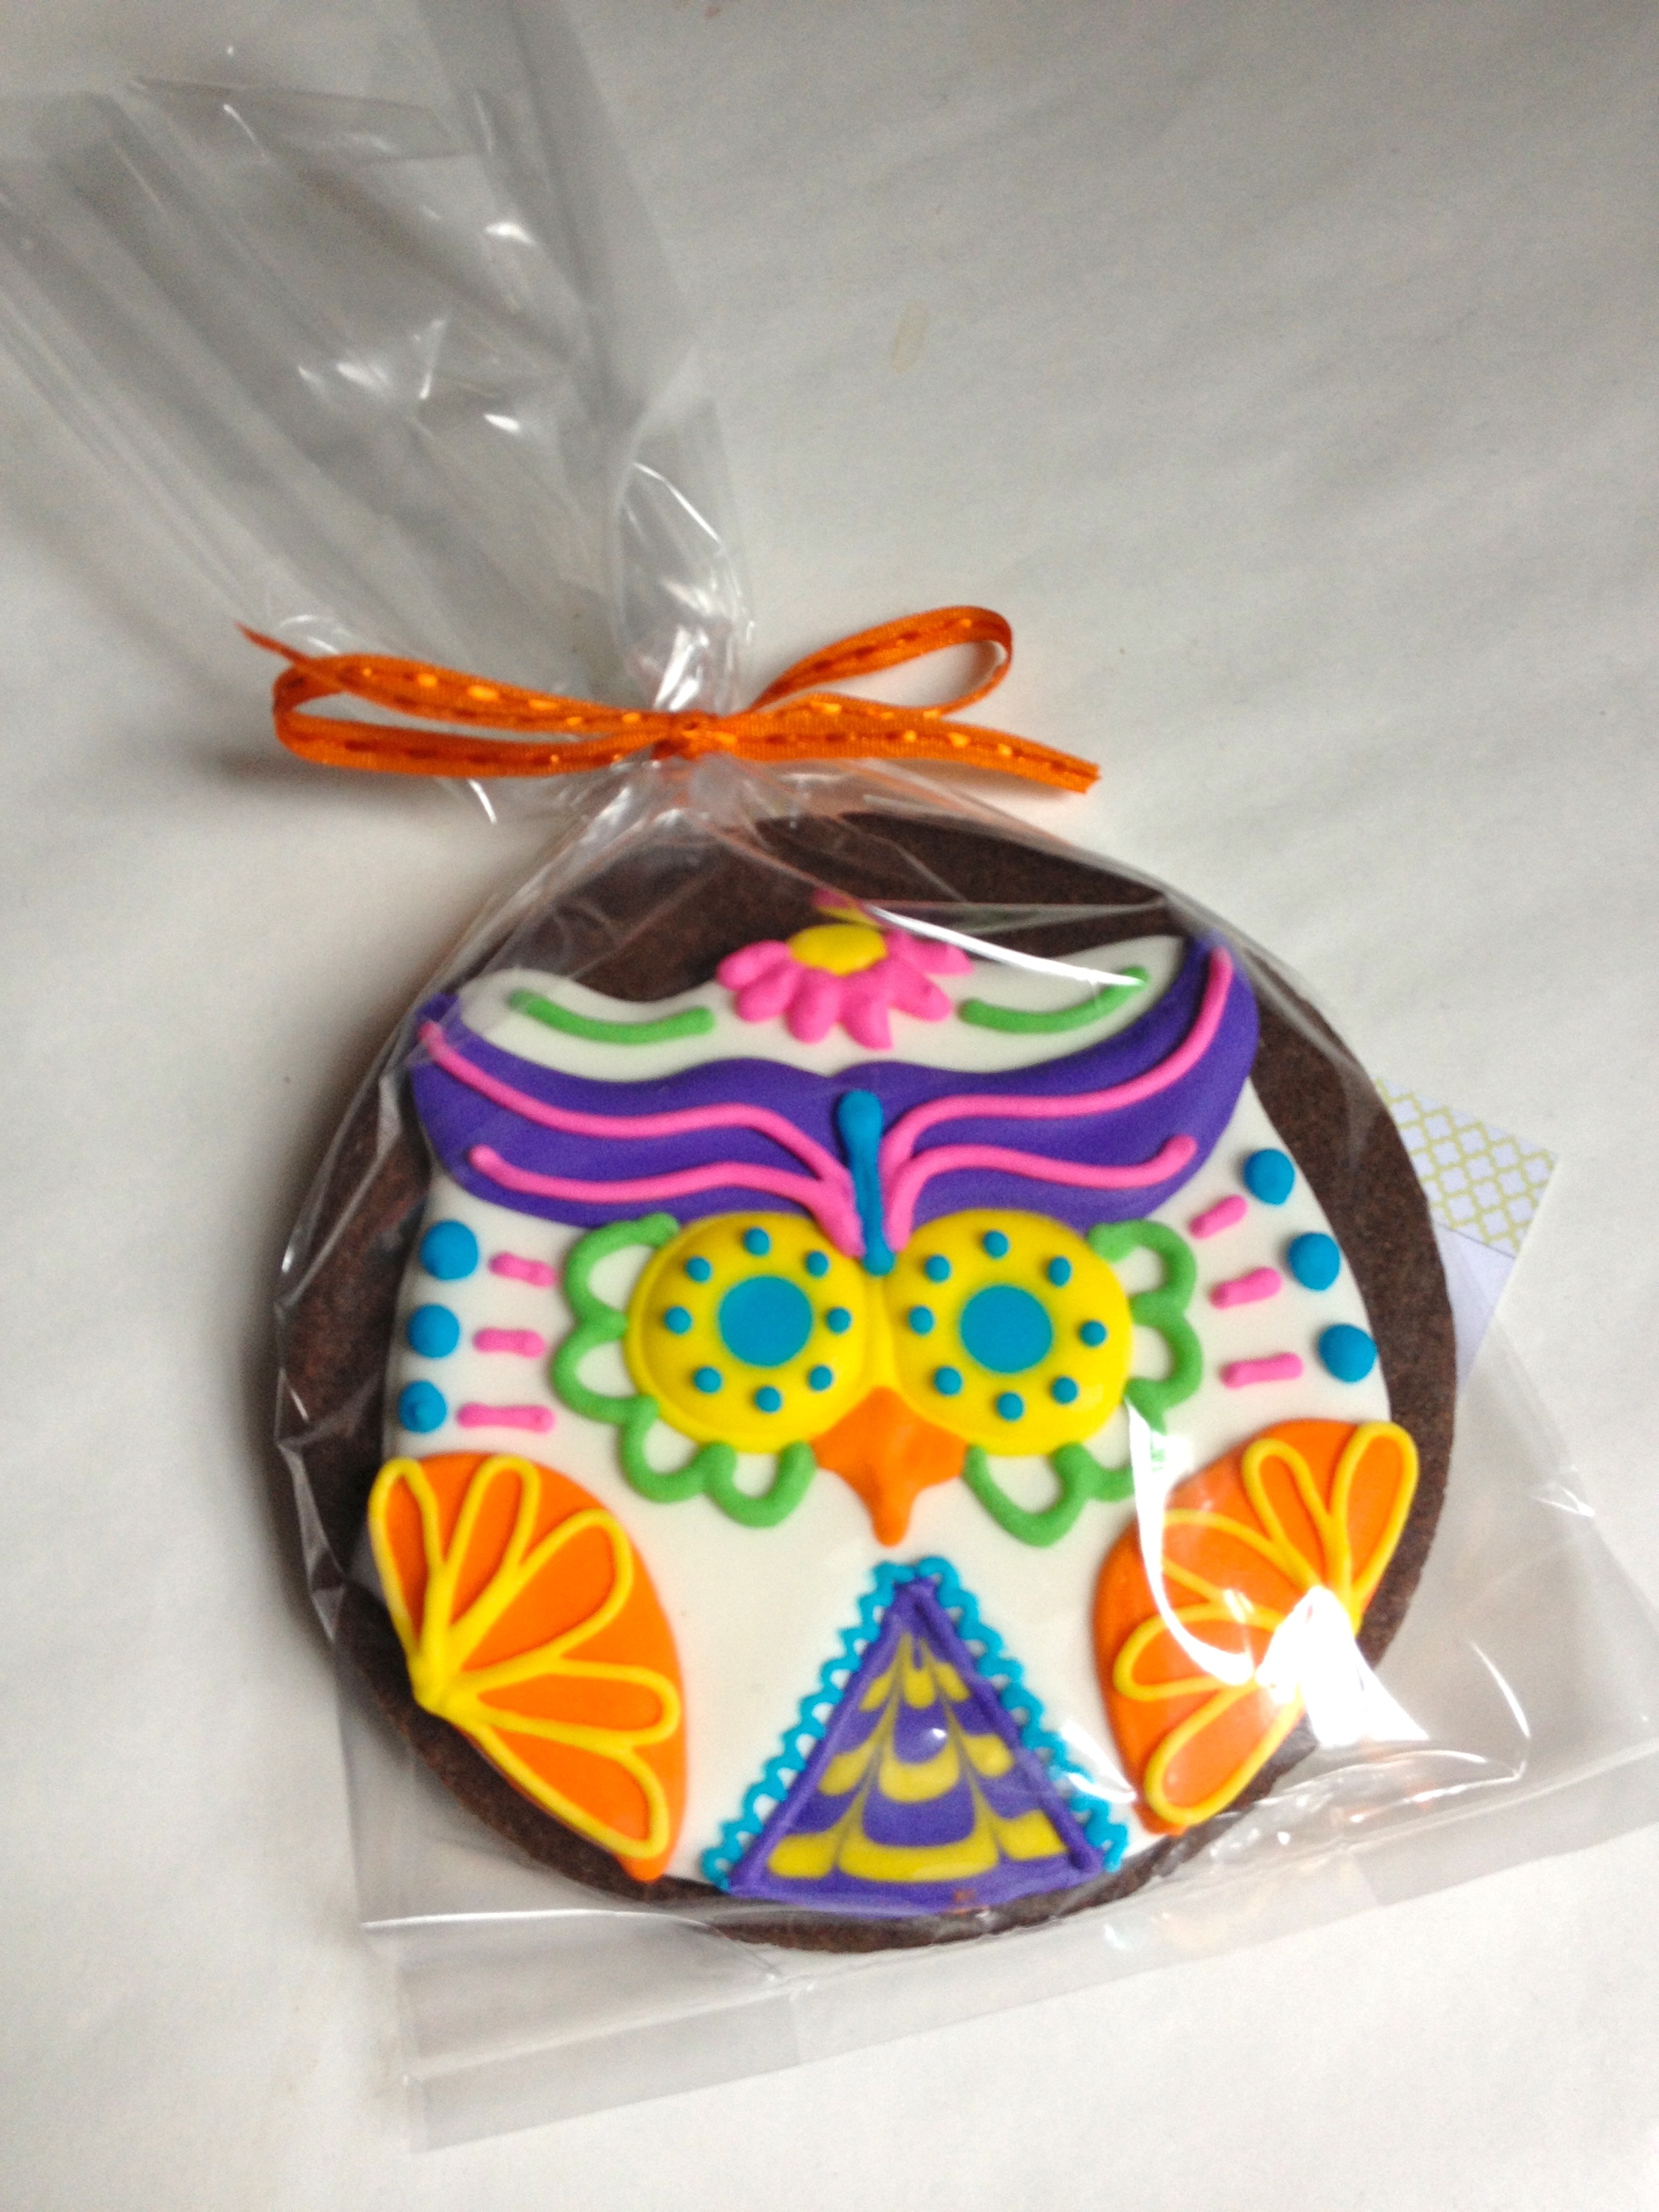
This year for Halloween I wanted to do a cookie that was a little less traditional. I've done skulls and spiders and mummies and things like that in the past. At first I wanted to do a whole bunch of decorative owls, almost look like they were made of cut paper possibly in Halloween colors like oranges and purples. Then I really wanted to do sugar skulls, but I feel like everybody is doing sugar skulls now. Then the thought came to me to do a very decorative sugar skull inspired owl design. I used a chocolate sugar cookie base to really make the design pop on the cookie and I couldn't be happier with the results. They're something a little different than what I normally see for Halloween cookies and that's exactly what I was going for. And like always, they're gluten free. If you want to make these too, here's what you're going to need.
Sugar Skull Owls for Halloween
Decorating level: AdvancedConcept, design, and execution by Jesika Rose
- Gluten Free Chocolate Sugar Dough Recipe
- Royal Icing Recipe
- 4" round cookie cutter
- 12 Decorating bags, couplers, tips, and rubber bands
- Two #3 round tips
- Nine #2 round tips
- Two #1 round tips
- Toothpicks
- Gel food coloring:
- Regal purple (or Violet with a dash of Fushia)
- Lemon Yellow
- Leaf or Neon Green
- Sky Blue
- Deep Pink
- Orange


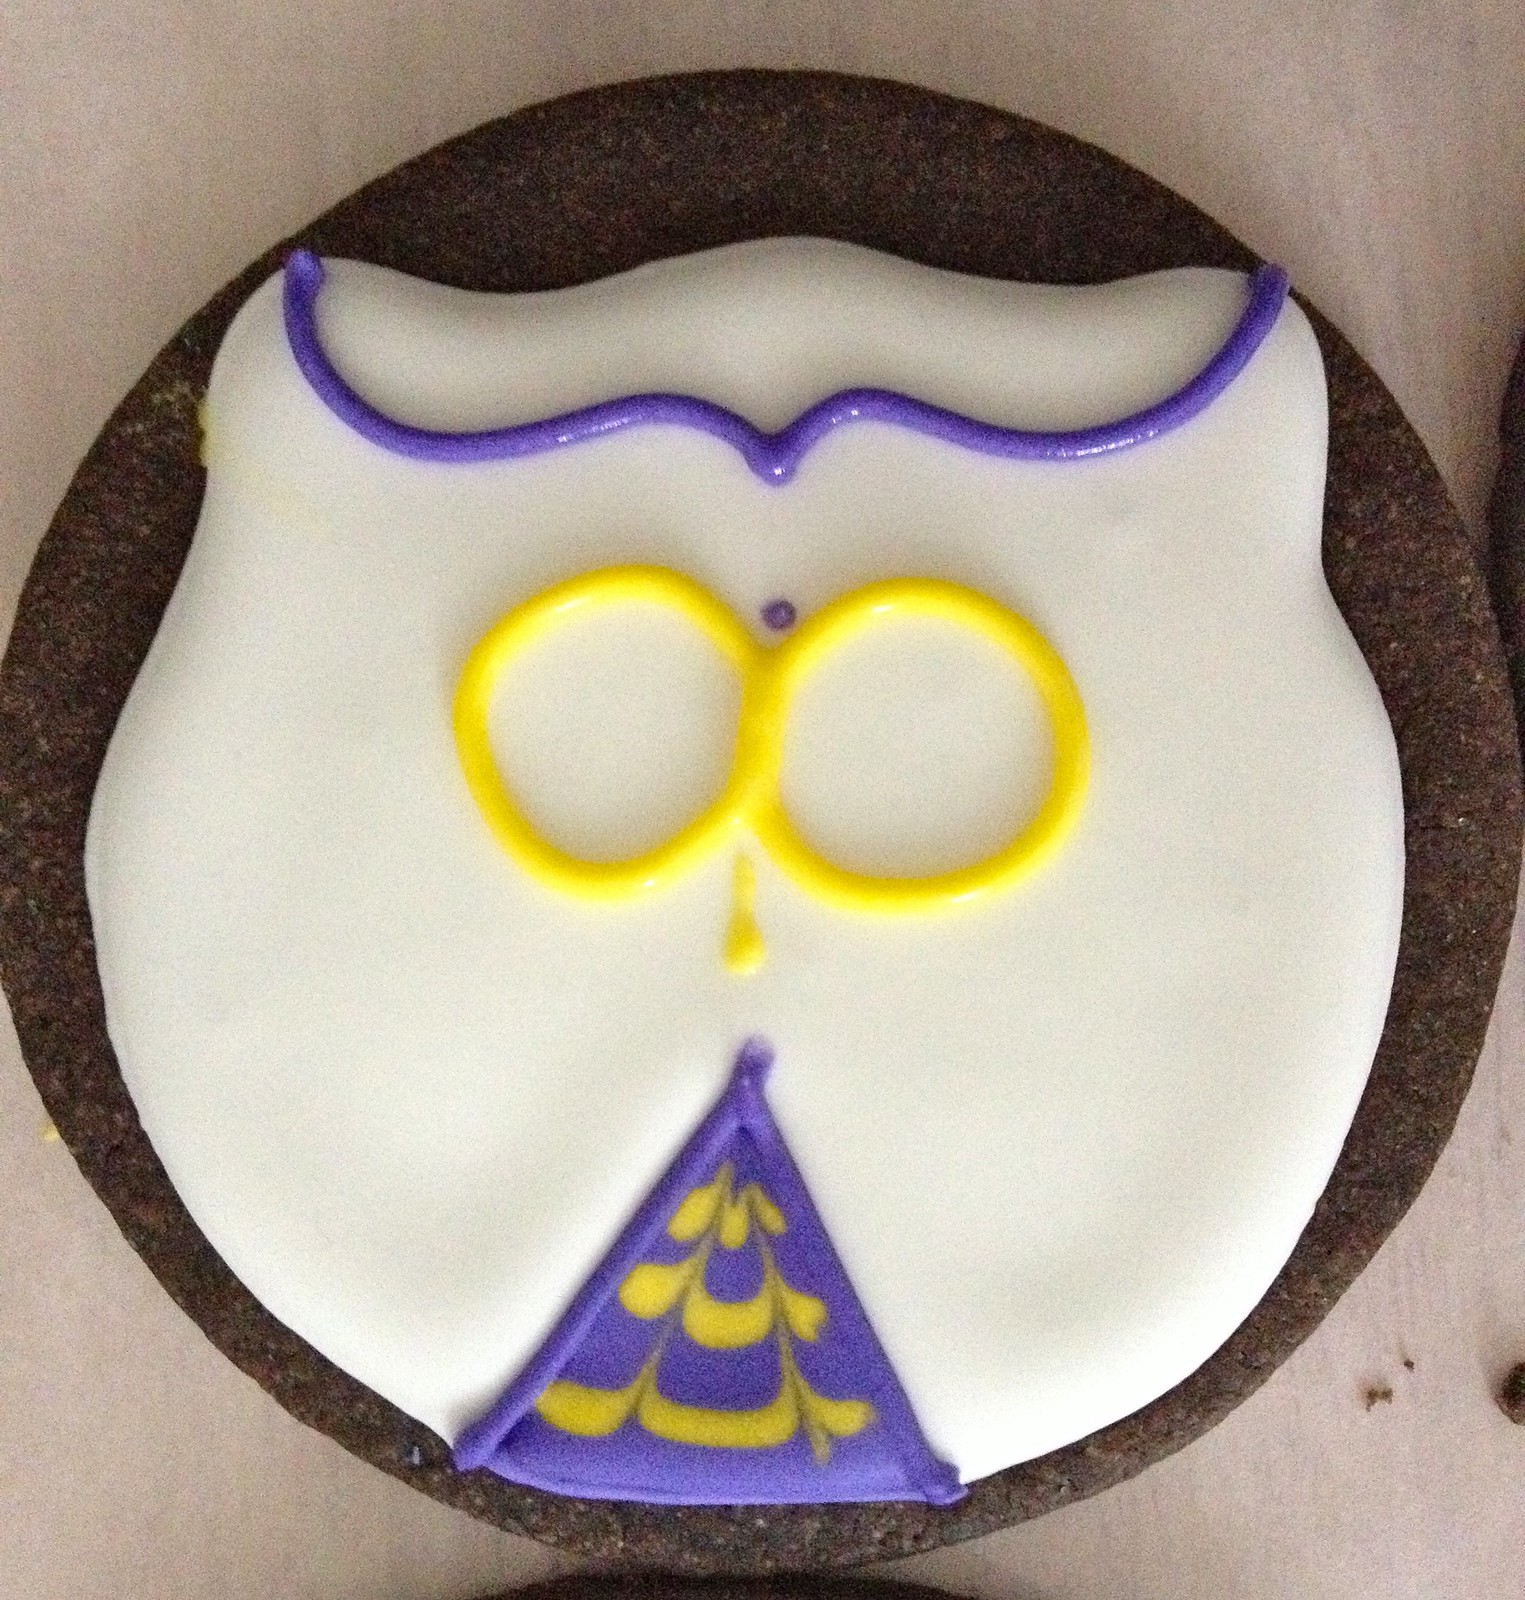
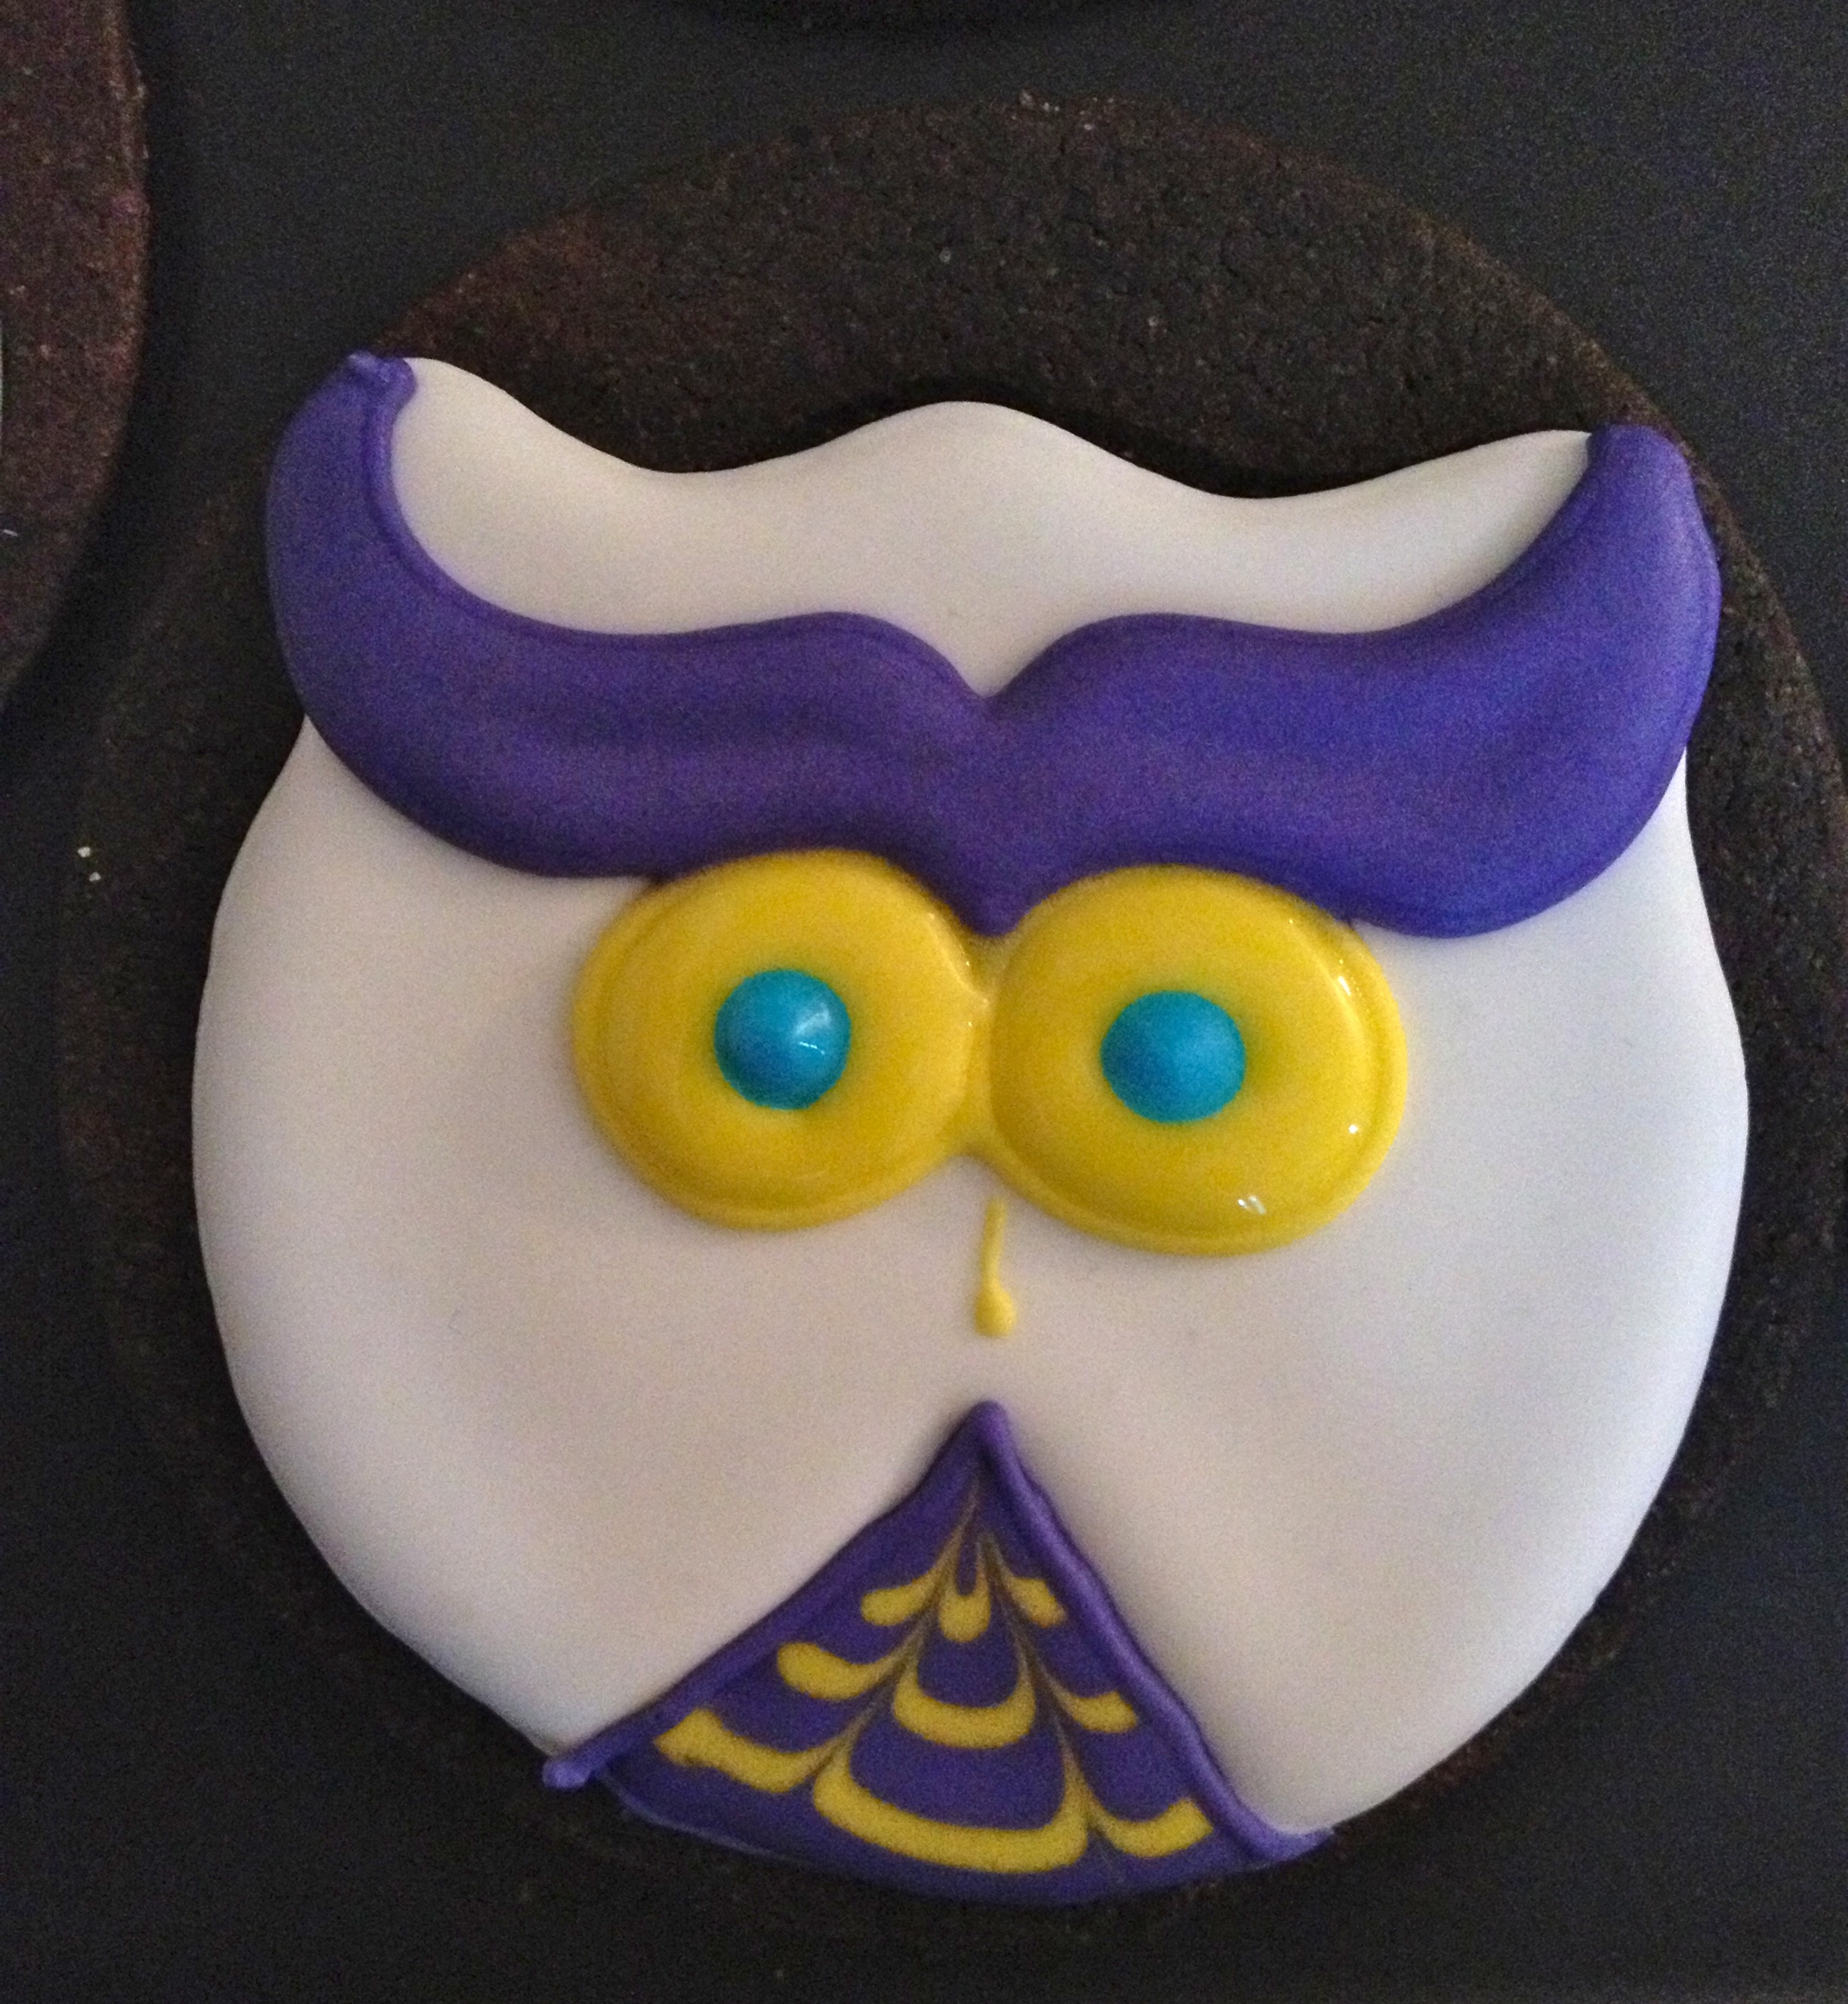
For the first stage, prepare a small bag of thick white royal icing, and a large bag of flood white royal icing. Use #3 round tips on both.
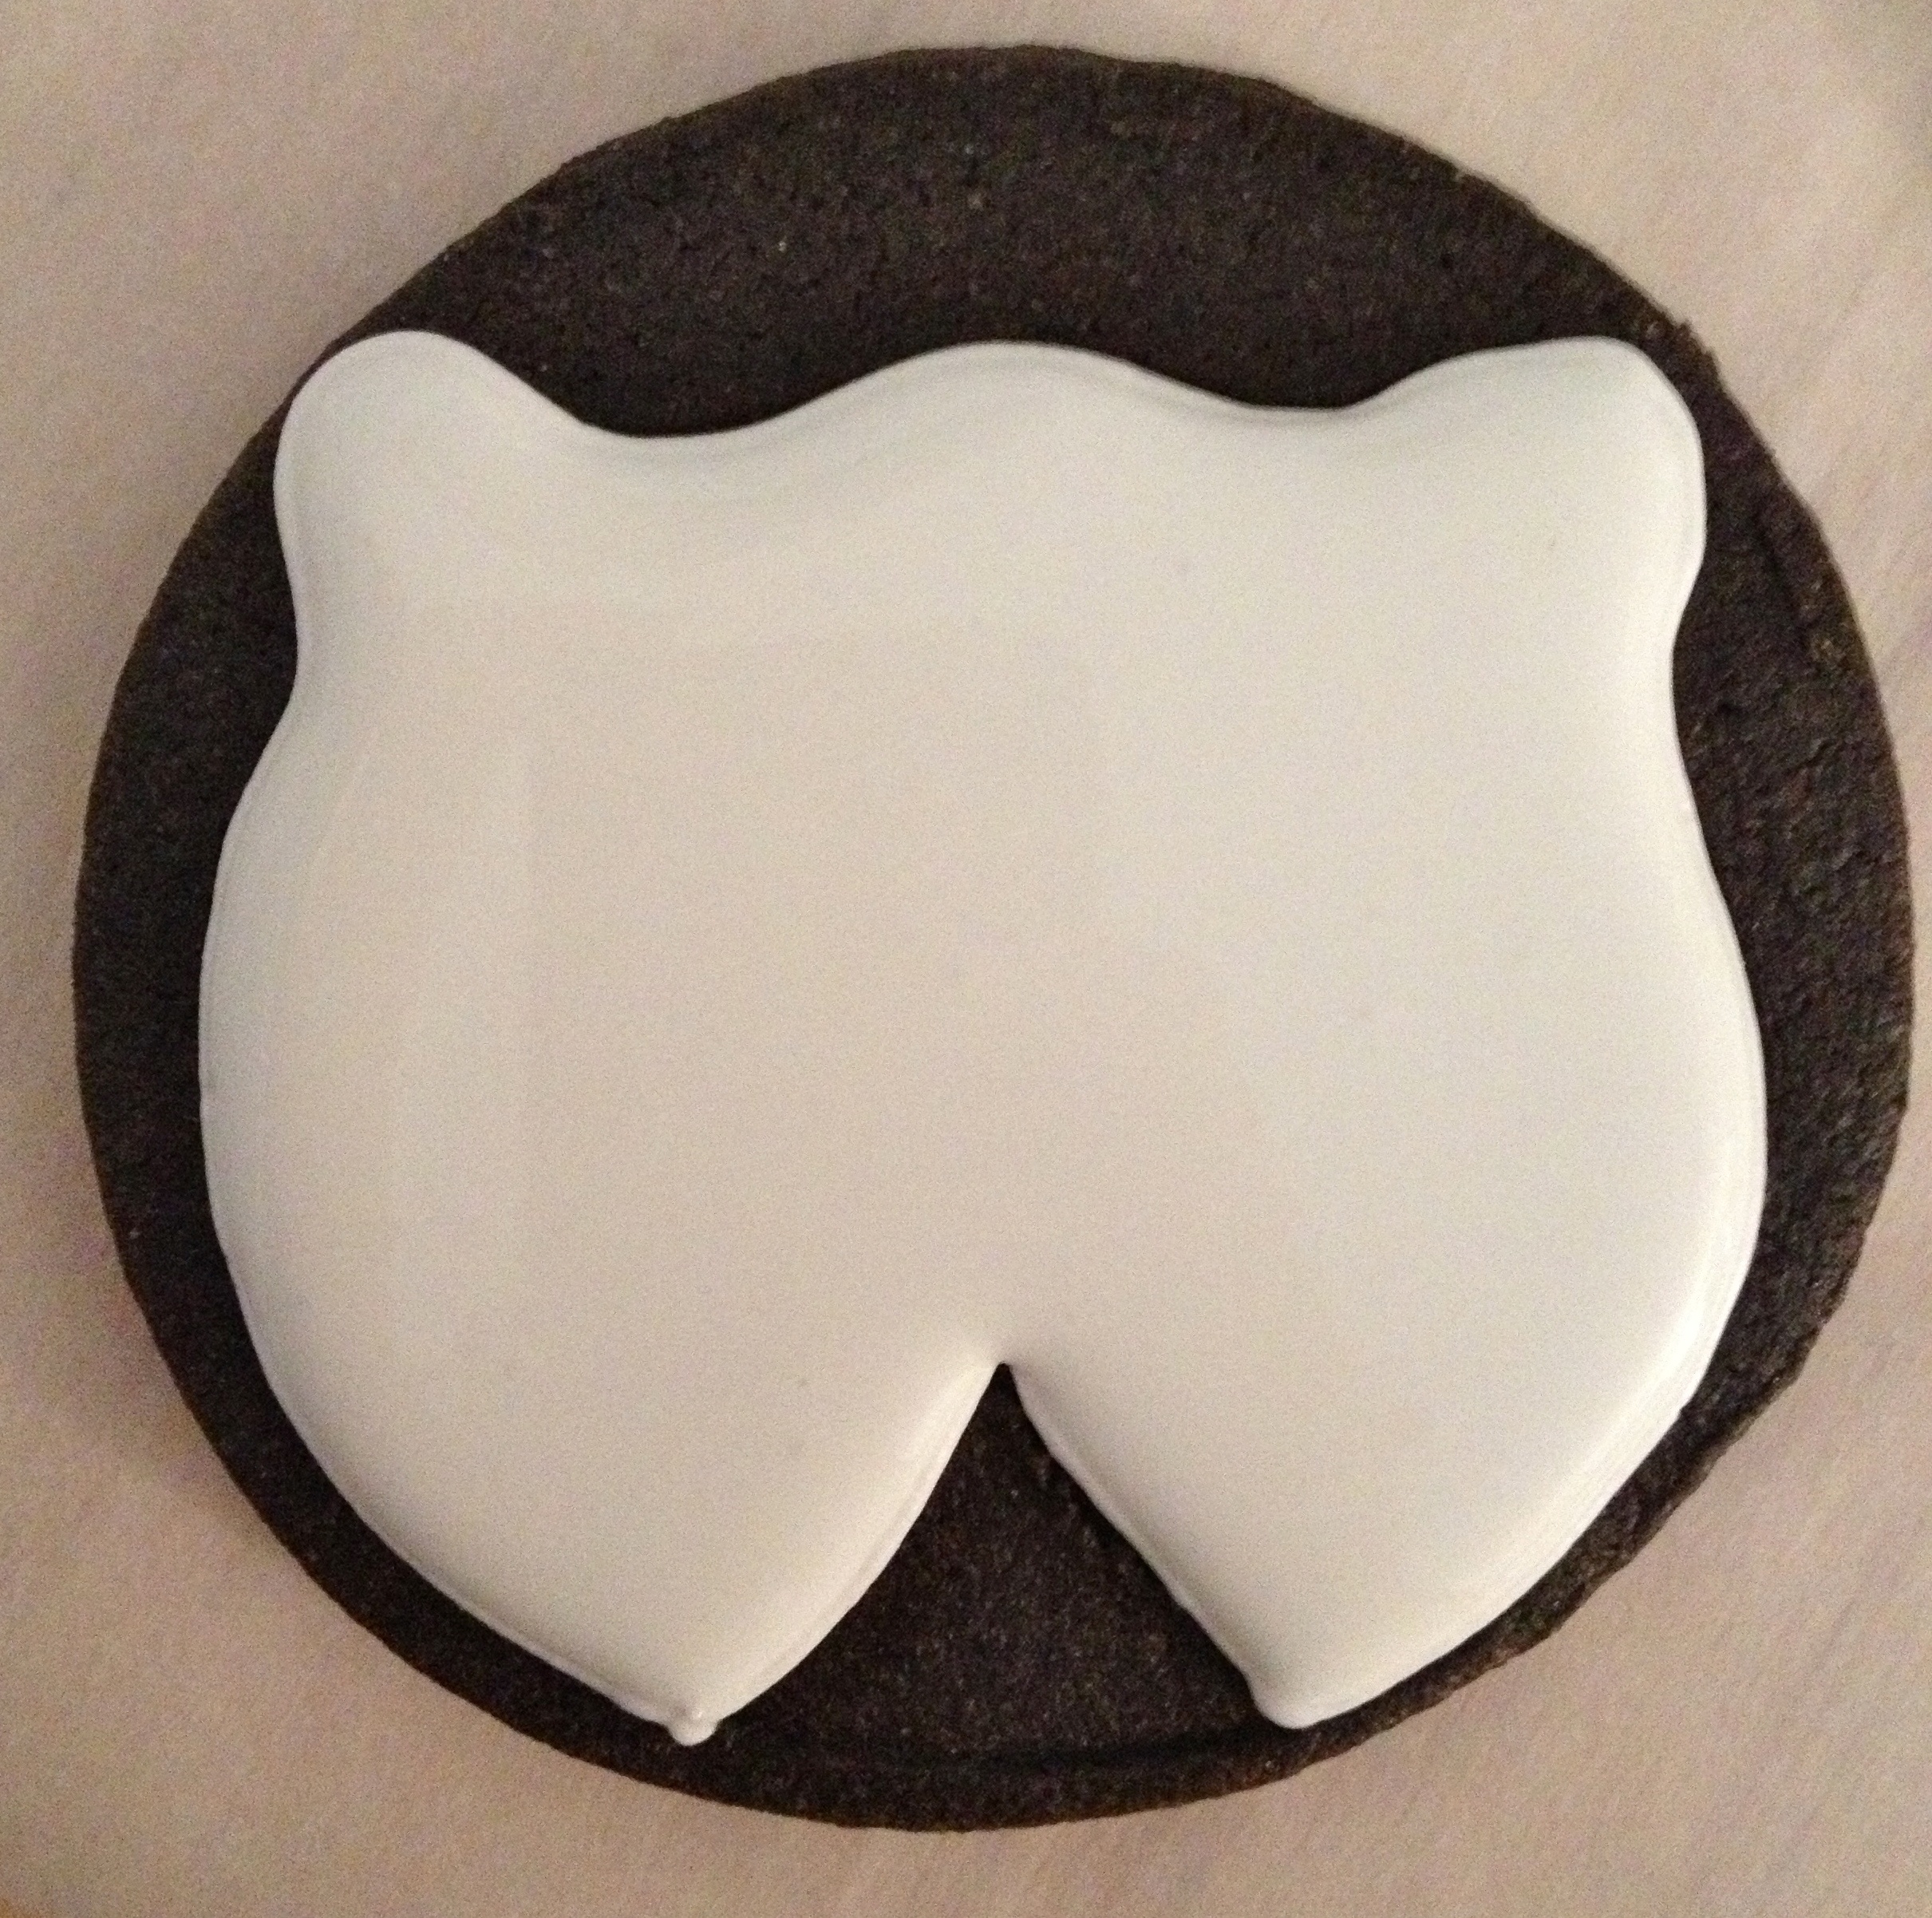
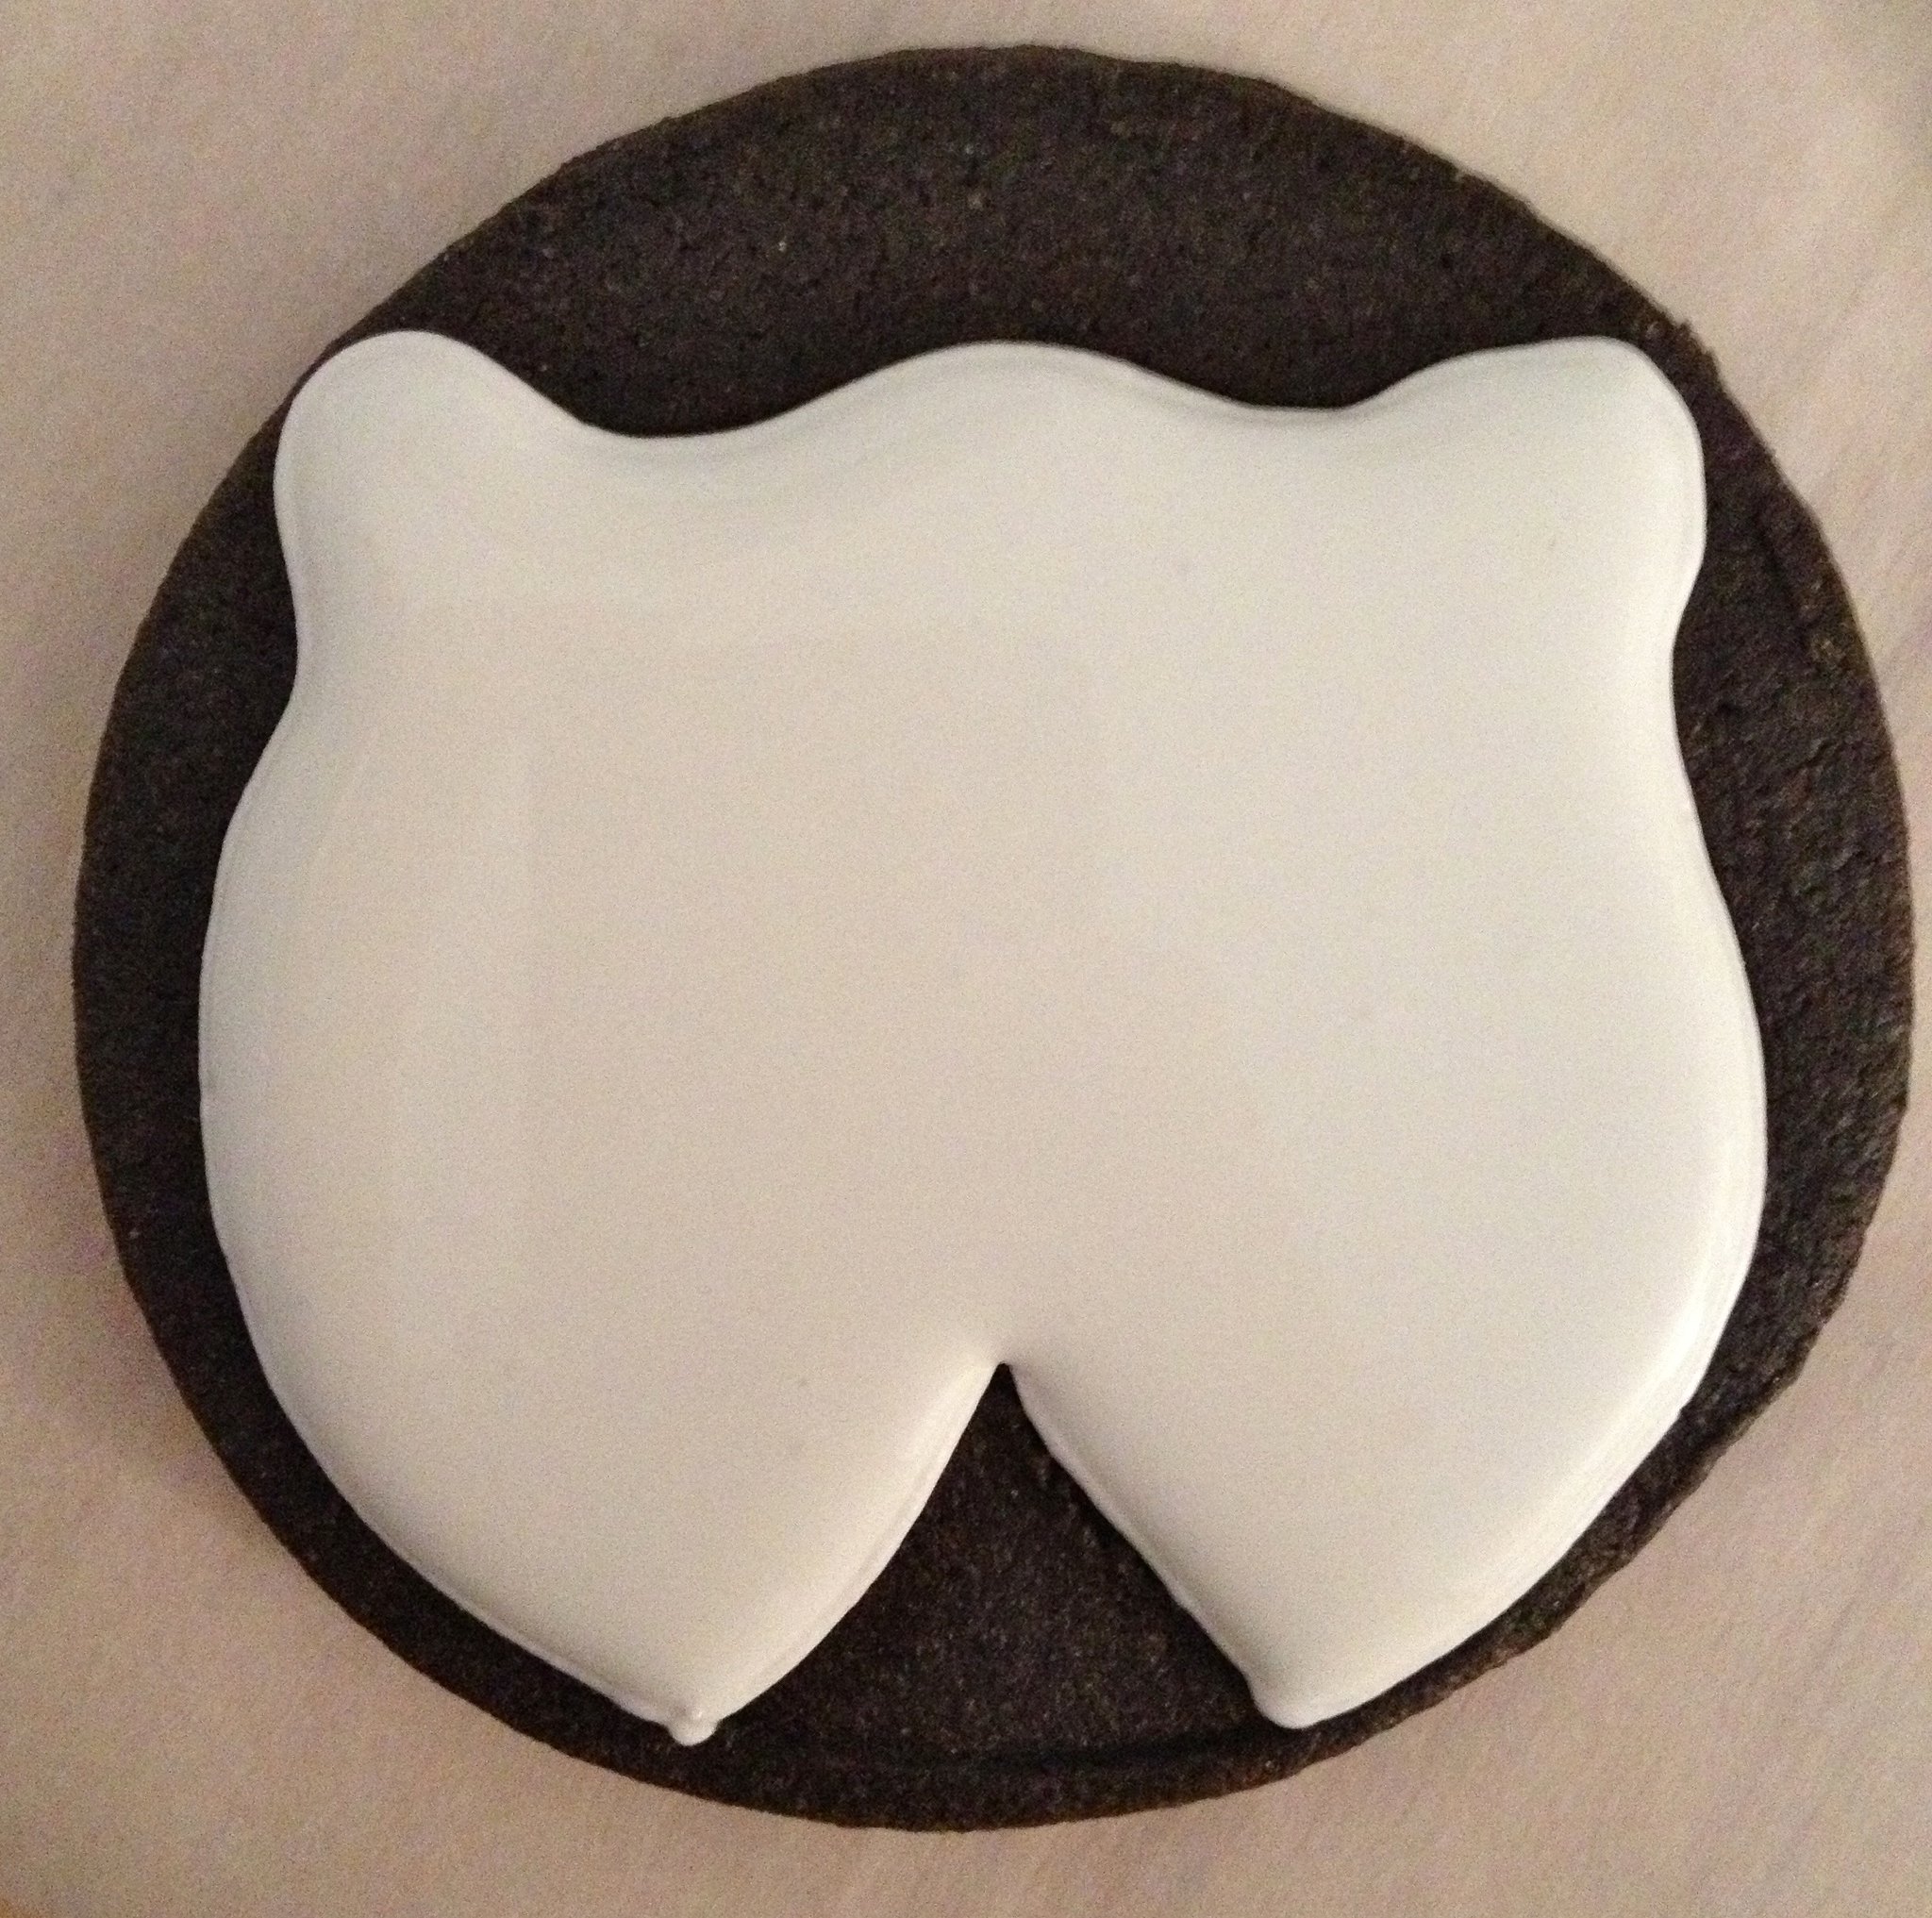
Allow this layer to dry completely, overnight if possible. White is very susceptible to other colors, especially very saturated bright colors, bleeding into it.
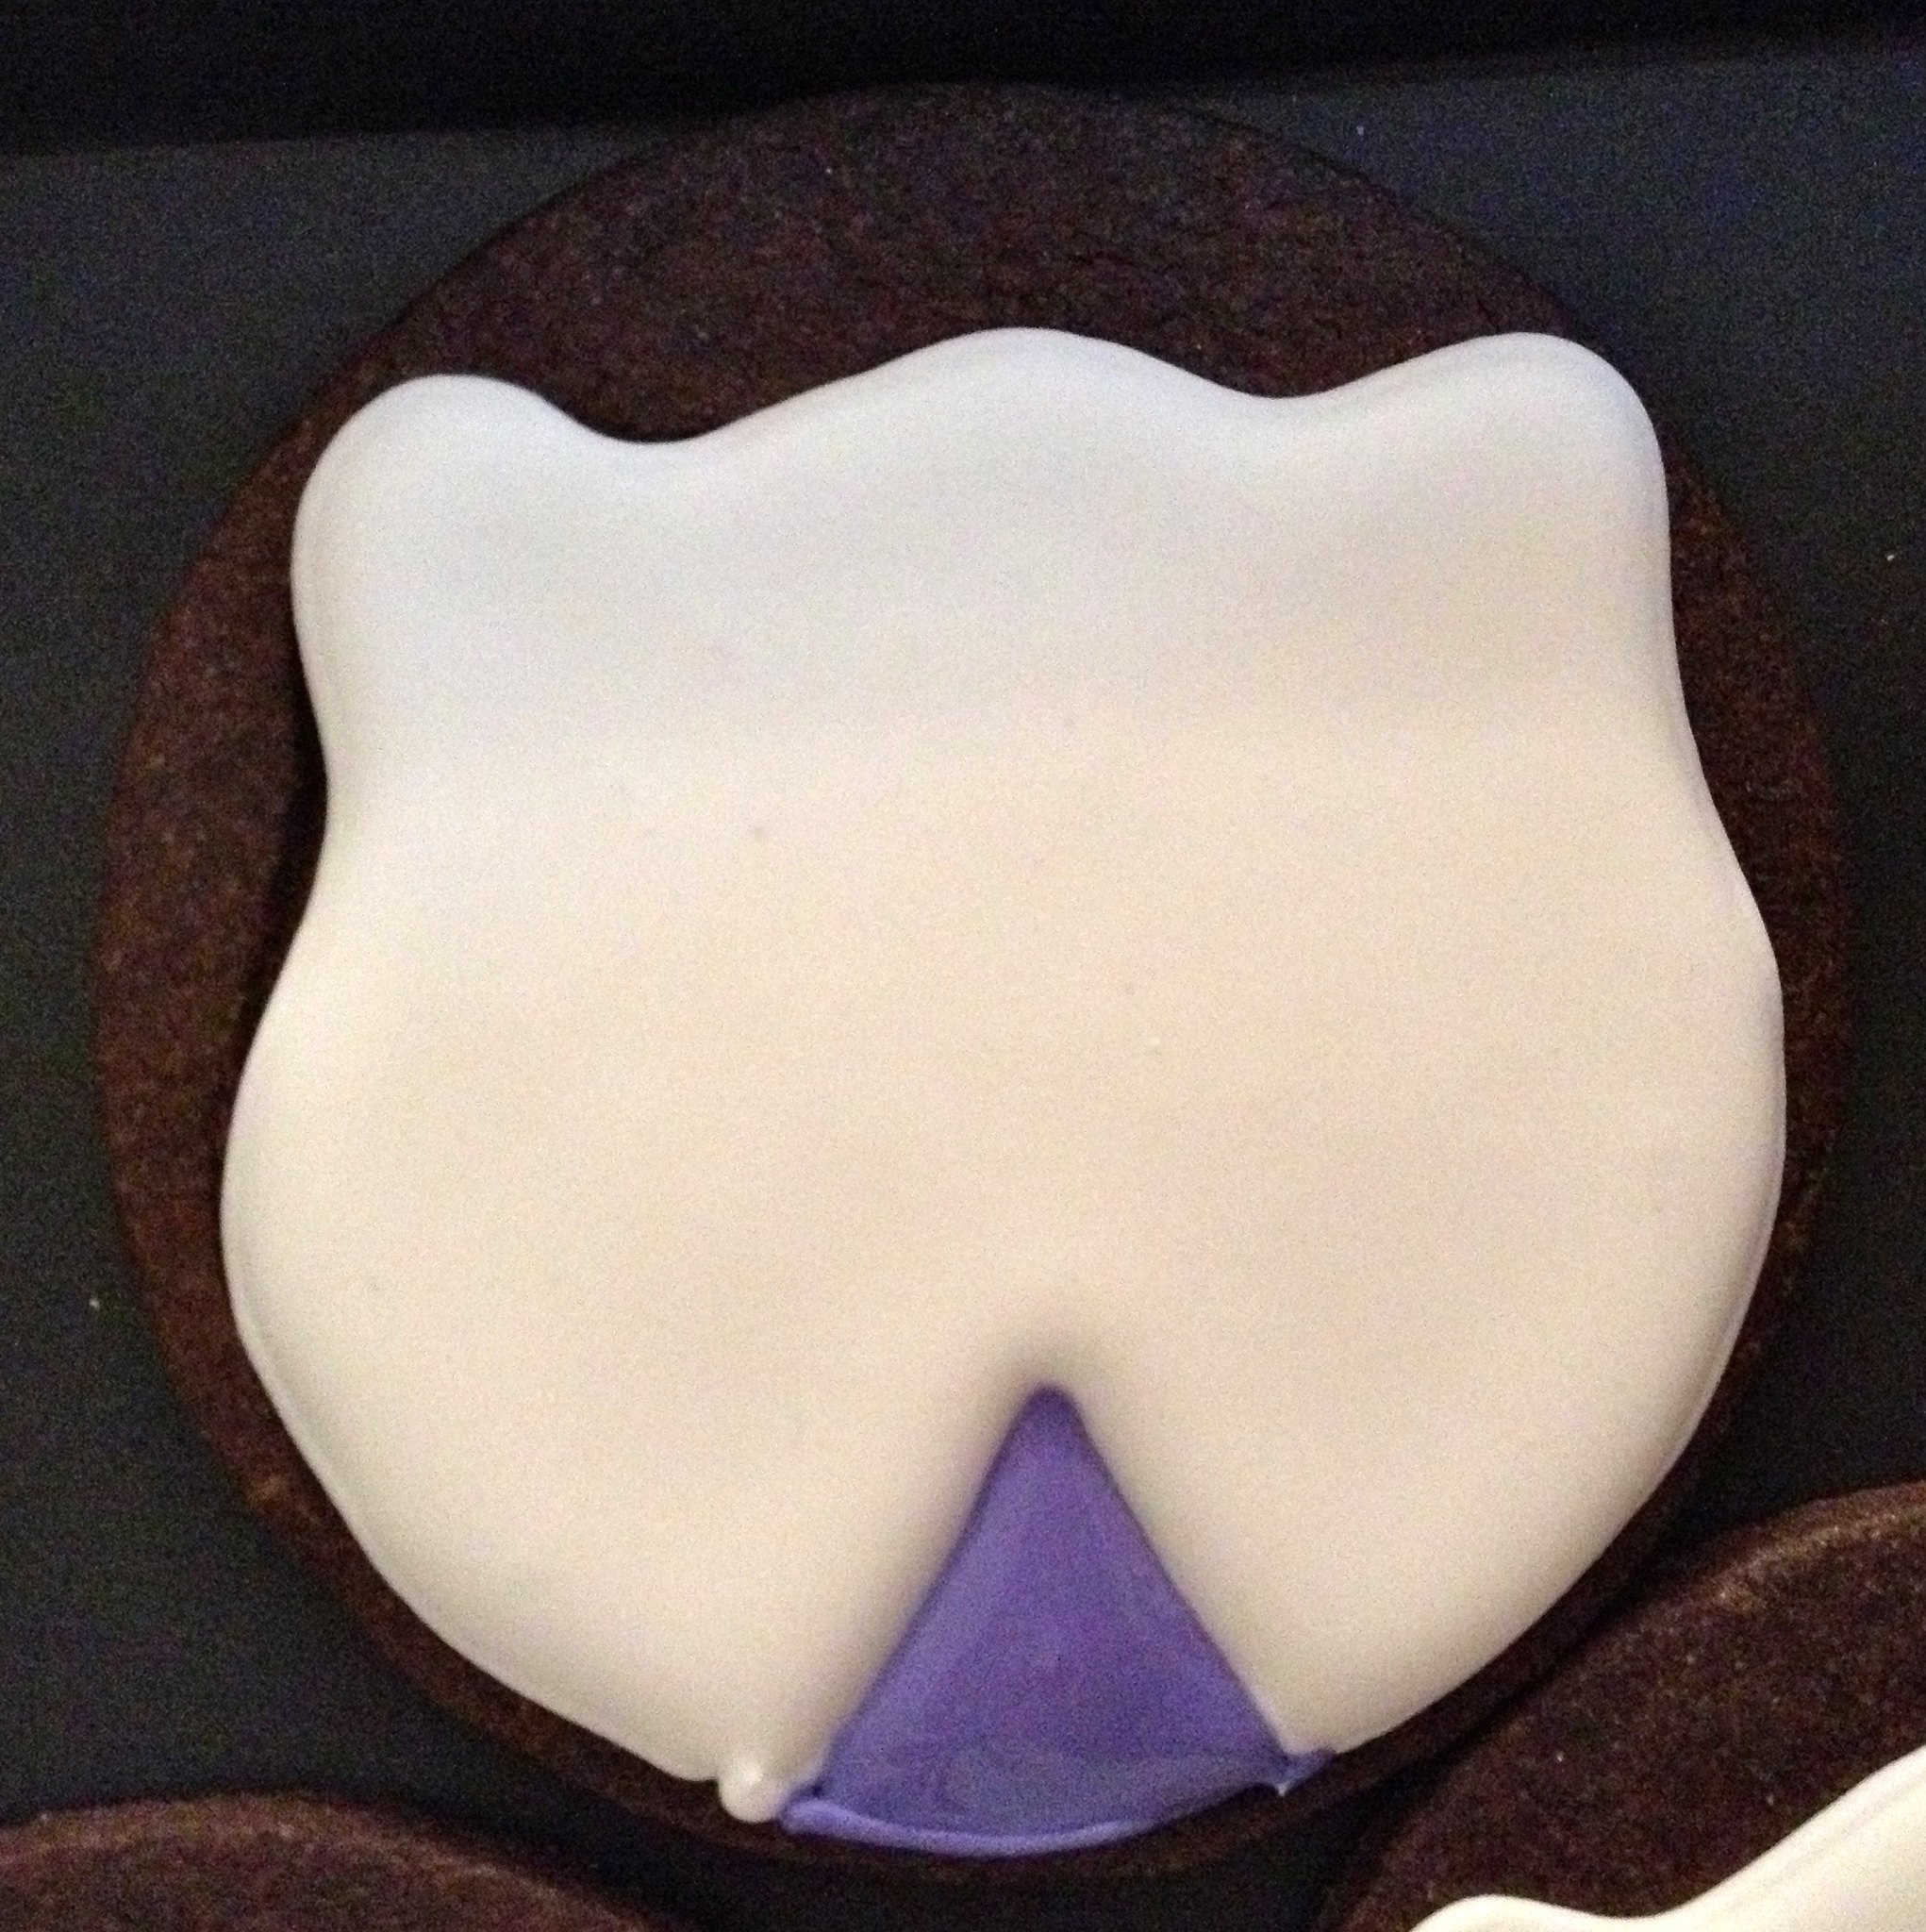
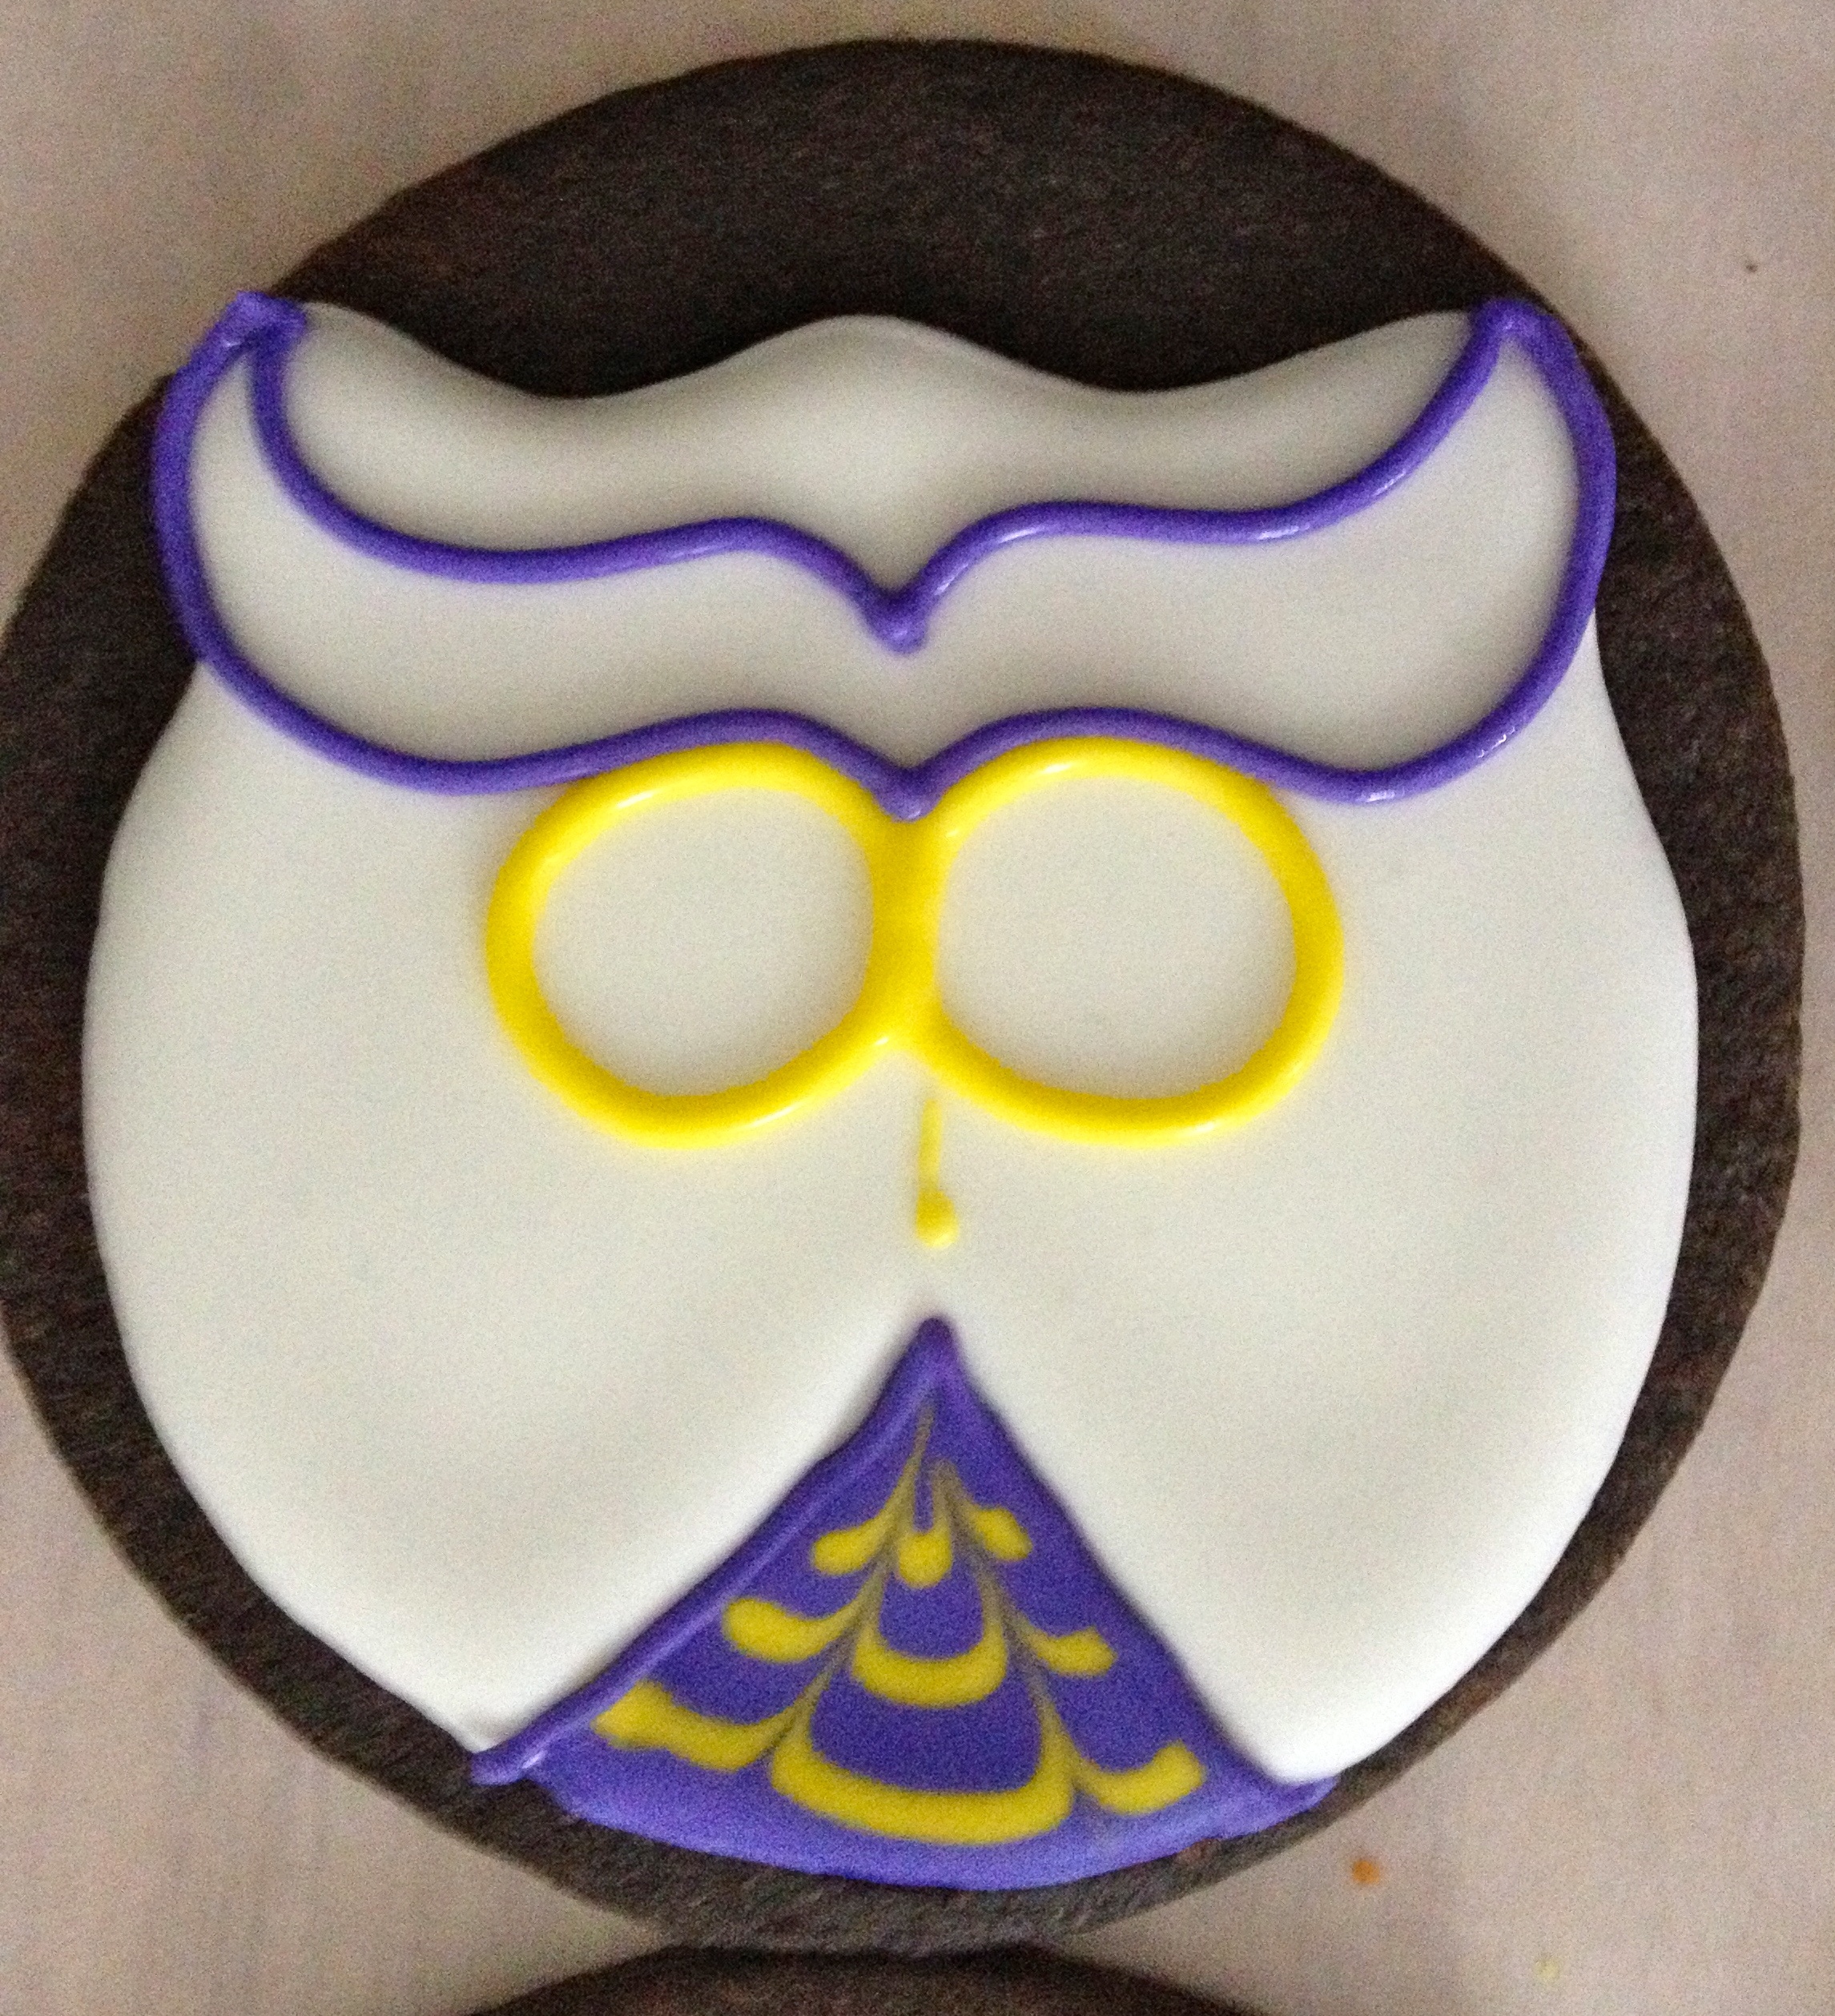
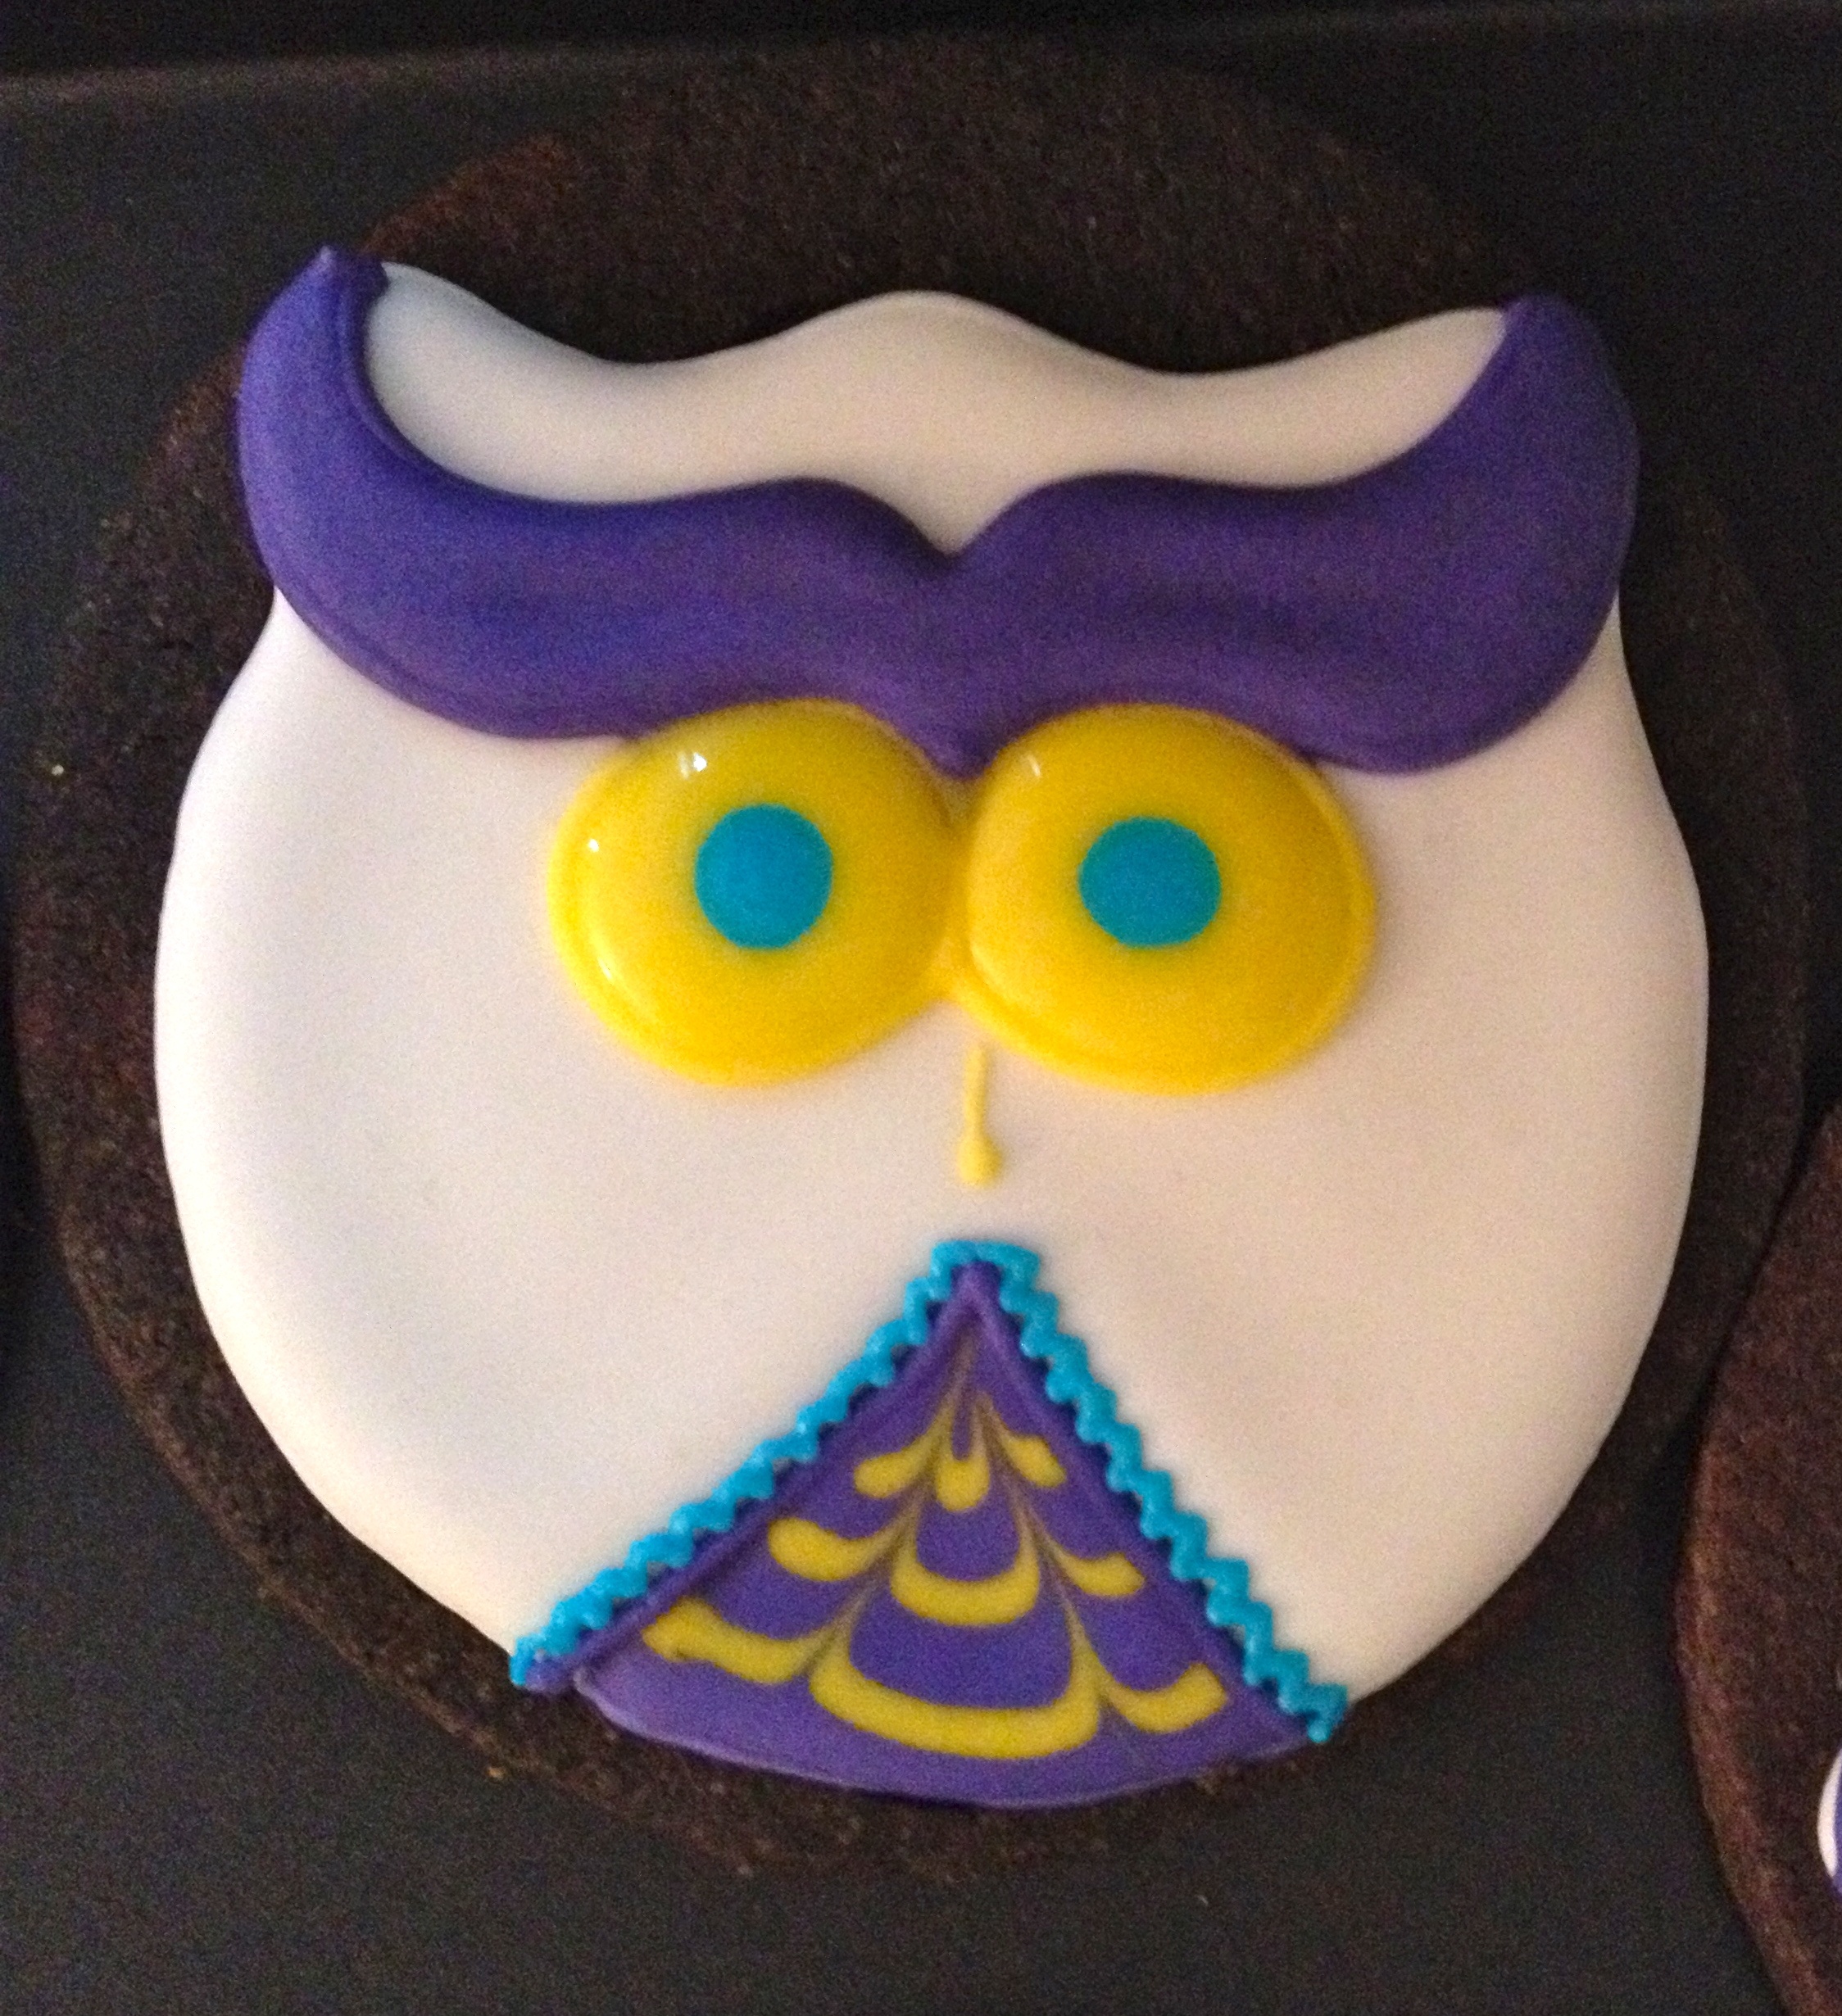
Once the white is finished you can make your other colors. I held off on making the green though because I turned my leftover loose yellow into thick green. But that's up to you. I just like to be as economic as possible with my icing and have as little leftover as I can. For the rest of the cookie you'll need:
- Small bag of Thick purple with a #2 round tip
- Small bag of Fill purple with a #2 round tip
- Small bag of Thick yellow with a #2 round tip (also have a #1 for later)
- Small bag of Fill yellow with #2 round tip
- Small bag of Thick sky blue with a #1 round tip
- Extremely small bag of Fill sky blue with #2 round tip (or can just use the thick if you don't mind the pupils not being completely flush with the surface of the rest of the eye)
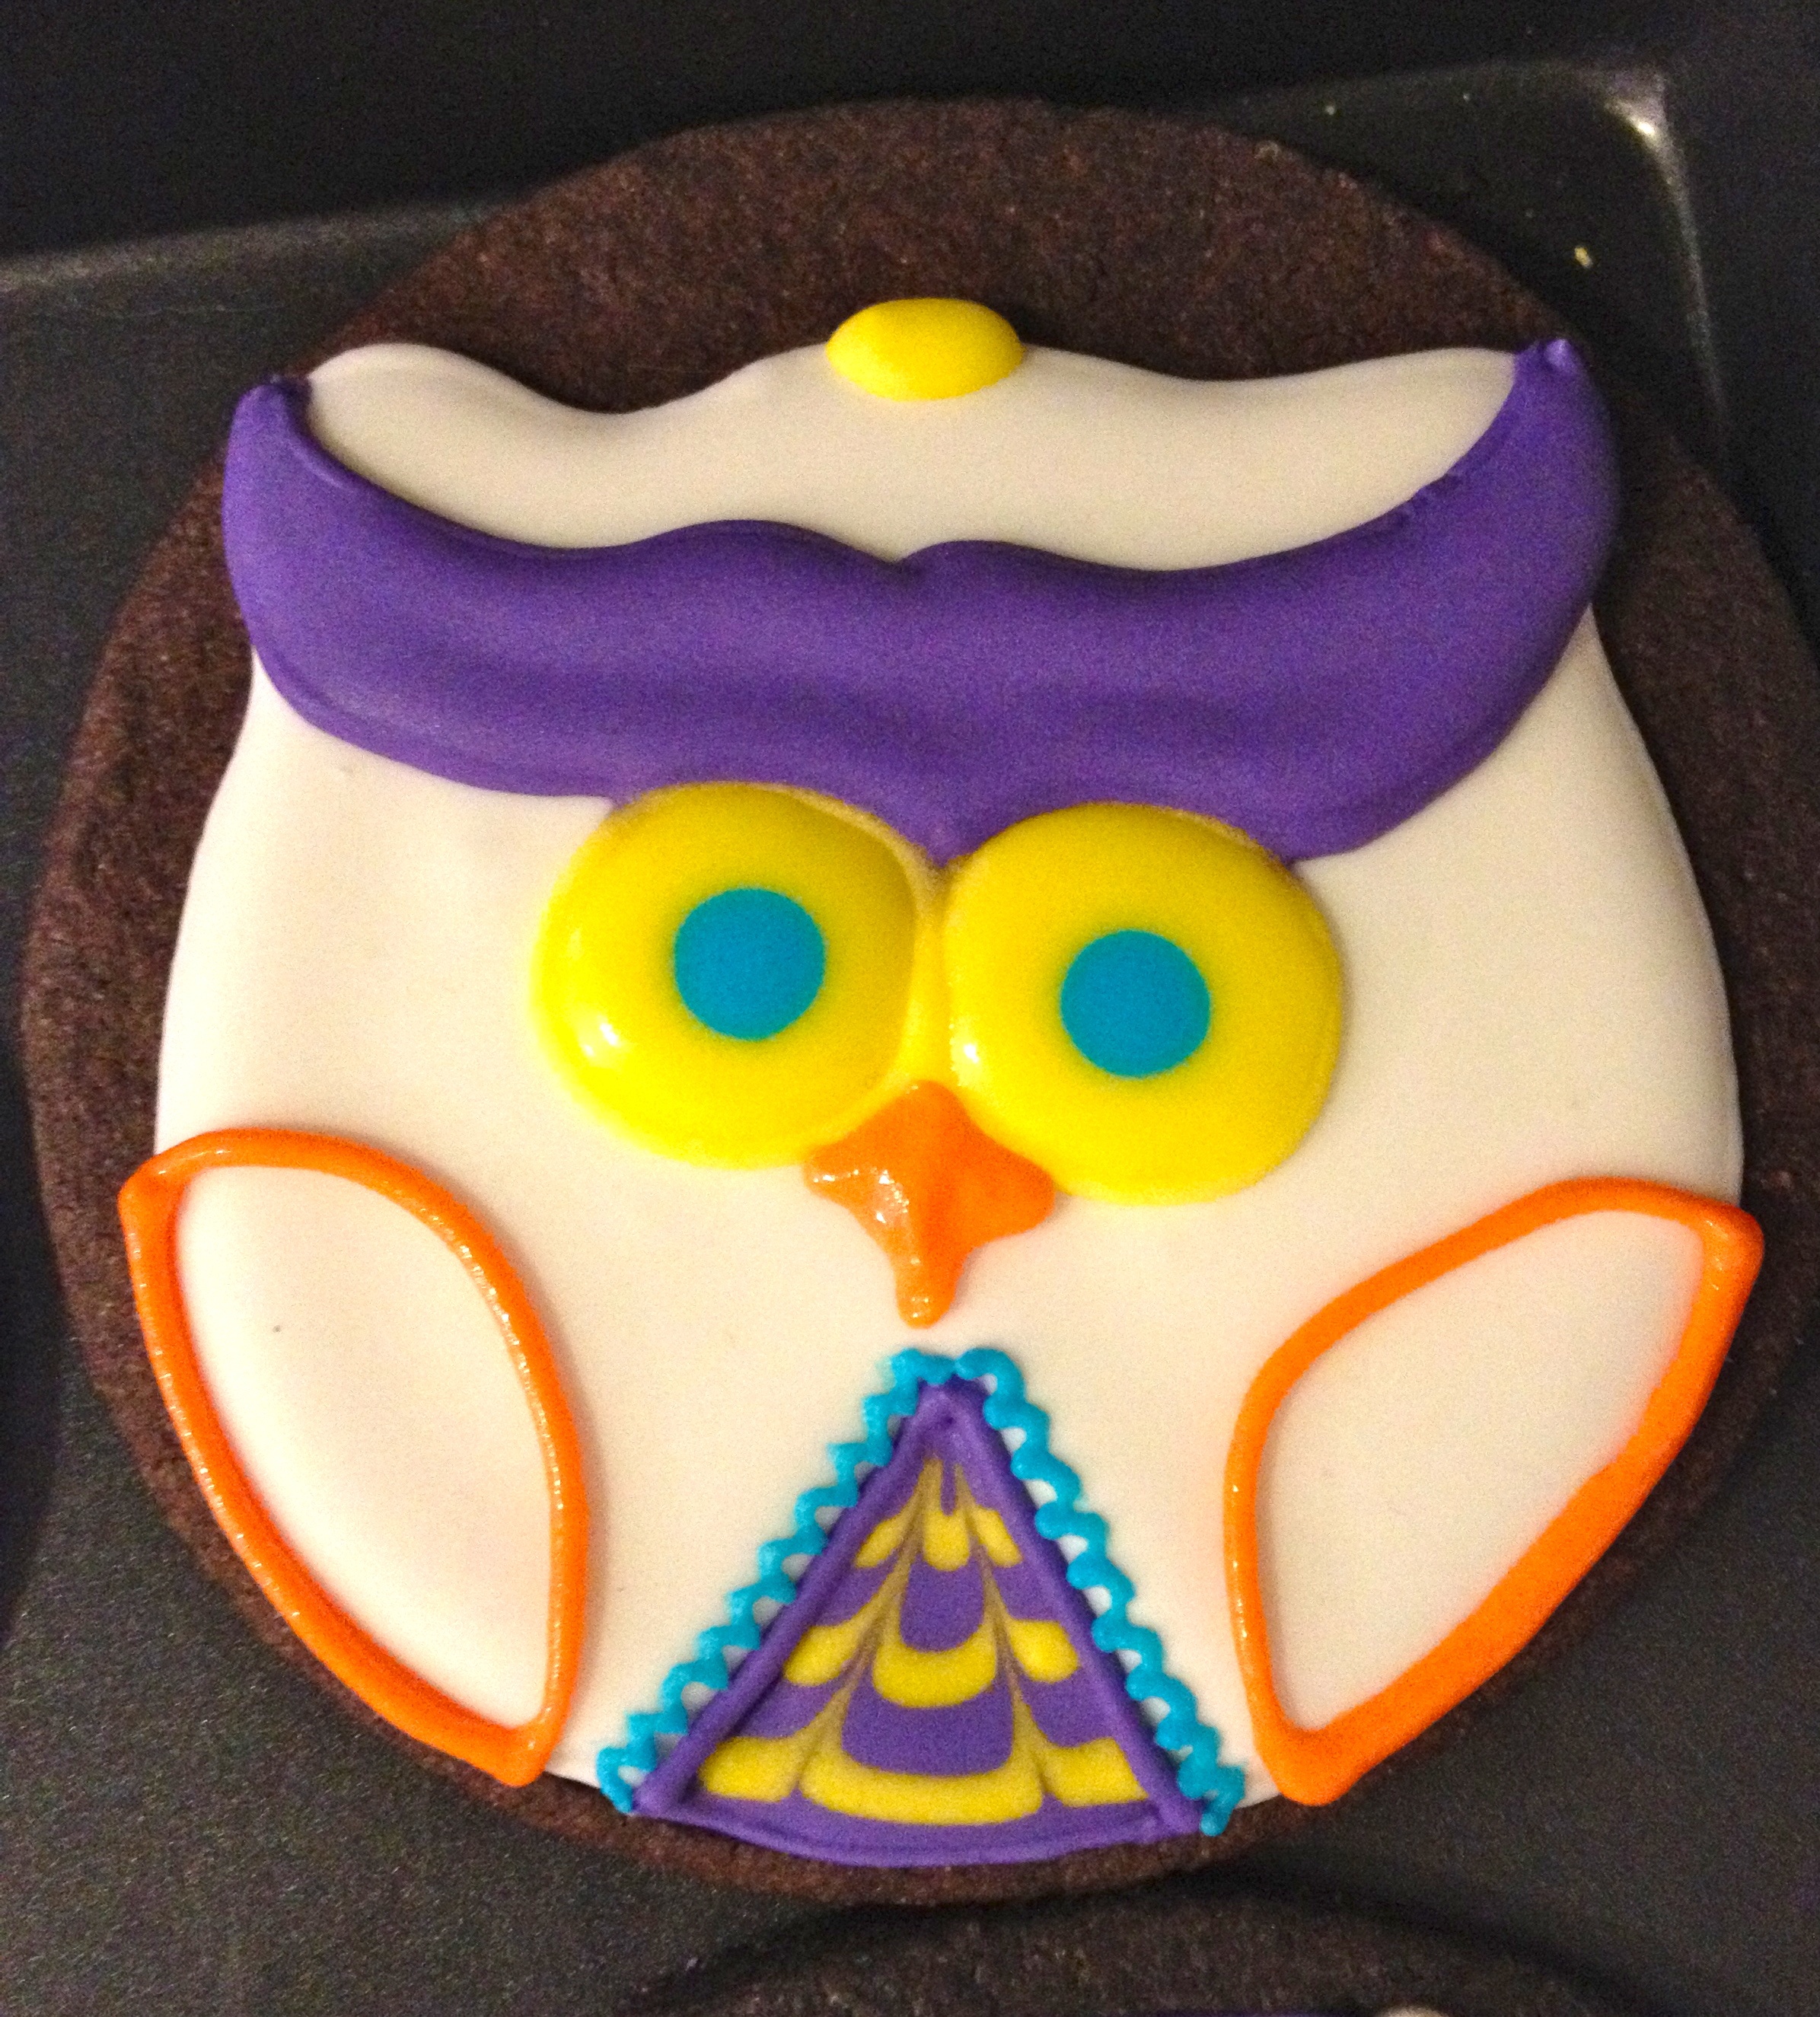
- Small bag of Thick orange with a #2 round tip
- Small bag of Fill orange with a #2 round tip
- Small bag of Thick green with a #2 round tip
- Small bag of Thick pink with a #2 round tip


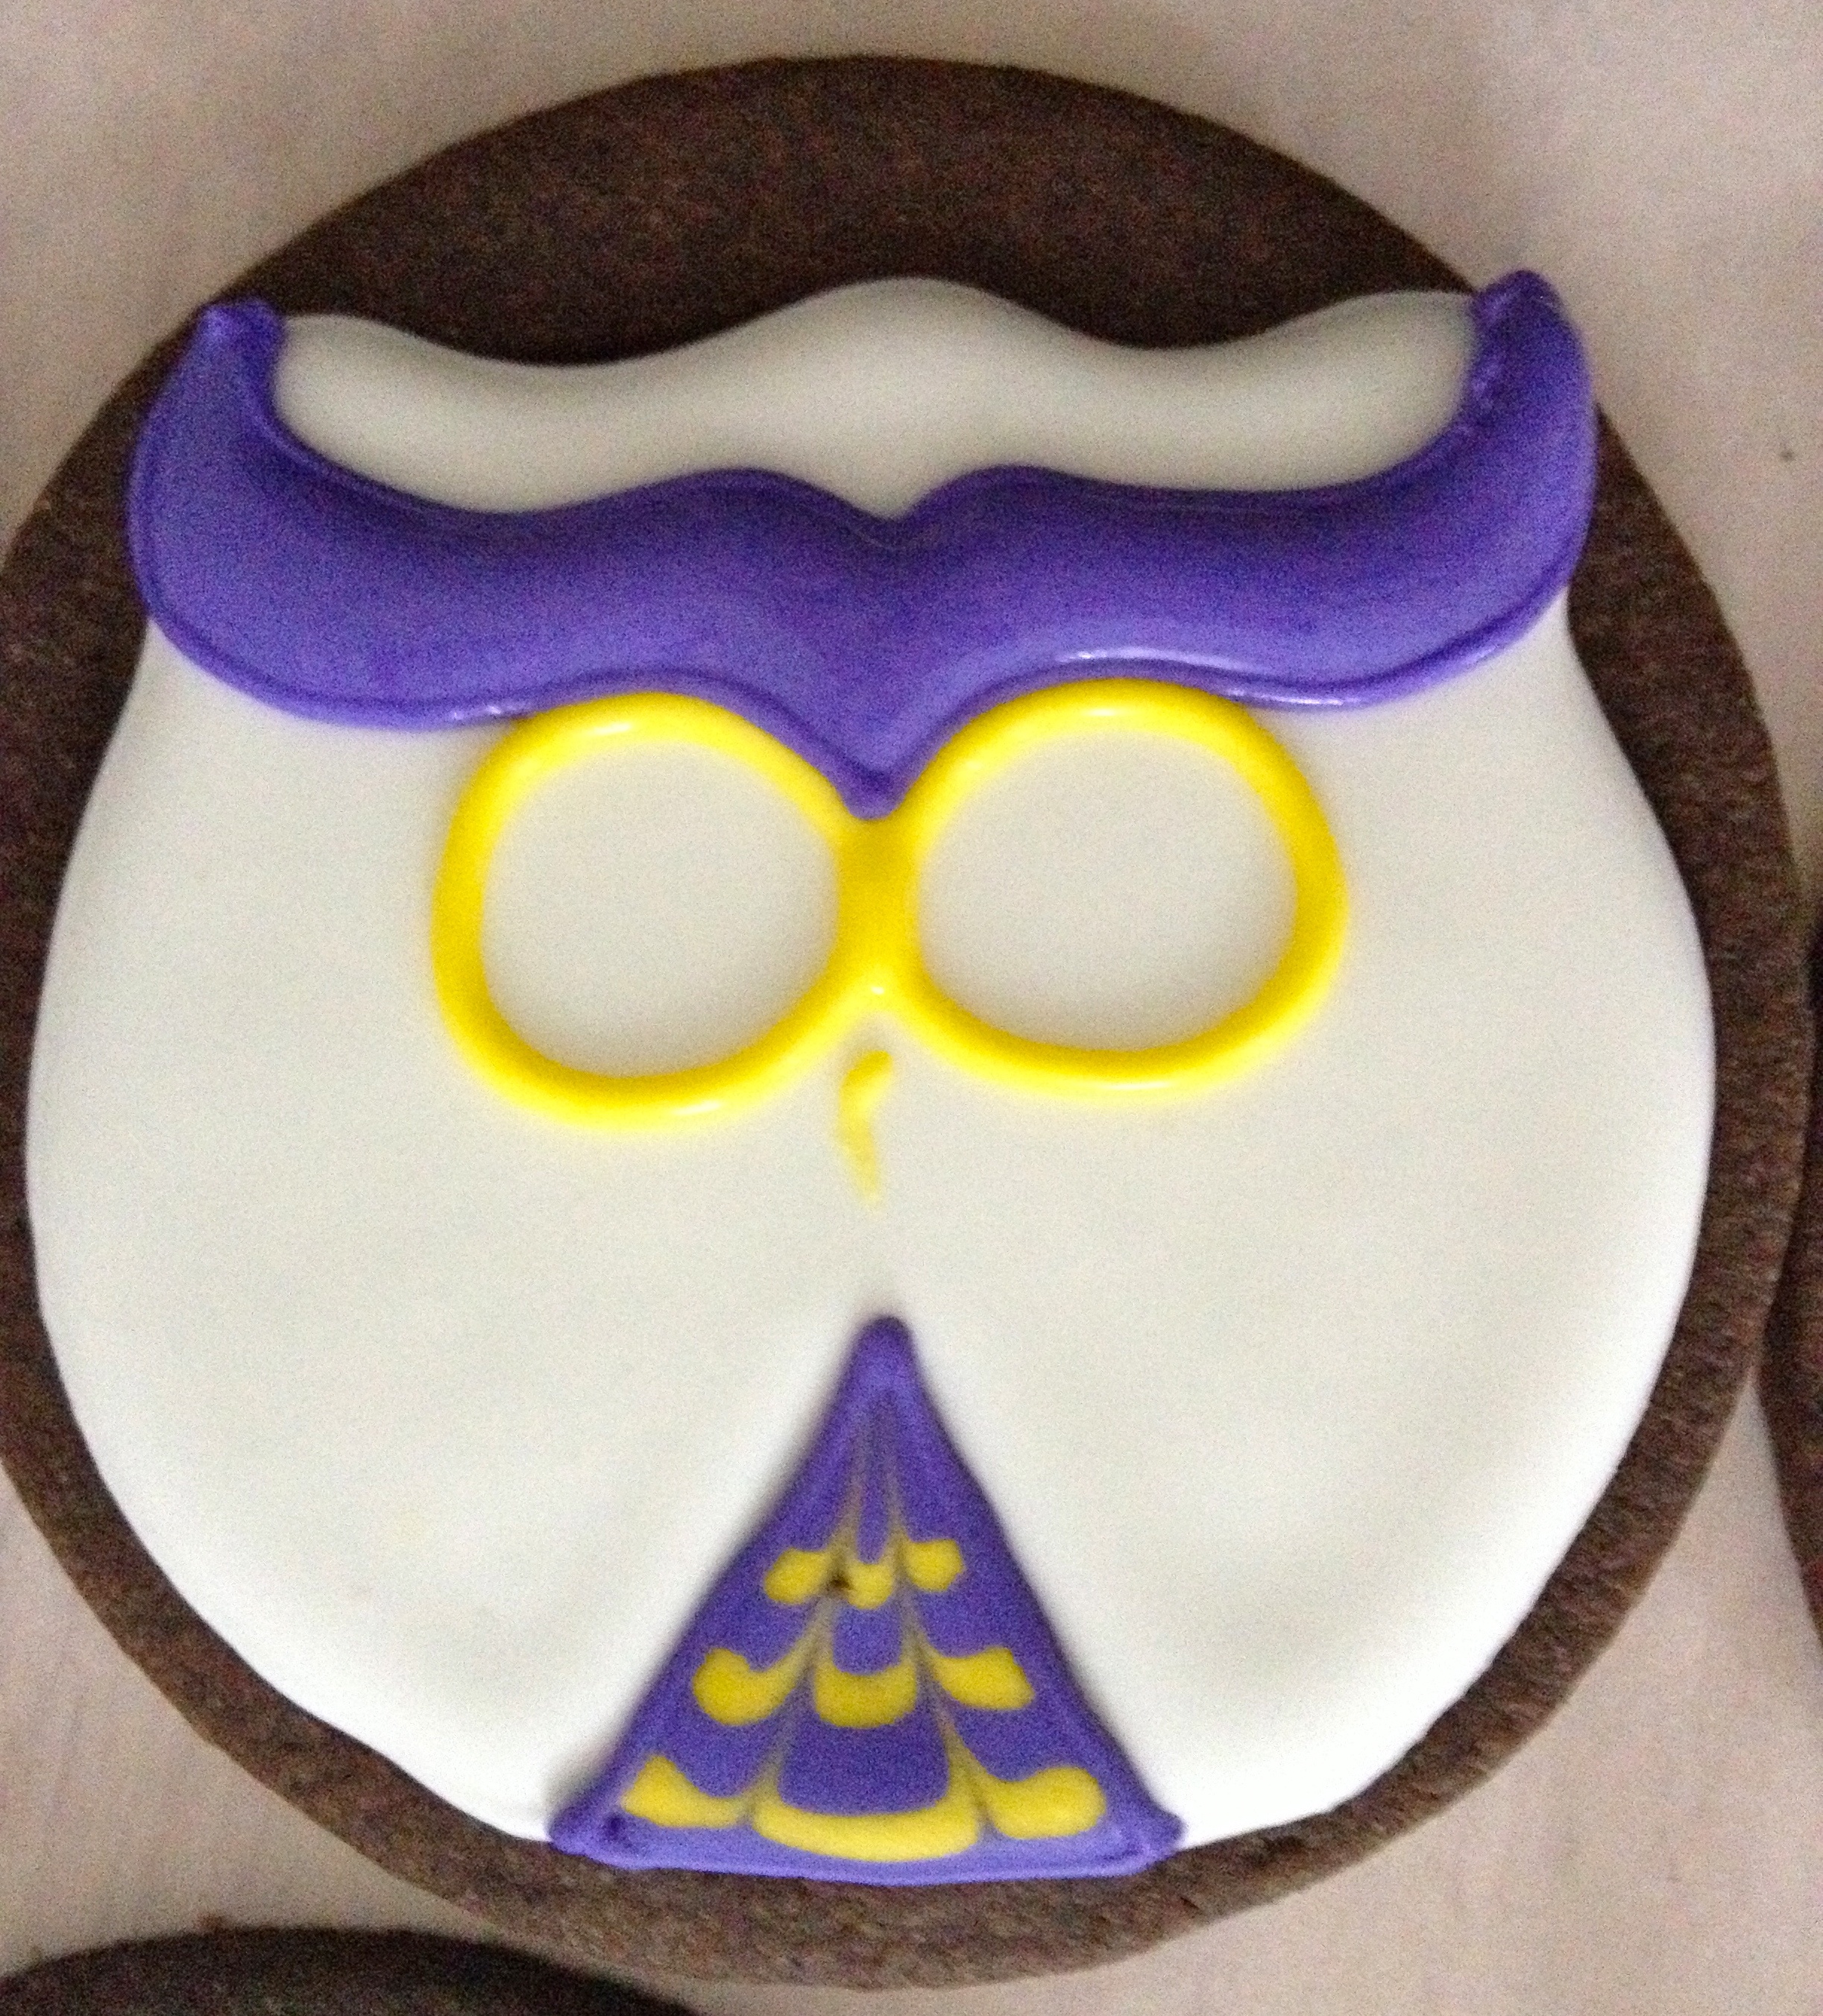

*Also I didn't take a photo of this, but while you're using the thick yellow, also put a small oval on the center of the top of the head for the center of the flower. Look below for photo references*
Now it's time to let these dry for a while. At least an hour, more if you can spare it. The 2nd layer of icing should be completely smooth and dry to the touch before moving on to the details.
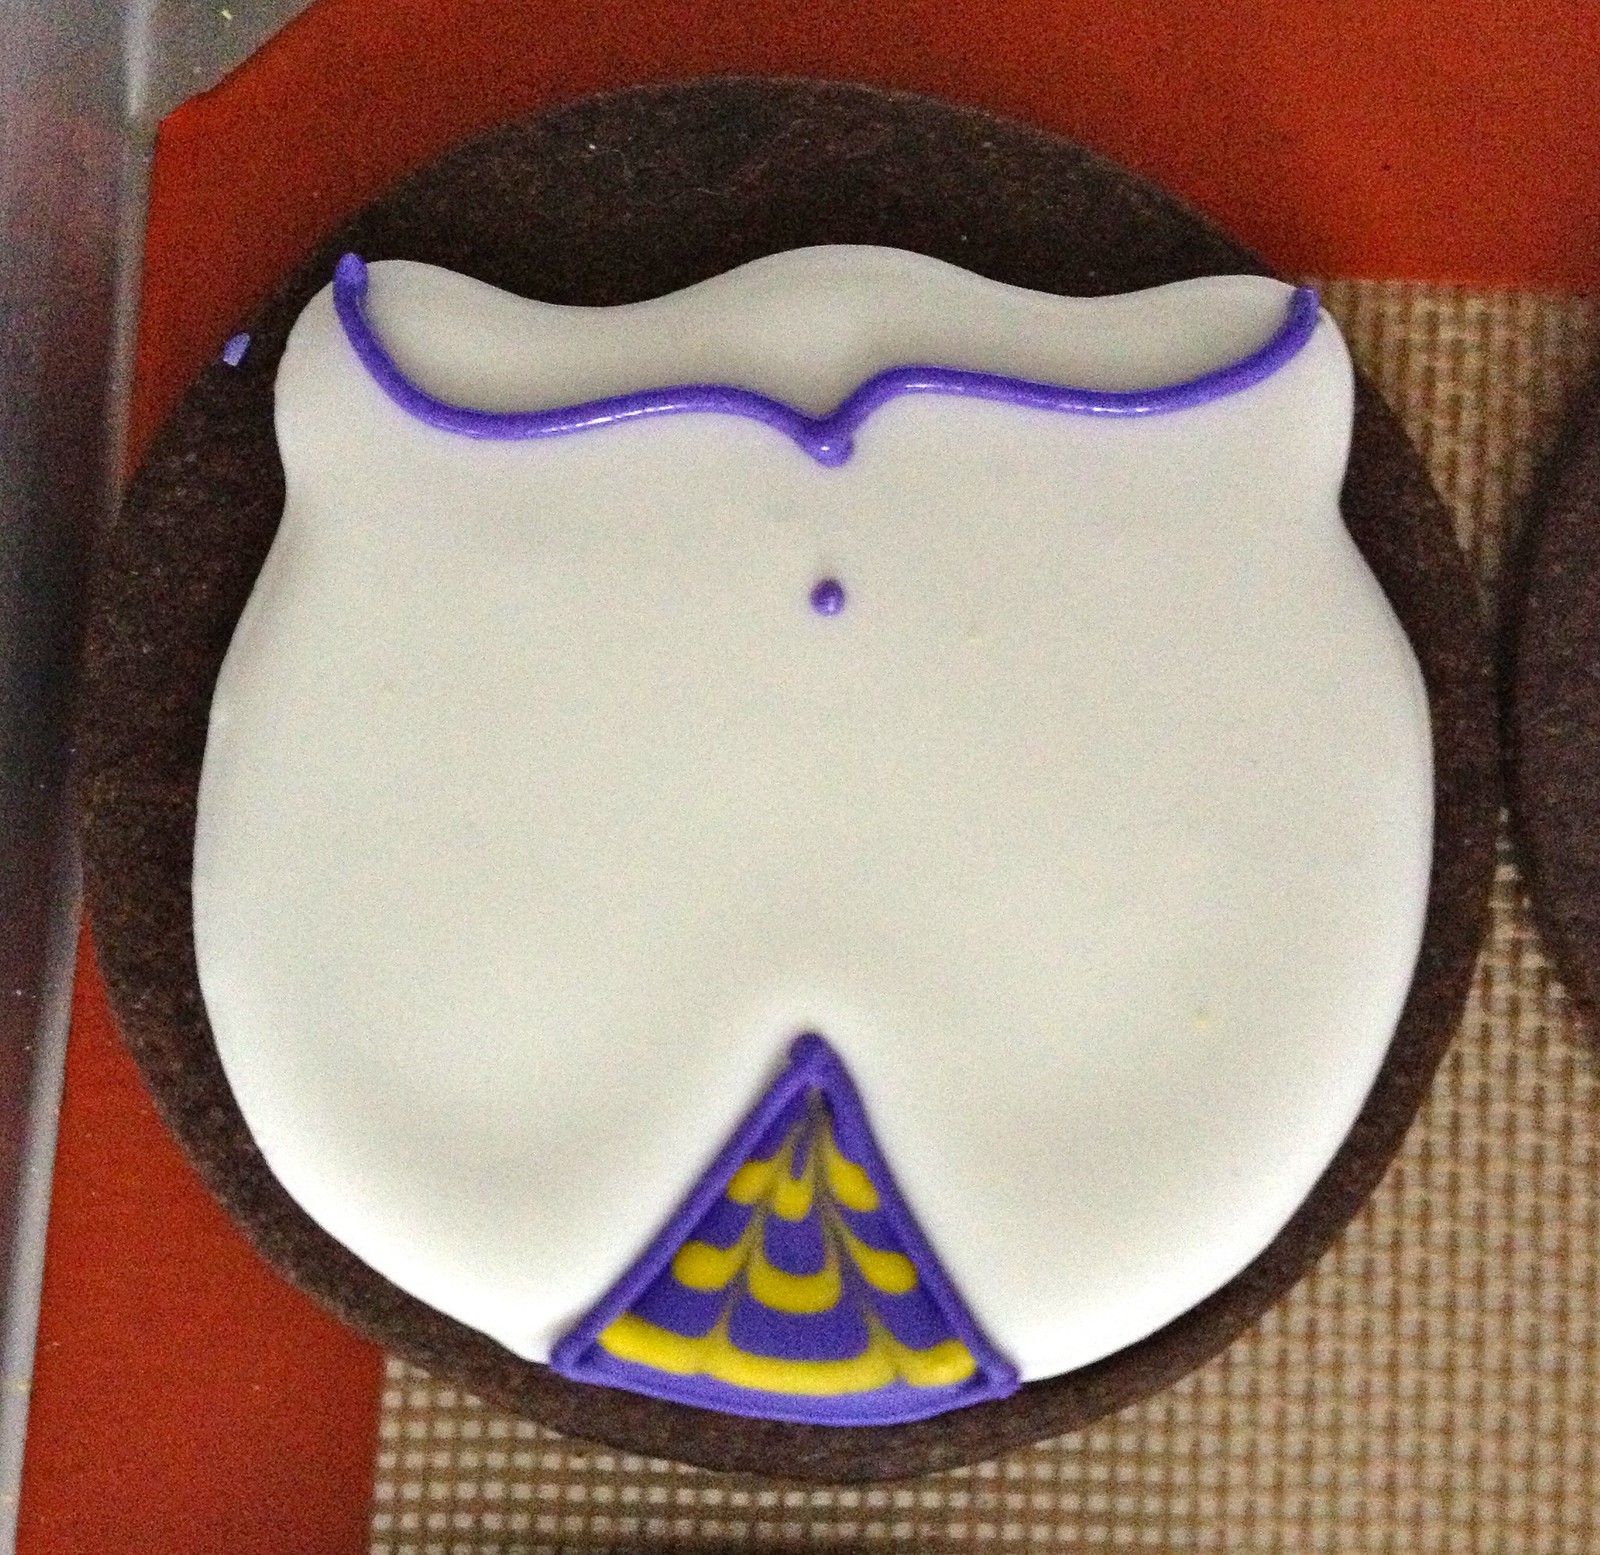
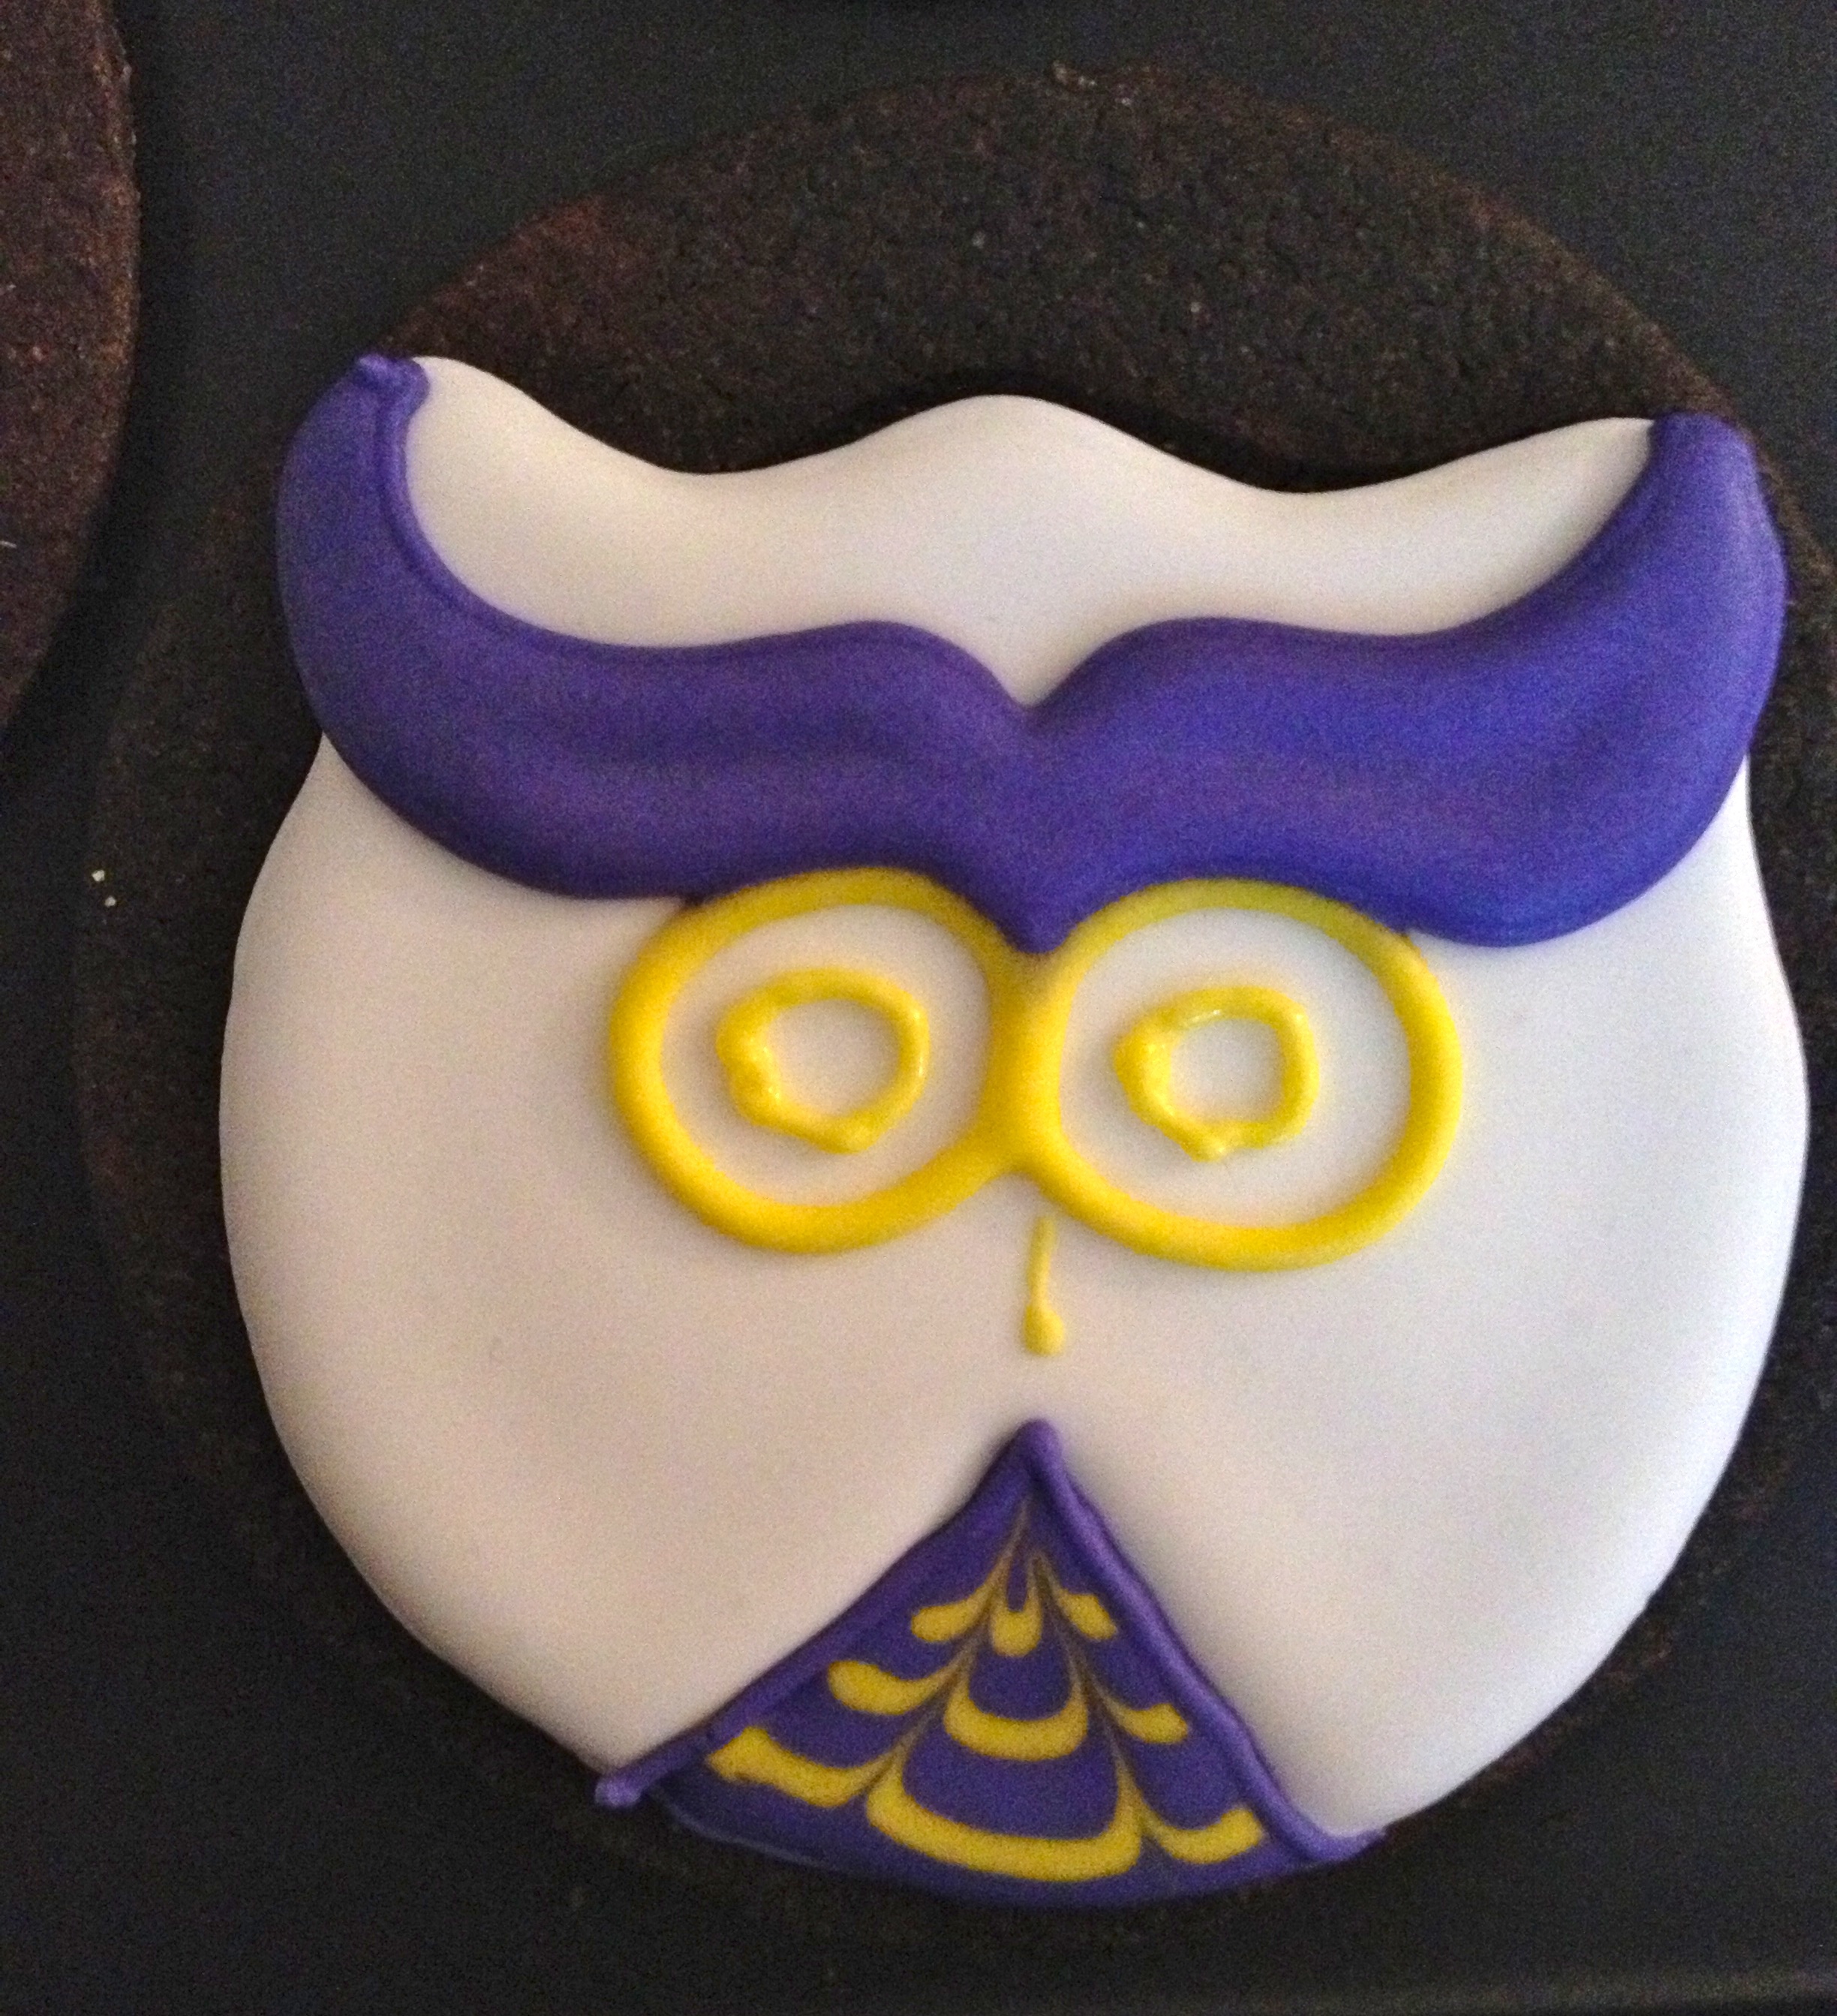
Detailing is my favourite part of decorating. So I went a little crazy with it. But since they're sugar skull inspired they should be as decorative as possible. For all details use the thick icing.


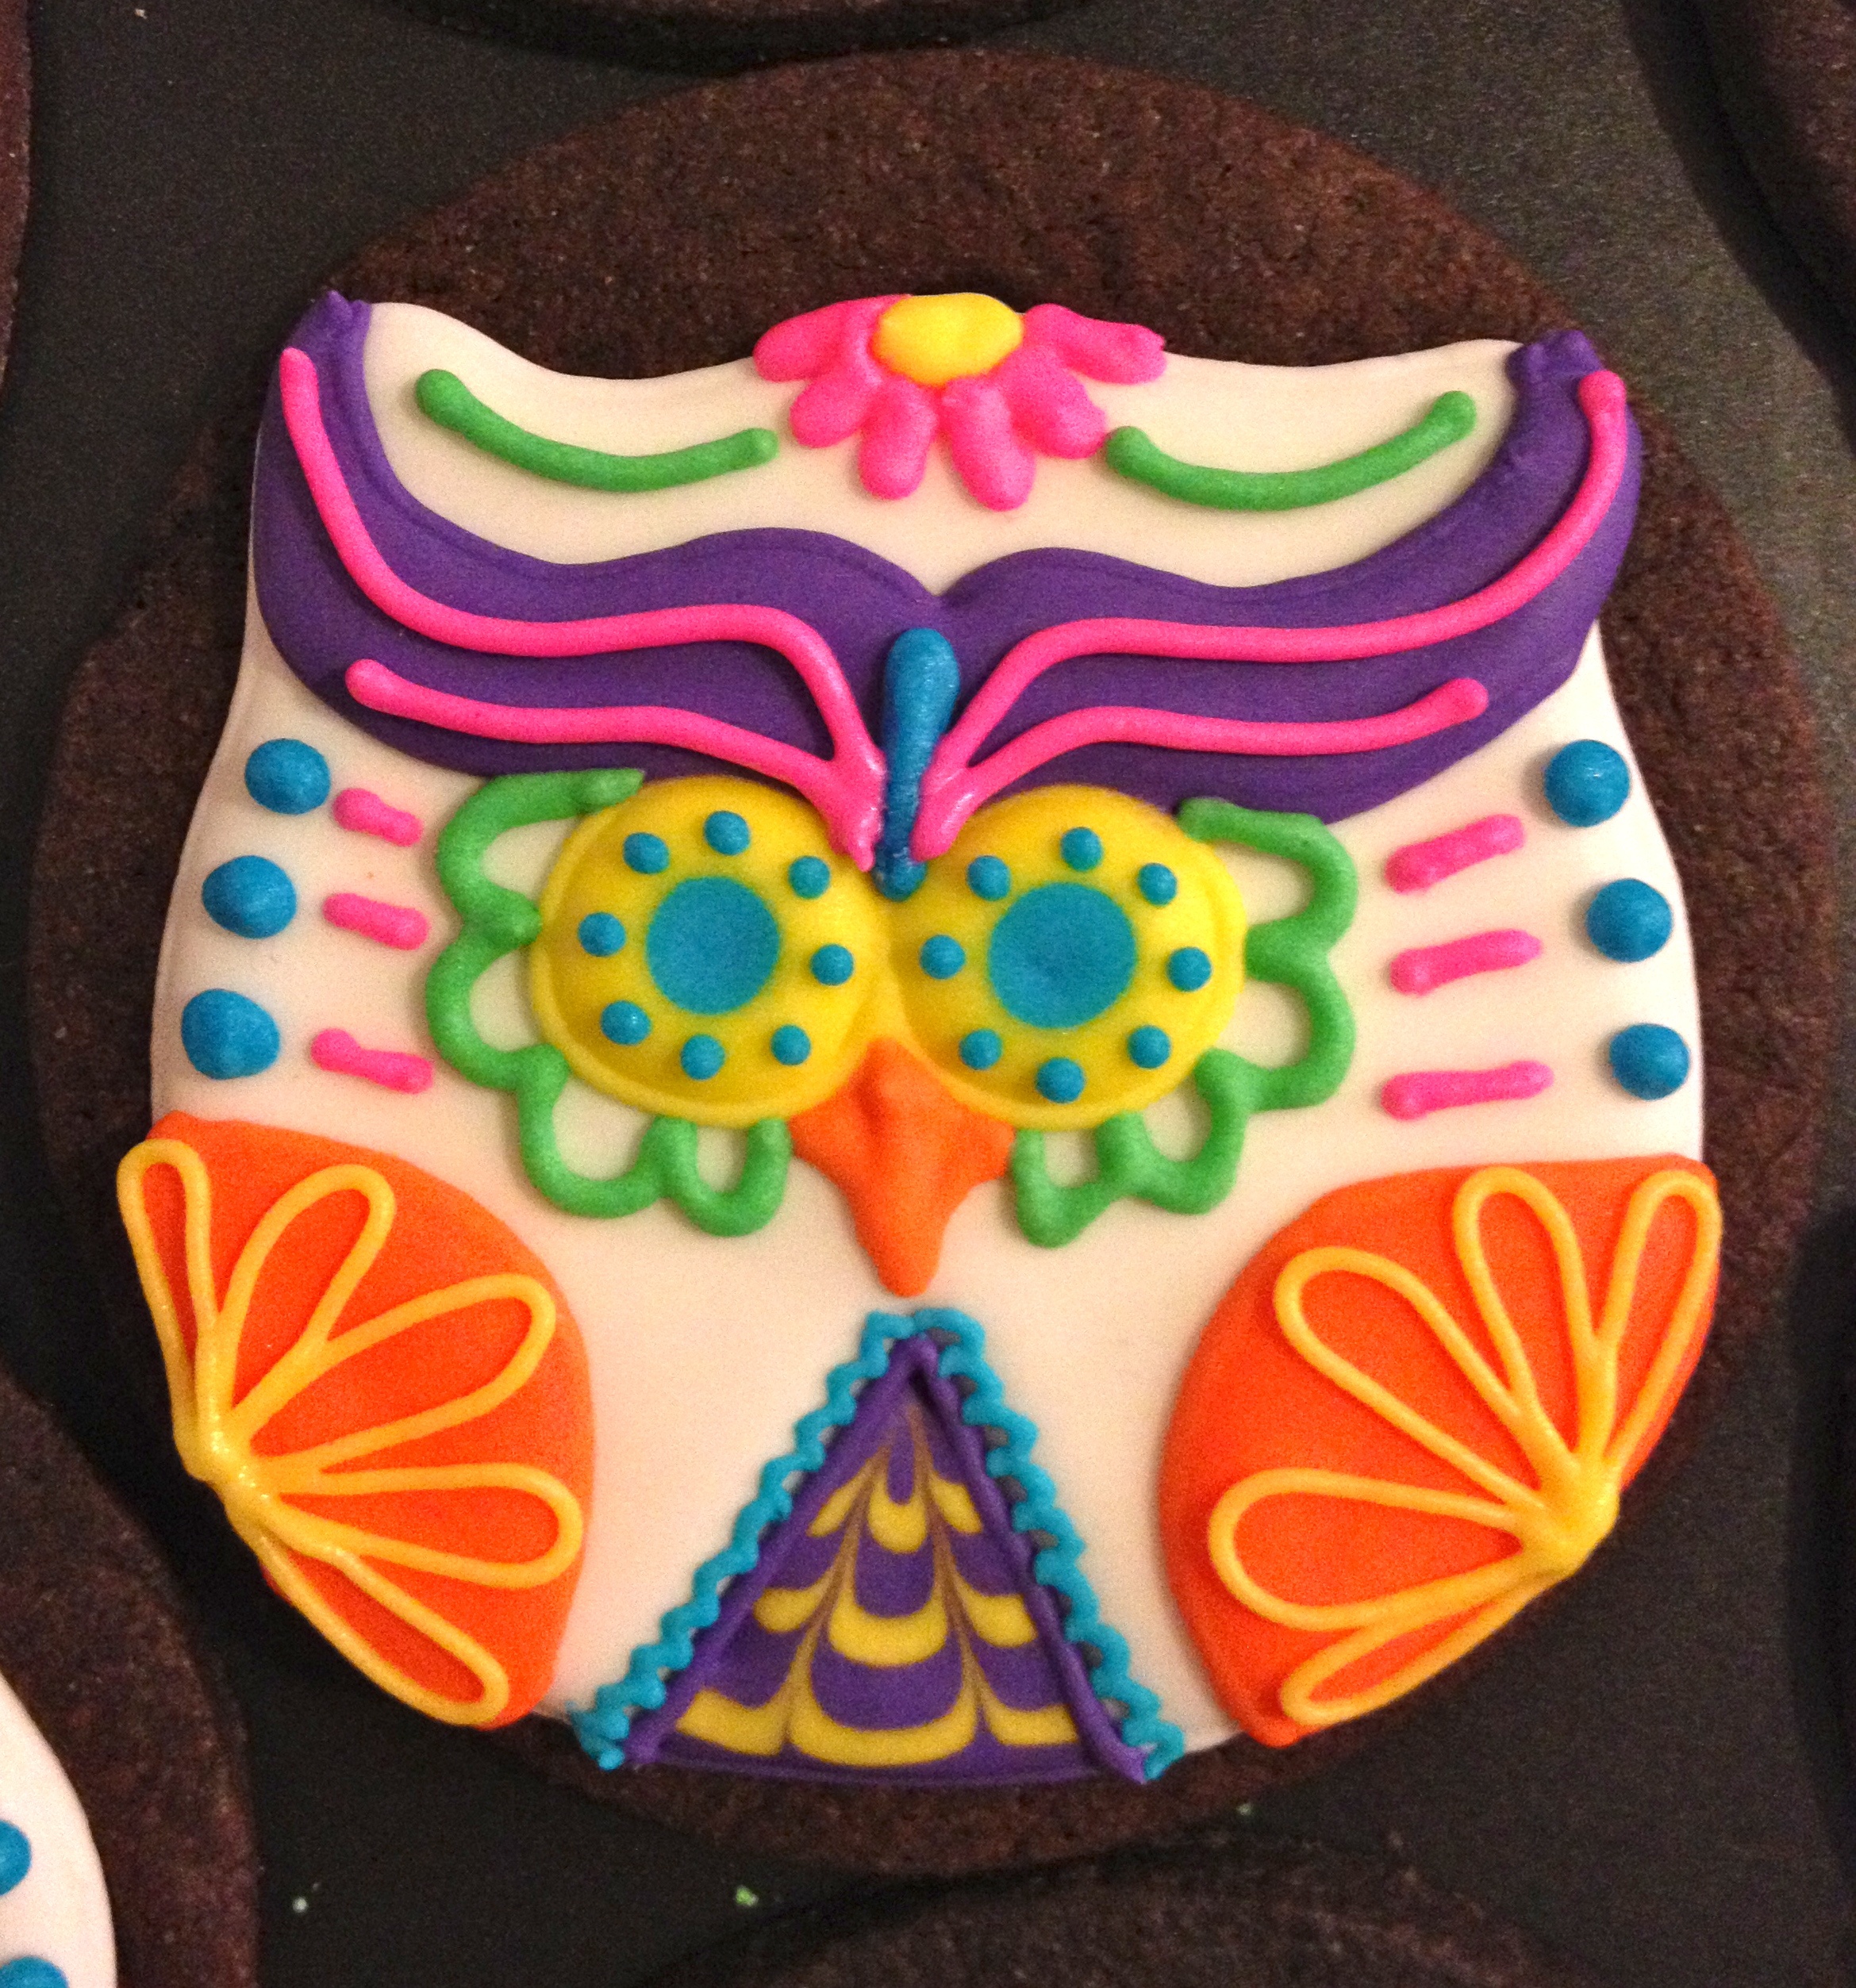
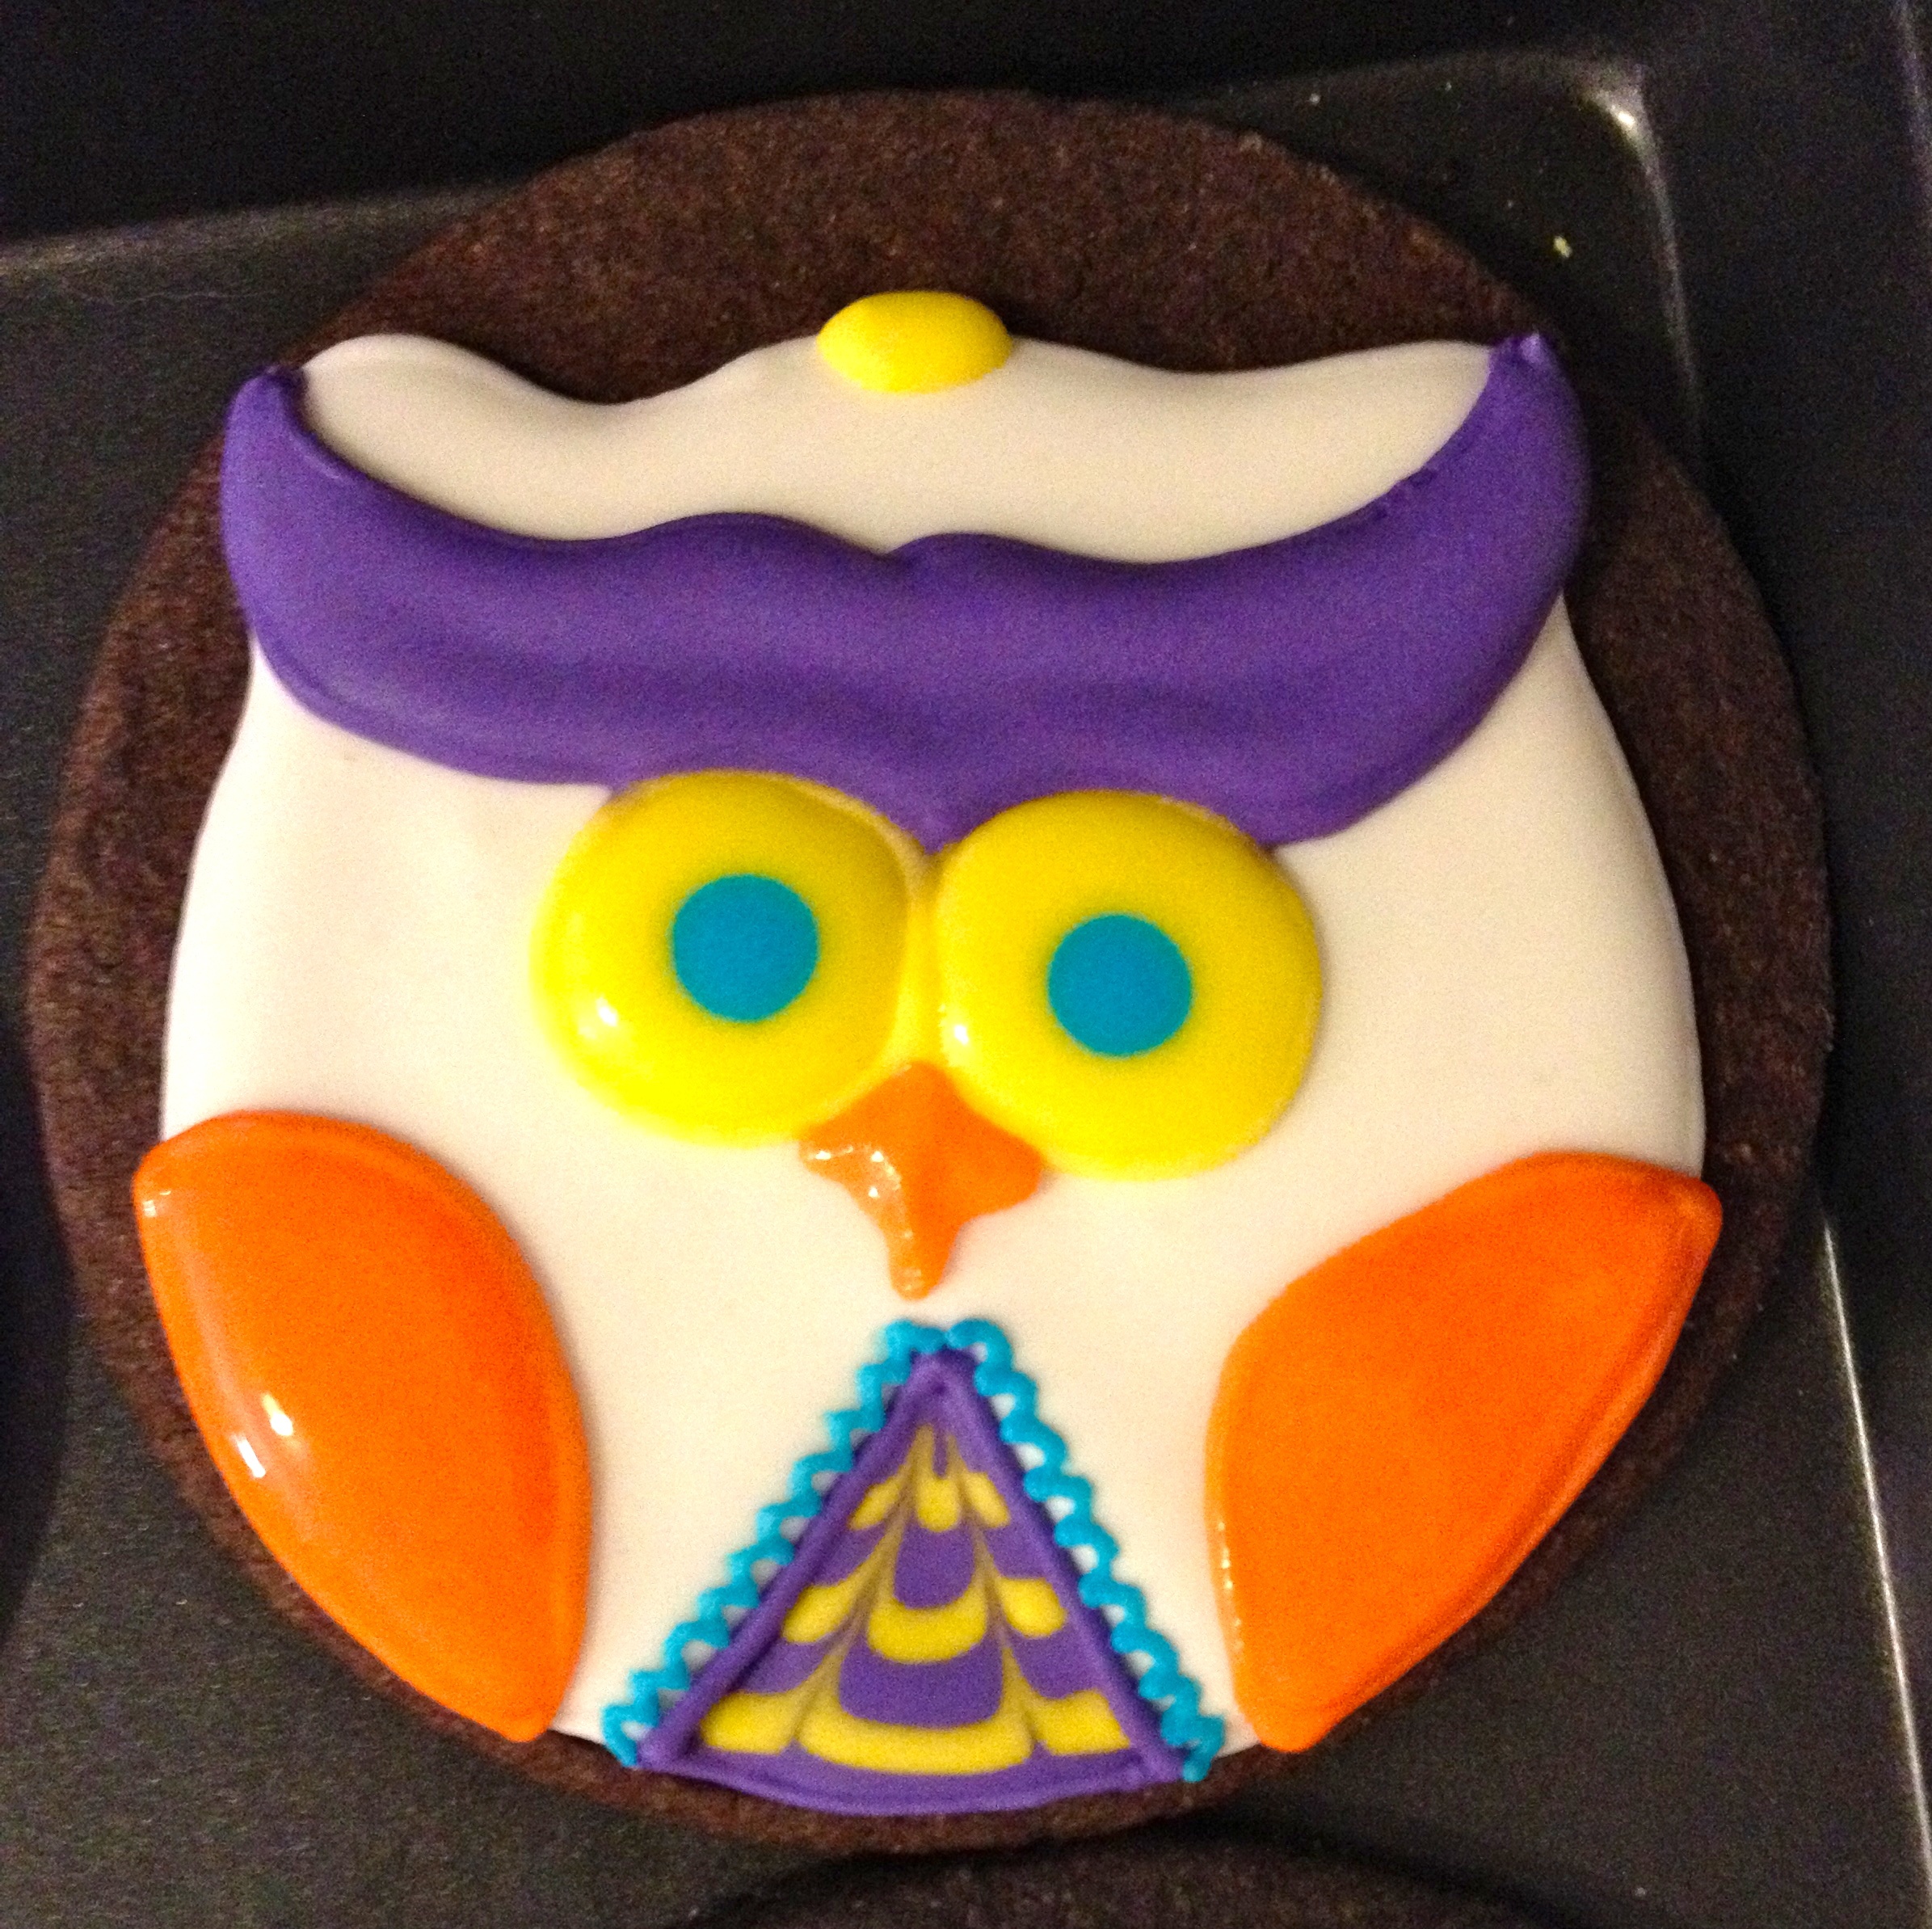
YELLOW DETAILS: Do 5 petals on the orange wings. I start with the center one and go out so they're as even as possible.
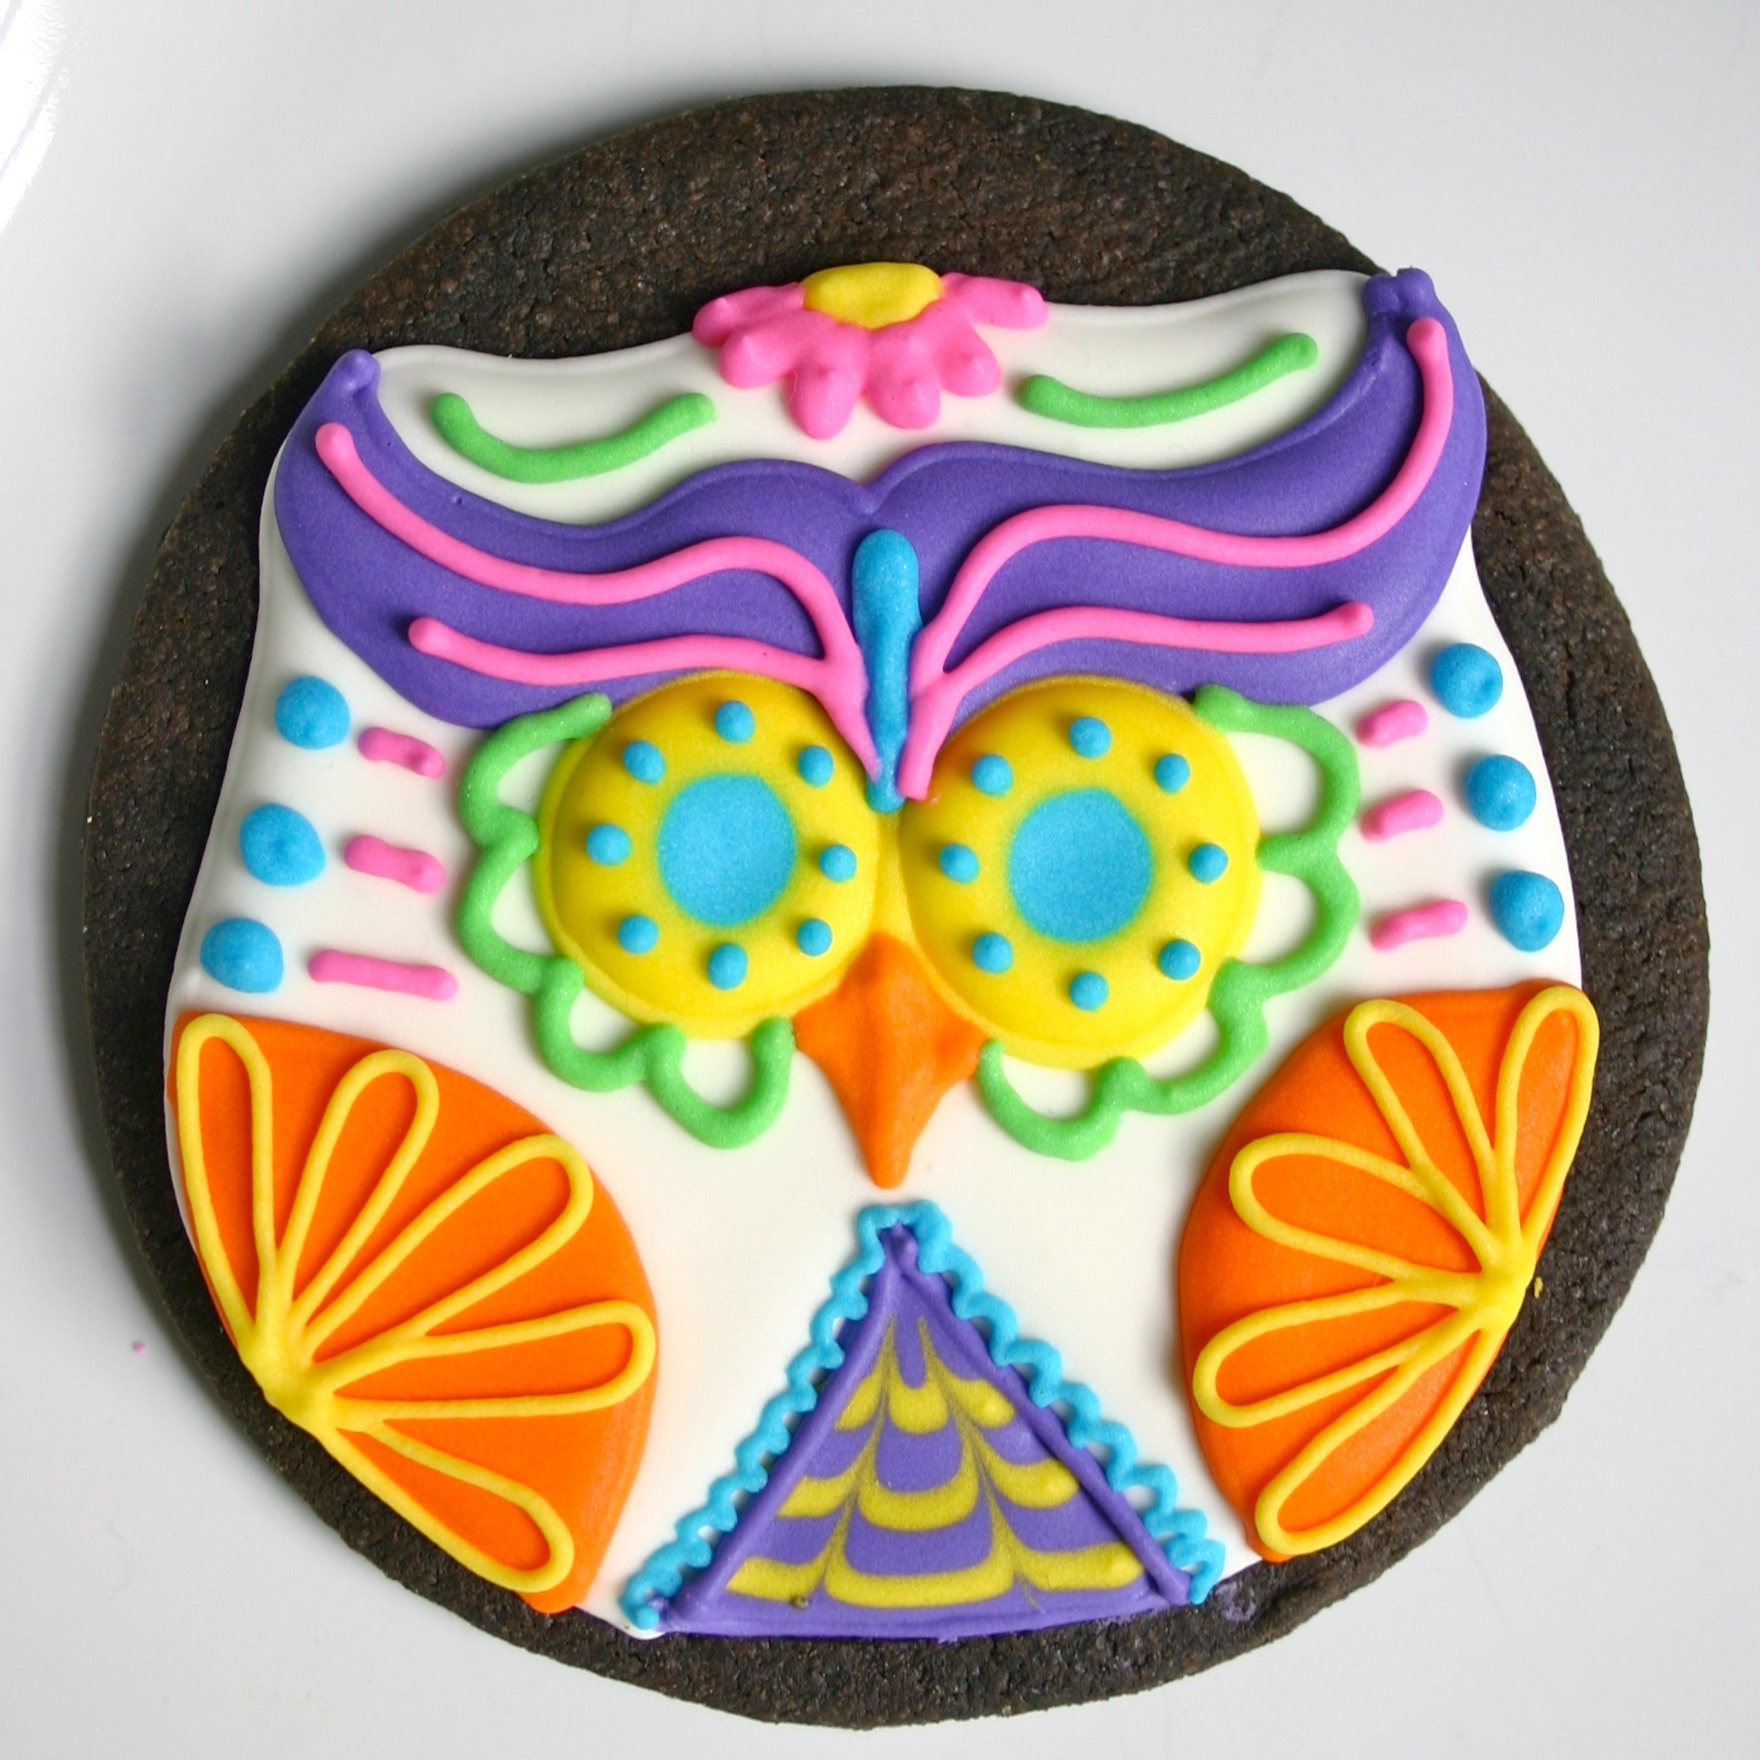

After a lot of hard work and a lot of hours your owls will be done! And at this point you probably deserve to taste one of them, and the great thing about these recipes is not only will your cookies be beautiful but they will taste amazing as well!!
If anyone has any questions let me know. I know this was a very complex tutorial, but hopefully not confusing. This design is advanced but of course you could simplify it and if you need any suggestions for that I'd be glad to help.
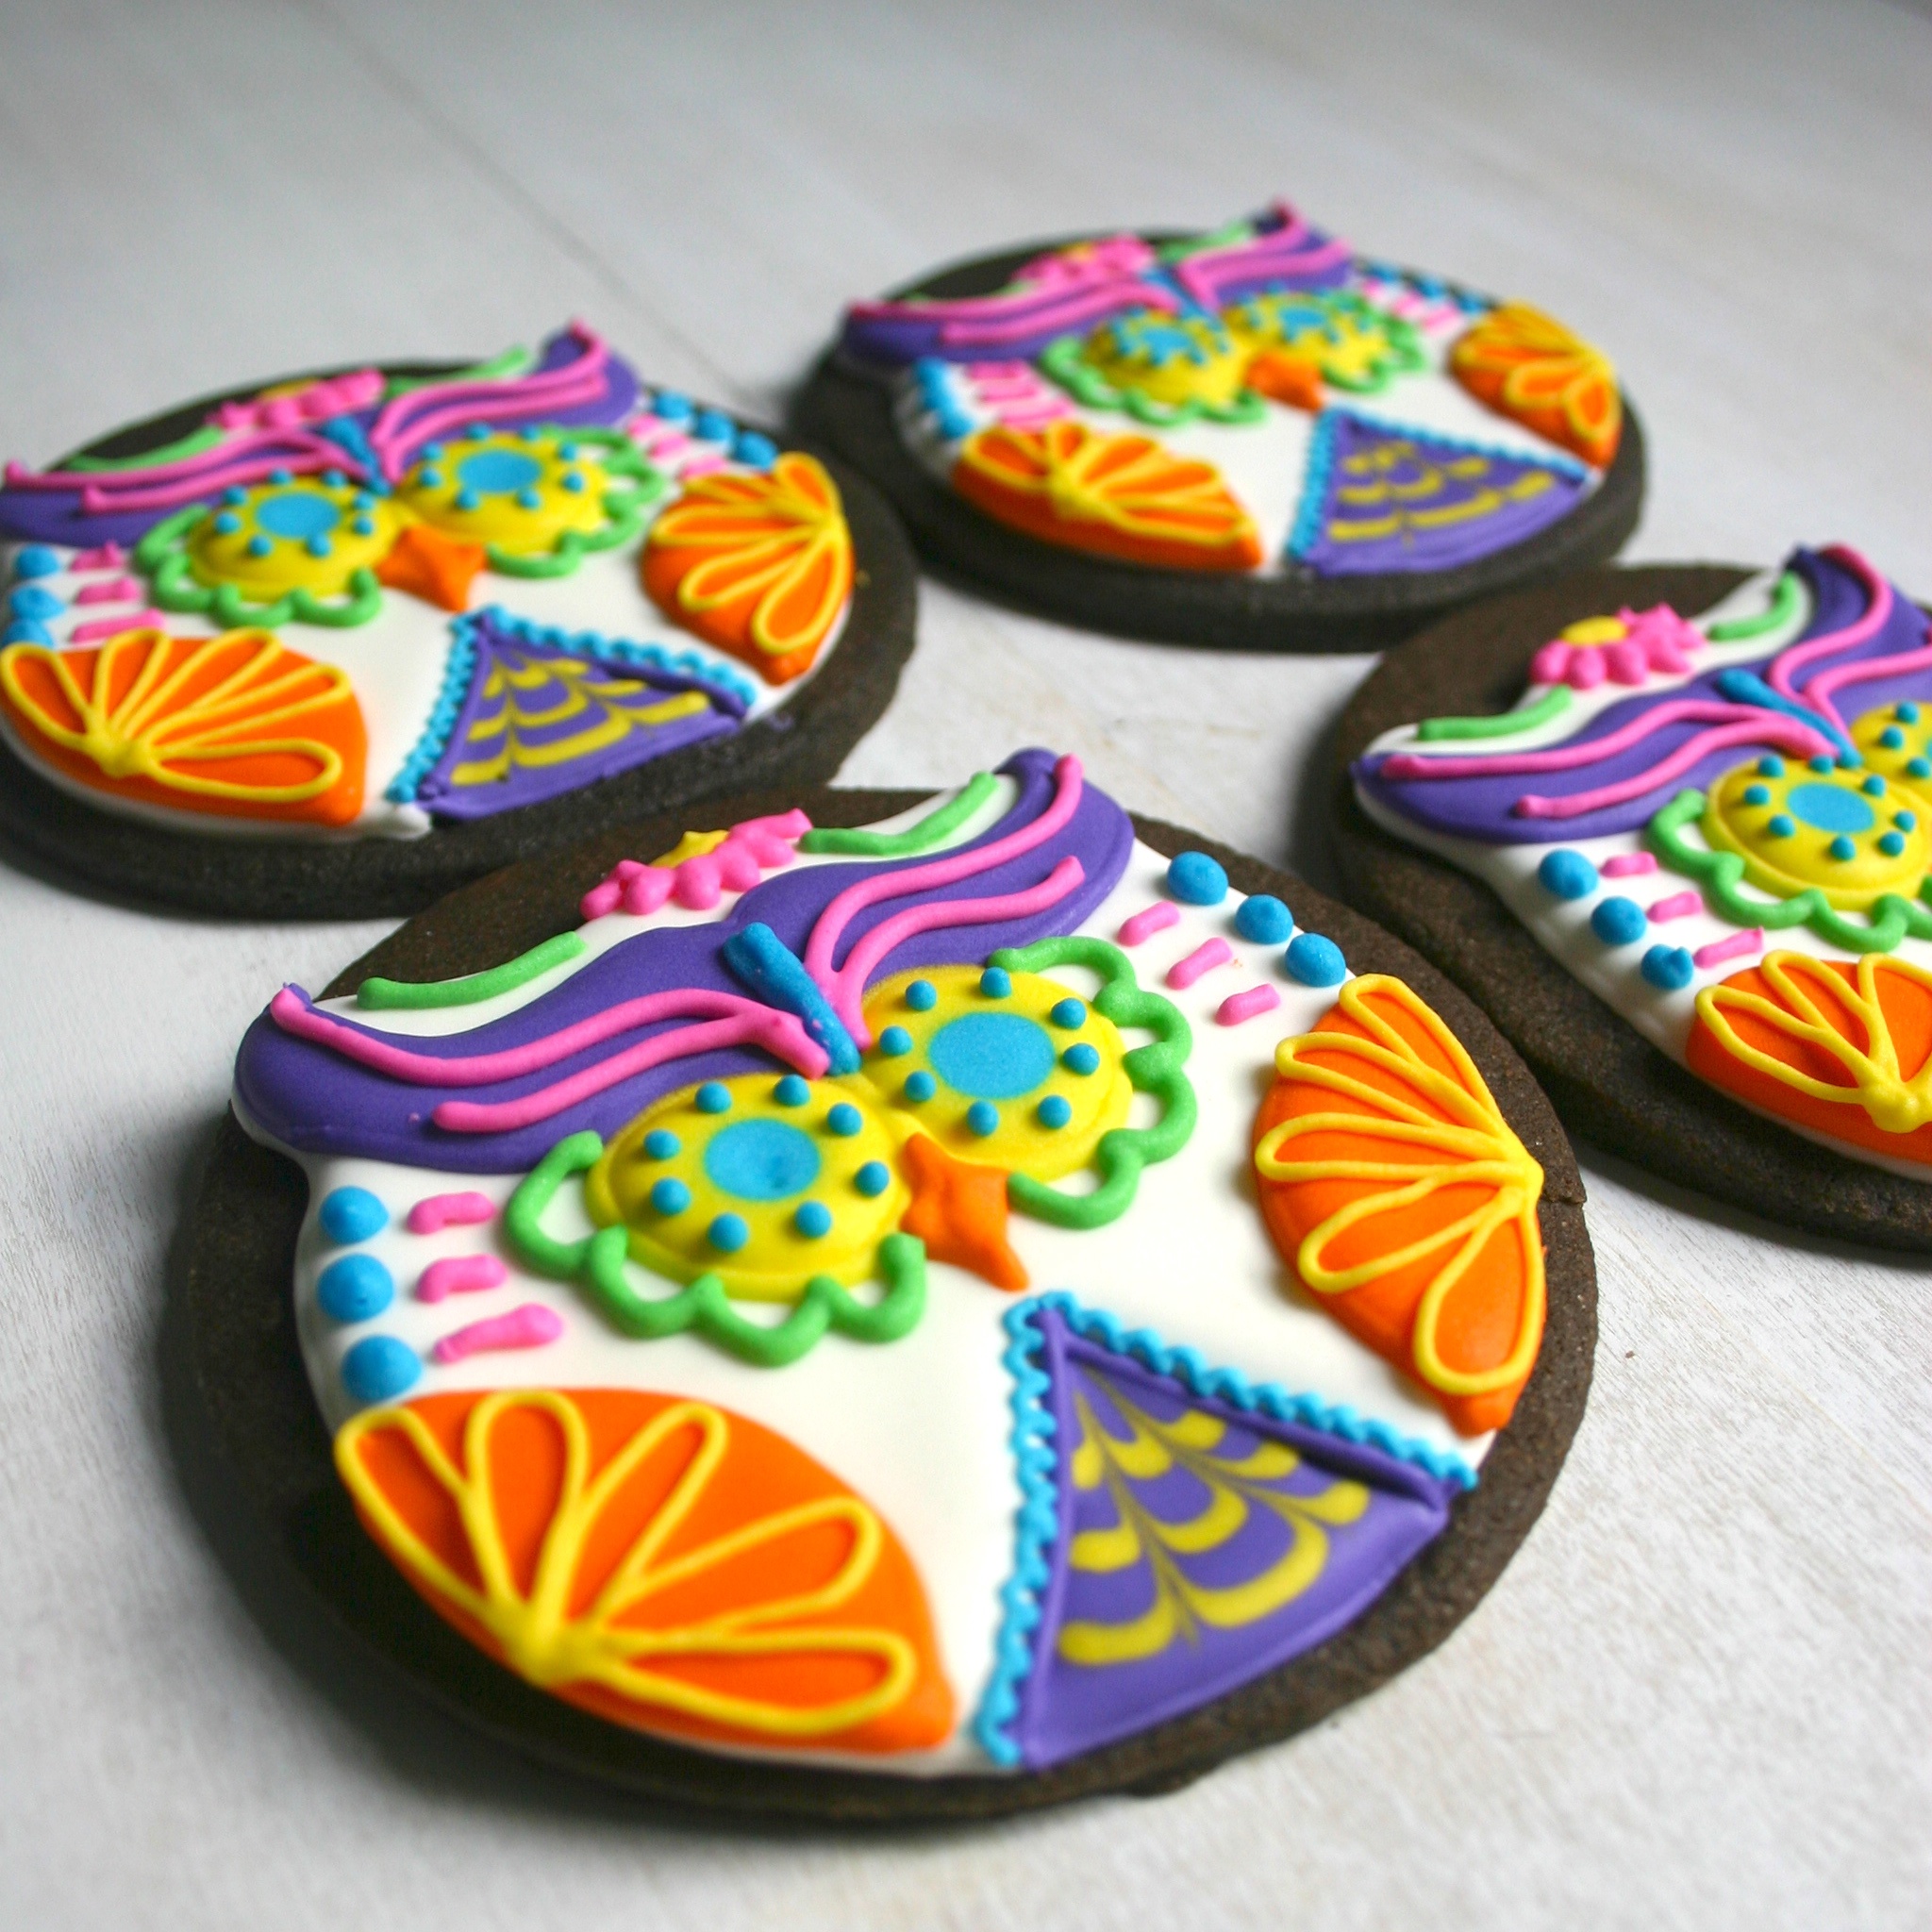
For more detail photos, check out the entire set in the Halloween Owl Tutorial set. And of course have a happy and safe Halloween!!

Tweet
These are amazing! Great tutorial!
ReplyDeleteThanks so much!
DeleteThese are an adorable alternative to spooky cookies at Halloween. Love it!
ReplyDeleteThanks so much!!
DeleteThese are incredible, I don't think I could ever bring myself to eat one!
ReplyDeleteThanks...that's why you make extras! This way you don't feel so badly eating them. Admittedly, I almost always save a cookie when I make ones I really like. I have a box of my favourites.
DeleteThese are so beautiful -- whoever gets one of your cookies is seriously lucky!
ReplyDeleteThank you so much! I have about 3 dozen of these sitting around my apartment because the Halloween party they were for was canceled due to the hurricane. I'm not quite sure who's going to be getting these now!
DeleteThis design is amazing. What a wonderful artist you are! Thank you for the tutorial.
ReplyDeleteThank you so much!!
DeleteHello! These are soooo freaking amazing!!! I would love to do these for a baby shower but she is going to have a boy. Any suggestions on what colors to use?
ReplyDeletethanks!
Thanks so much Silvana!! Maybe replace the purples and pinks with teal or another shade or blue? Or just go for a palette of all shades of greens, blues, and some yellow where you want things to pop.
Delete