

When I think of fall desserts I think of two things: Pumpkin and Apple. Apple is also one of the traditional foods for Rosh Hashanah. So I decided I was going to make a delicious apple cake using local apples (one of the many benefits of living in NY) for the holiday...only my family's party was canceled. But I found a recipe on Oh! Nuts' blog for a Rosh Hashanah Apple Crumb Cake that looked too good to not try. So this past Sunday I made it anyway! I replaced the flour in the crumbs and the cake with a mix of gluten free flours I thought might work out well. My guessing was right on because this cake is delicious. The cake is moist, but the apples are still firm and the crumble and walnuts add a nice crisp texture. This cake is perfect for all those apples you'll be bringing home from apple picking, and if you're really ambitious this recipe calls for applesauce...which if you still need something to make you can use homemade applesauce (I was not that ambitious. Well, actually I have not gone apple picking yet so maybe I will be once I come home with a few pounds of apples). This cake screams fall between the apples and the cinnamon. Plus it's best served warm...and if you're like my boyfriend, with homemade cinnamon maple whipped cream. It's the perfect cake to eat outside on a cool fall day.
Apple Crumble Cake
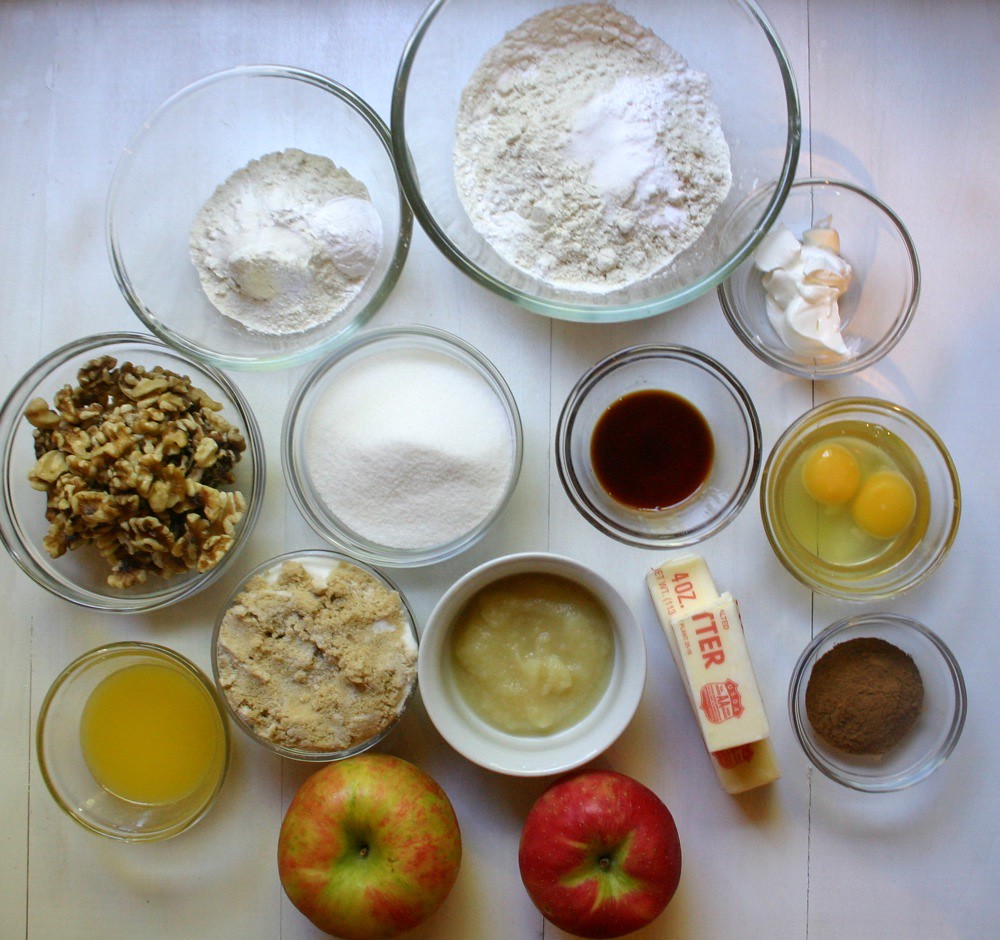
Ingredients for the Crumble
- 1 1/2 cups walnuts
- 2/3 cup packed light brown sguar
- 3 Tbsp granulated sugar
- 2 rounded tsp cinnamon (I use more than Oh! Nuts...I'm a huge cinnamon lover)
- 1/4 cup brown rice flour
- 1/4 cup sorghum flour
- 1 Tbsp tapioca flour
- 1/4 tsp xanthan gum
- 4 Tbsp unsalted butter, melted
- 1/2 tsp gluten free vanilla
- 2/3 cup packed light brown sguar
- 3 Tbsp granulated sugar
- 2 rounded tsp cinnamon (I use more than Oh! Nuts...I'm a huge cinnamon lover)
- 1/4 cup brown rice flour
- 1/4 cup sorghum flour
- 1 Tbsp tapioca flour
- 1/4 tsp xanthan gum
- 4 Tbsp unsalted butter, melted
- 1/2 tsp gluten free vanilla
Ingredients for the Cake
- 1 large Honey Crisp of Fuji Apple, and an extra just incase*
- 2 tsp lemon juice
- 2 large eggs, room temperature
- 3 Tbsp sour cream, room temperature
- 1/4 cup unsweetened applesauce, room temperature
- 2 tsp gluten free vanilla
- 1/2 cup brown rice flour
- 1/2 cup sorghum flour
- 1/2 cup sweet rice flour
- 1/4 cup tapioca flour
- 1/2 tsp xanthan gum
- 1 cup white sugar
- 1/2 tsp baking soda
- 1/2 tsp gluten free baking powder
- 1/4 tsp salt
- 2 tsp cinnamon
- 12 tbsp butter, room temperature
*My secret to baking with apples is using Honey Crisps (if in season like they are now) or Fuji's. They're firm so they hold up well being baked, and I find them to simply taste better than Granny Smith or Yellow Delicious.
This post is a little photo heavy because of the steps and the layering of the cake. So click "Read more" for the procedure.
- Preheat your oven to 350˚F and grease a 9'' springform pan (I use shortening...Pam is okay as long as there's no flour).
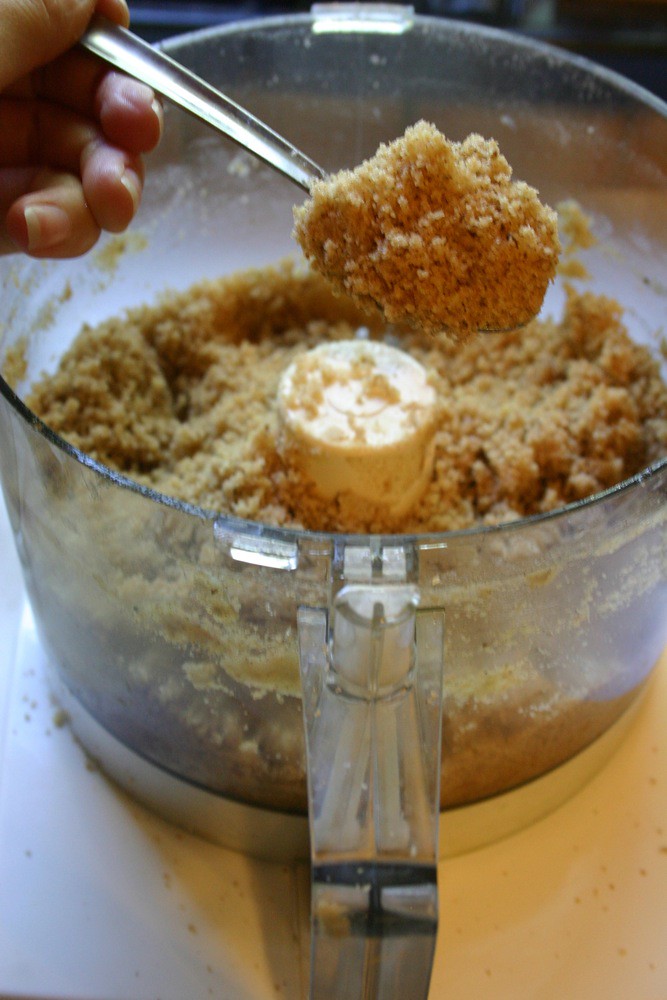
- First you need to make the crumble. In a food processor, add the walnuts, the brown sugar, the white sugar, and the cinnamon. Pulse until the walnuts are chopped up fine and the texture is coarse like sand. If you don't have a food processor you can do this in a mixer with a paddle attachment. Just chop up your walnuts first.
- Remove 3/4 cup of the mixture, and set it aside for now. This crumble is going to go in the middle of the cake as one of the layers.
- Add the flour, the melted butter, and the vanilla extract to the remaining crumbs are pulse until all the ingredients are blended. Make sure you scrape the sides so the butter gets evenly distributed and all the crumbs get moistened, which will form the fuller bodied crumbs for the top of the cake. Again, you can do this is a mixer. Transfer this to a bowl and refrigerate til use.
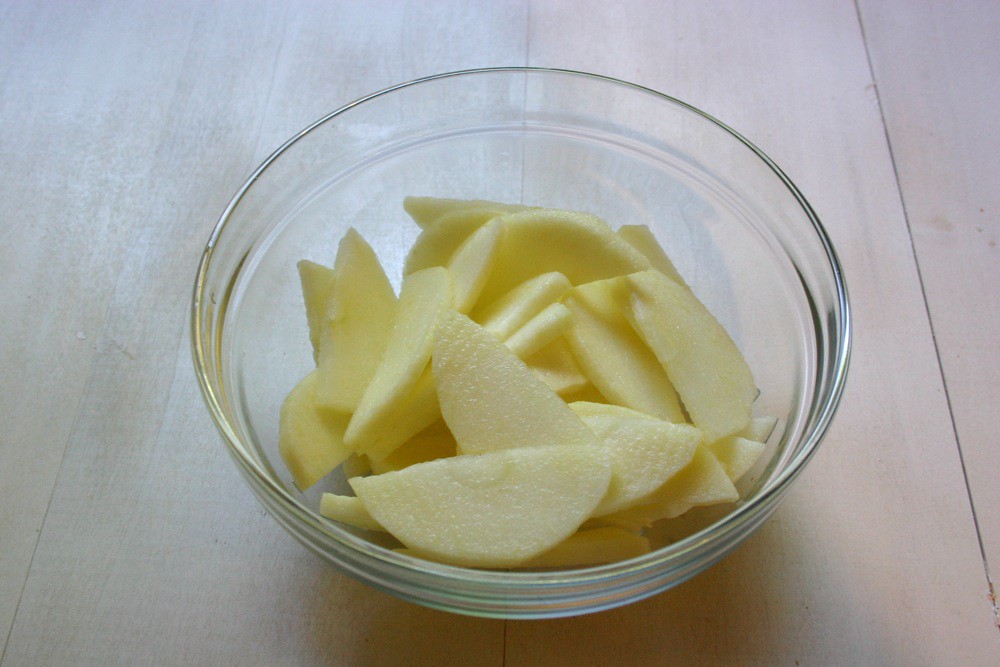
- Peel, core, and slice the apple. Try to cut it about 1/4'' thick or slightly less. Place them in a dish and toss them with lemon juice so they don't brown.
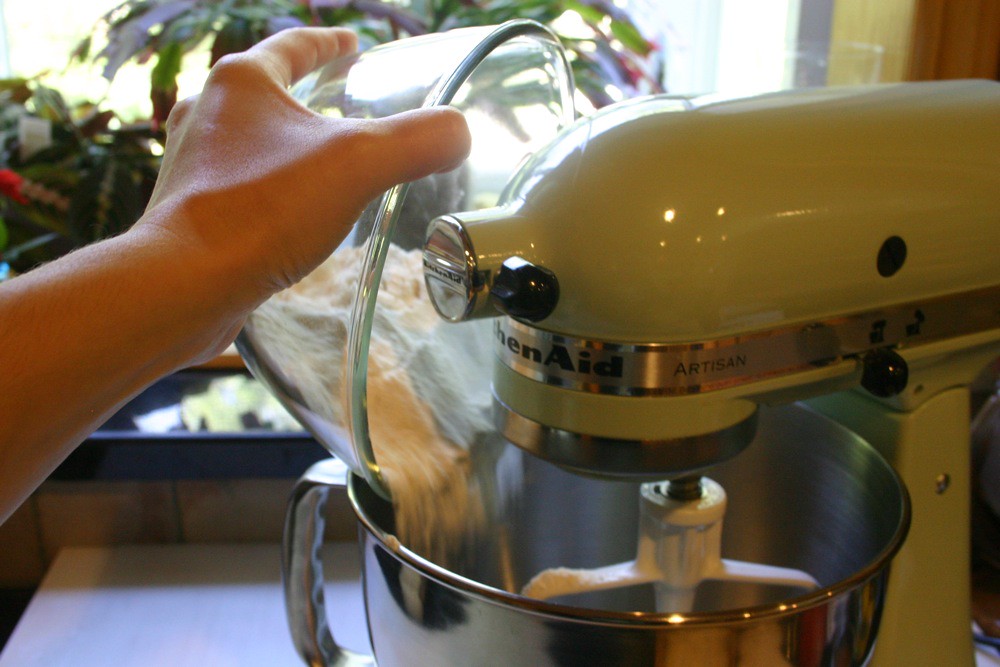
- In the bowl of a mixer, mix together all the flours, the xanthan gum, sugar, baking powder, baking soda, salt, and cinnamon. Mix them on low so each ingredient will be evenly distributed in the batter
- Add the butter in about 2 Tbsp chunks and the applesauce to the bowl of the stand mixer. Beat it on low until the butter and applesauce moisten the whole batter.
- Turn the speed to medium and beat for another few minutes. Scrape down the bowl to make sure you're mixing the batter evenly. At first, the batter may come together, almost form a ball. Keep beating it til it aerates more. It'll eventually come off the paddle and stick more to the bowl.
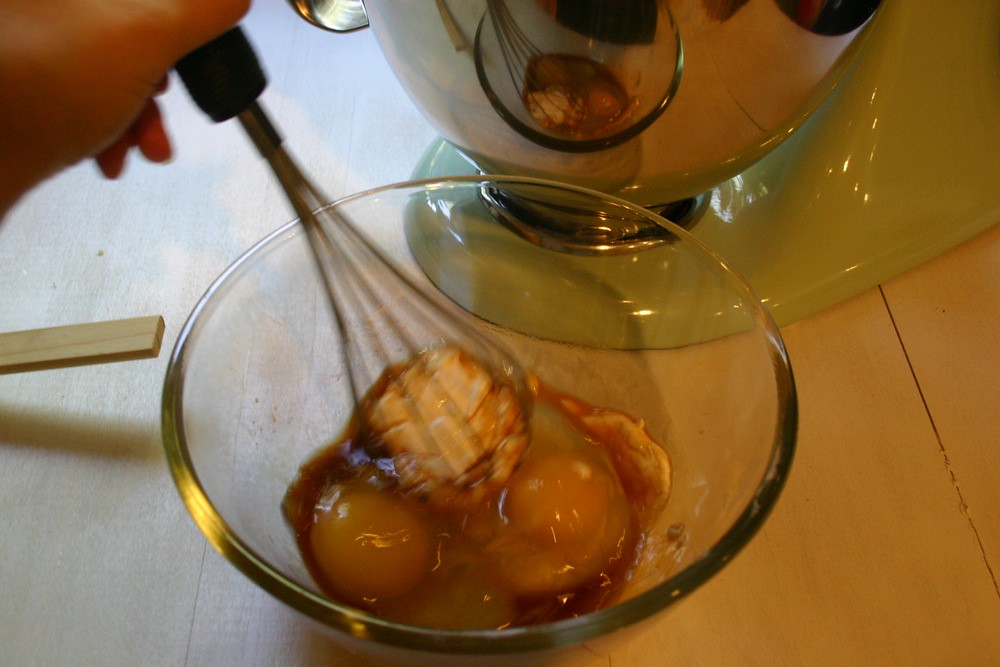
- Whisk together the eggs, sour cream, and vanilla until blended. Turn the mixer to low and add this mix to the bowl of the mixer. Add it slowly making sure it fulling incorporates. Mix until the batter is smooth, remembering to scrape down the sides a final time before finishing mixing.
- Now it's time to form the cake. Take your springform pan. The first layer is the batter. Pour about 2/3 of the mix into the bottom. You need to reserve the rest for another layer. Spread it evenly.
- Next you use the crumb from the first step that wasn't refrigerated. Spread it evenly over the layer of batter.
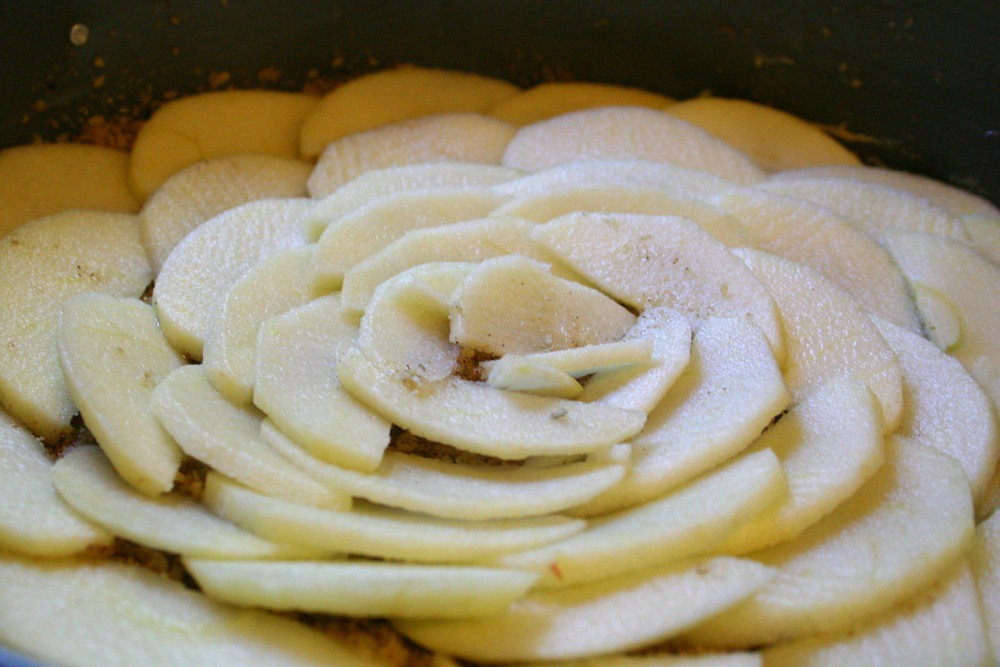
- Take your apple slices and layer them in concentric circles with the edges of each apple slightly overlapping. I used a medium apple up needing half of another small to fill the pan (which is why I said to have an extra just in case).
- Now pour the rest of the batter over the apples. It may not completely cover the apples but that's okay. The batter will expand during baking. Smooth it carefully, the apples may stick and peal out...if they do just stick them back in.
- Next it's time to partial bake the cake. You do before adding the top crumbs. Bake it for 35 minutes, turning halfway if you oven bakes unevenly.
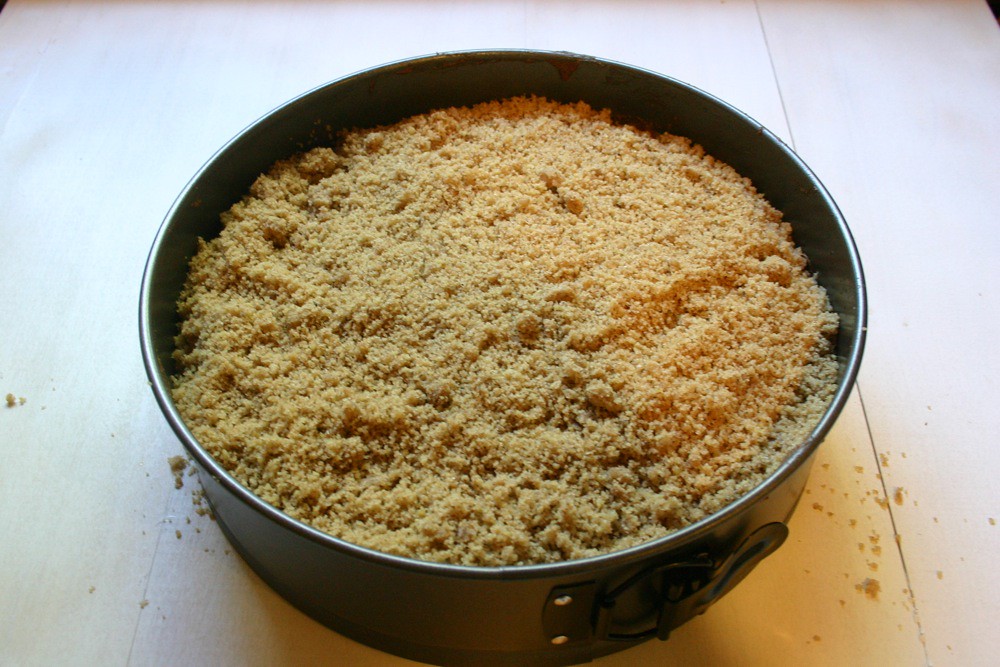
- After the 35 minutes, take it out of the oven and add the crumb mixture from the fridge. Sprinkle it over the top of the cake. I like to leave some larger crumbs for varying texture, but you can break them up if you like.
- Return the cake to the oven for another 20-30 minutes until a toothpick comes out mostly clean with maybe just a few crumbs clinging to it but not batter. I did 15 minutes, turned, and another 5 minutes.
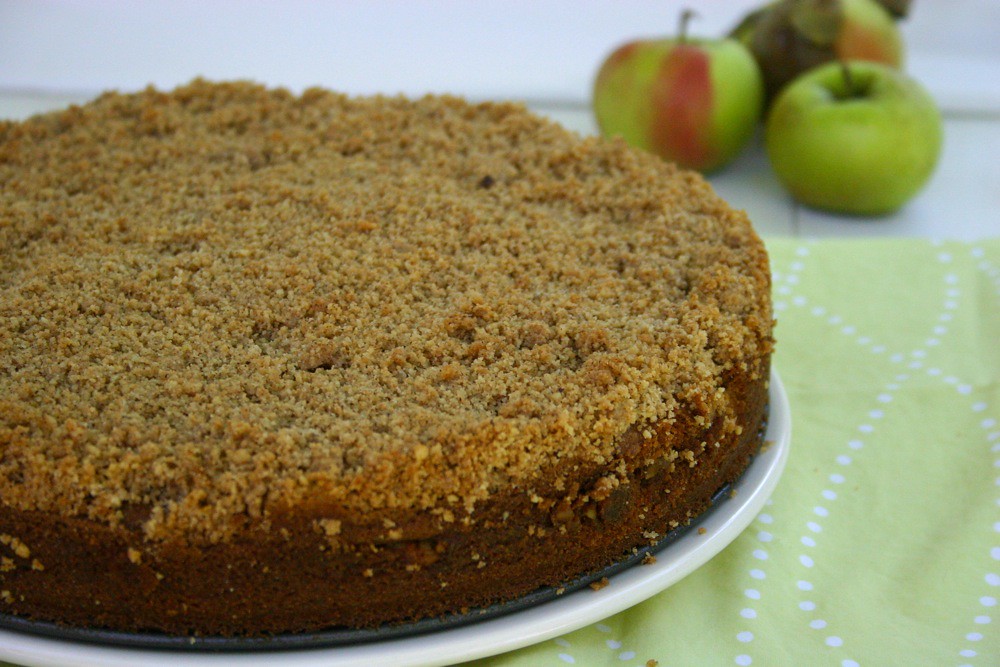
- Remove from oven and let the cake cool completely. Run a knife along the edge of the pan to help against any sticking. Release the springform and lift the sides off the pan. Now you're ready to serve it.
This cake holds well as leftovers. I've had it in the fridge in a sealed container for two days and it's still delicious. Best to warm it up for 40-60 seconds (depending on the size of the slice and how warm you like it). It was great with a dollop of whipped cream. I made maple cinnamon whipped cream by sweetening heavy cream with maple syrup to taste and adding a few dashes of cinnamon. If caramel is your thing (it's not mine...I know...people tell me there's something wrong with me), I'm sure this would be delicious drizzled with some caramel. Anyway you eat it, I'm sure you'll savor every bite.

wow great!!! delious
ReplyDeleteThe most amazing pie! Can't believe it's gluten free. You're a magician in the kitchen Jes.
ReplyDeletevvvv: Thank you! If you make it I hope you enjoy it as much as I did!
ReplyDelete1dragonfly: Glad to always share =) Think I'm finally making being gluten free for desserts be just as good if not better than "normal." Now I just need to bring it into my savory dishes more.
congrats for ths site, I love it, I always take the time to read and do something! :)
ReplyDeleteHello nnice blog
ReplyDelete