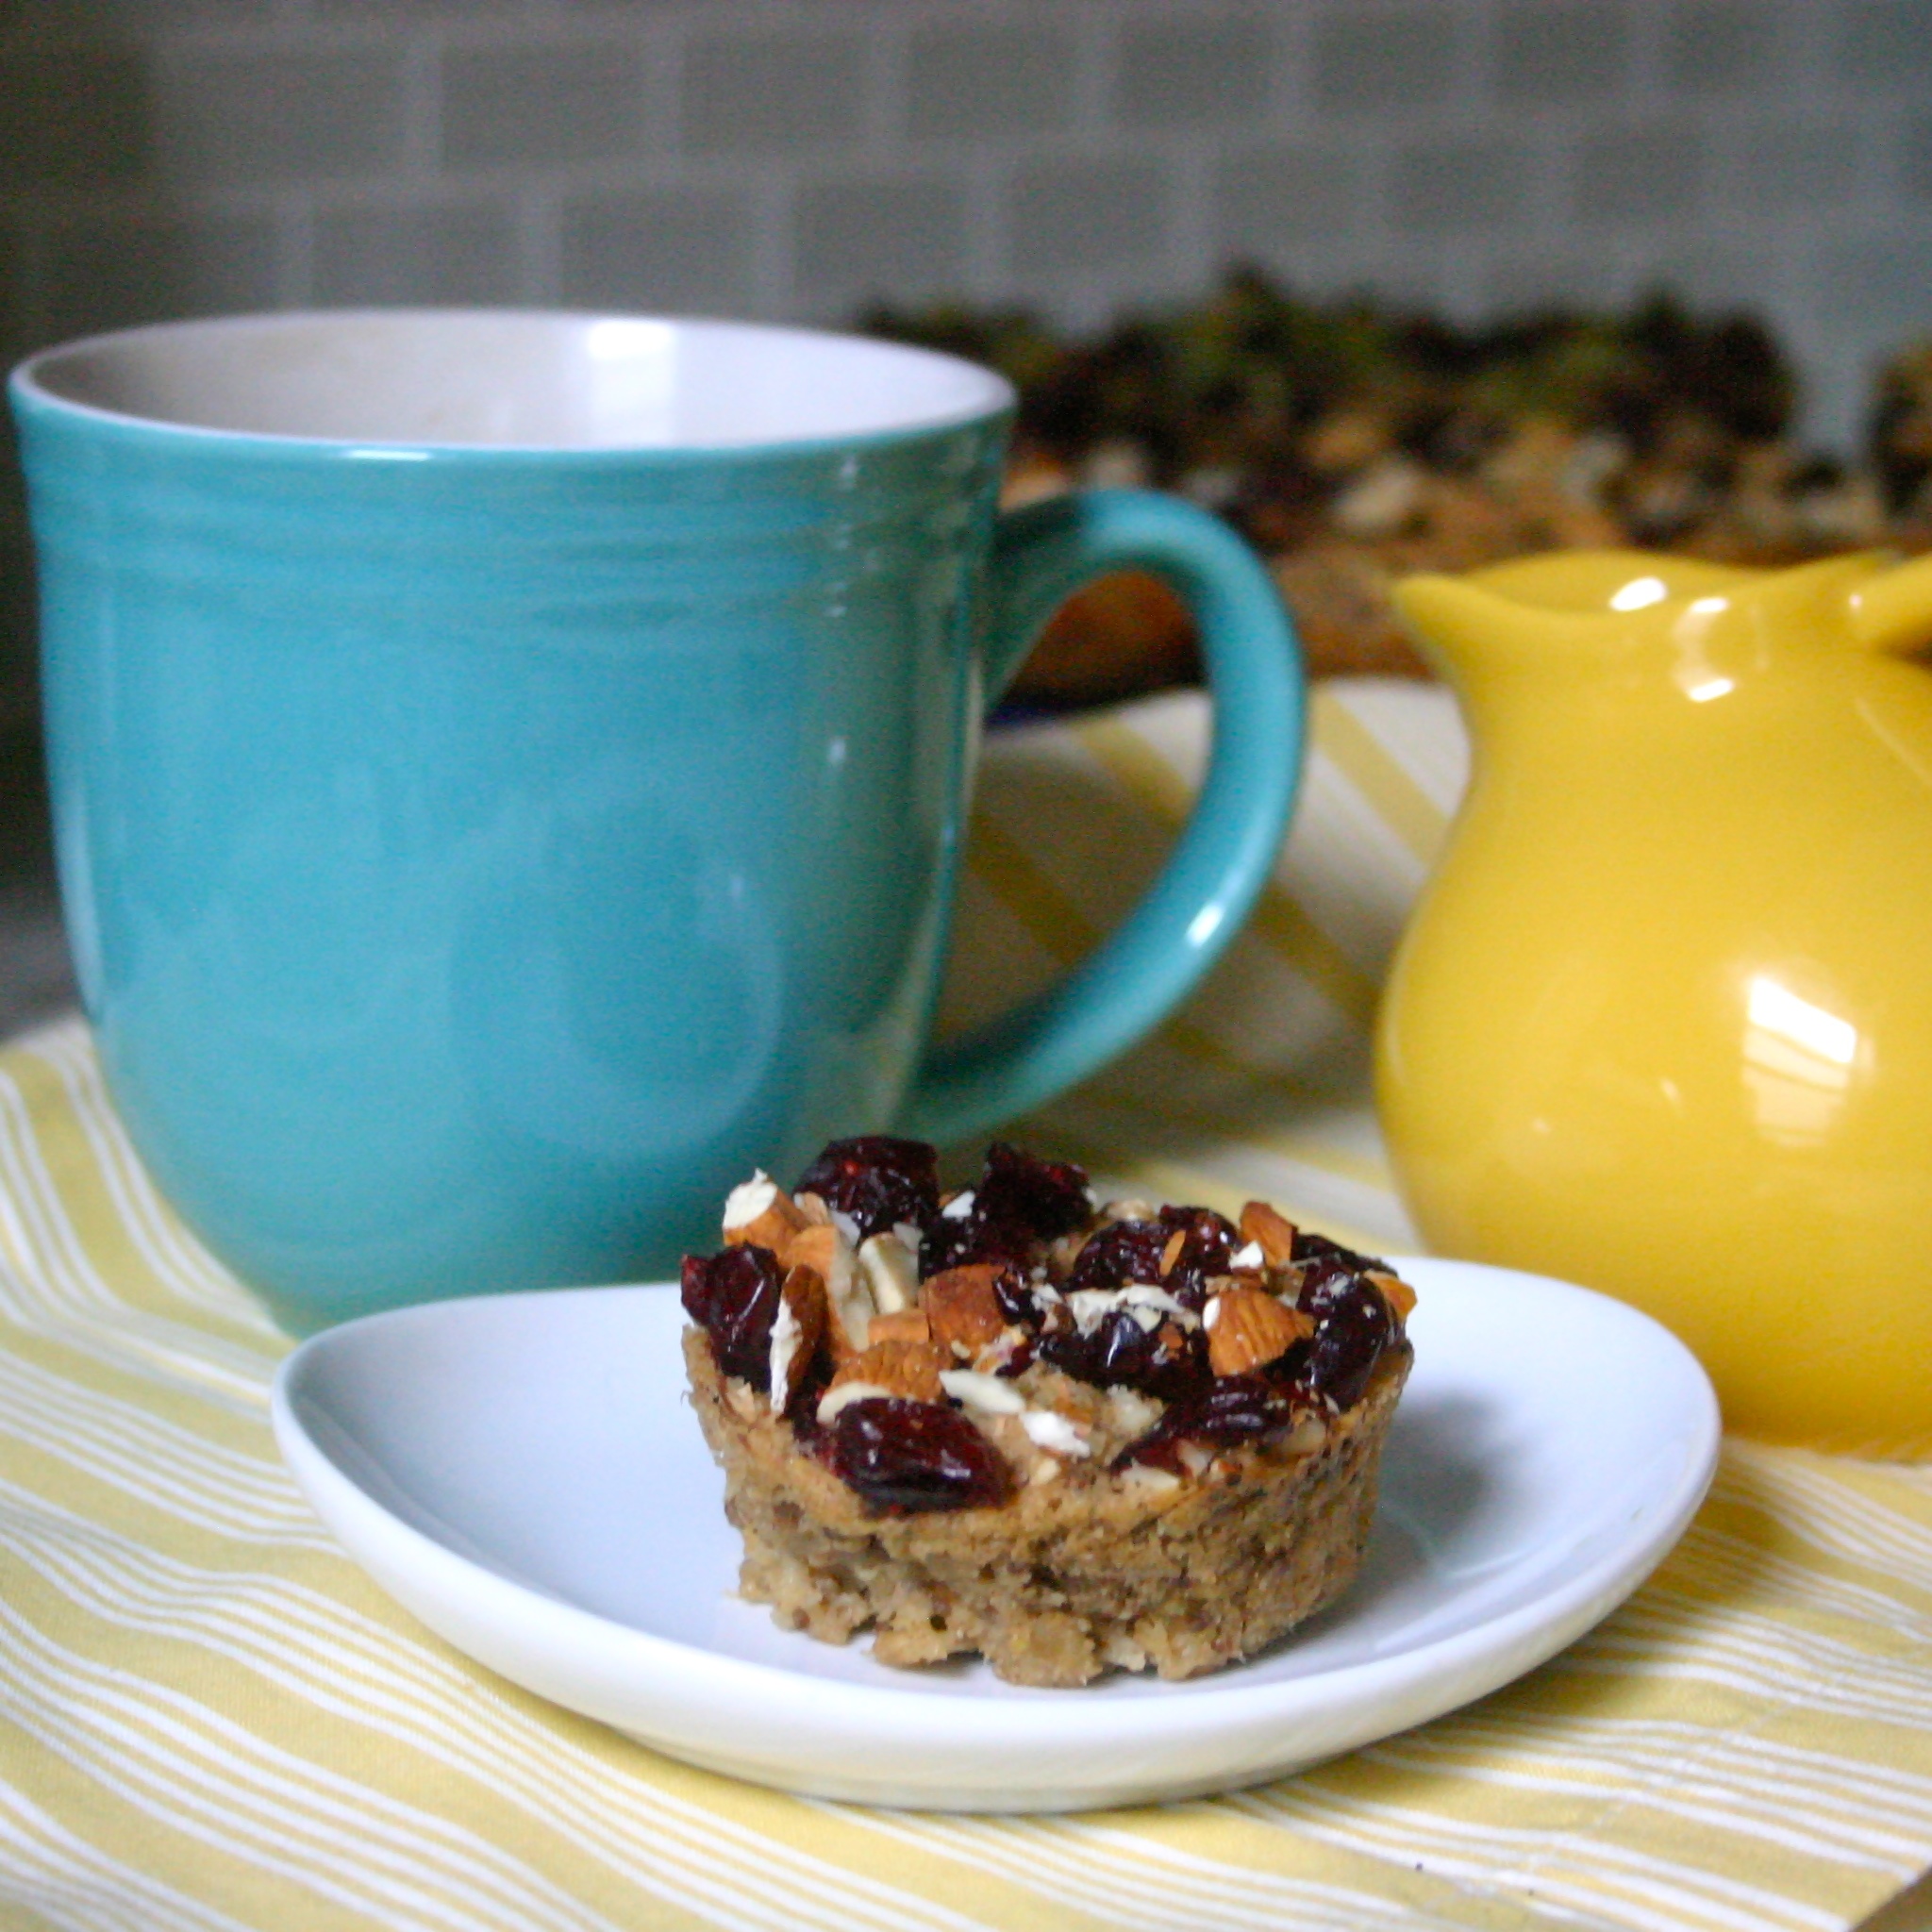
So last month I got tested for celiac (negative! But I still want to be mostly gluten free because I just personally feel better when I don't eat gluten). The hardest part is cutting out things that I had started eating daily during the two months before testing. One of those things is granola bars. They're just so easy and convenient to carry around except most of them have some form of gluten, soy, or dairy in them. I just started using Pinterest and I saw a pin of Personal Sized Bake Oatmeal from Sugar-Free Mom and was inspired to use these to replace granola bars! I made them in cupcake pans not muffin tins and got 3 1/2 dozen little oatmeal cups out of it! That's part of my lunch for 42 days. Not only is it going to cut granola bars and help cut soy, dairy, and gluten back out of my diet, but it'll probably save me a lot of money too! I made fourteen different varieties too to try new flavors and so I don't get tired of them. I use Chia Seeds in them which have lots of Omega 3 fatty acids, protein, antioxidants and much more. I topped them chopped nuts and fruits to add to add more protein and for more energy. So if you try these get creative with your toppings and see how many different varieties you can make!
Individual Baked Oatmeal Cups
Recipe adapted from Sugar Free Mom
Makes 3 1/2 dozen individual baked oatmeal cups in cupcake pans, or about 1 1/2 dozen in muffin pans
Print Recipe
Makes 3 1/2 dozen individual baked oatmeal cups in cupcake pans, or about 1 1/2 dozen in muffin pans
Print Recipe
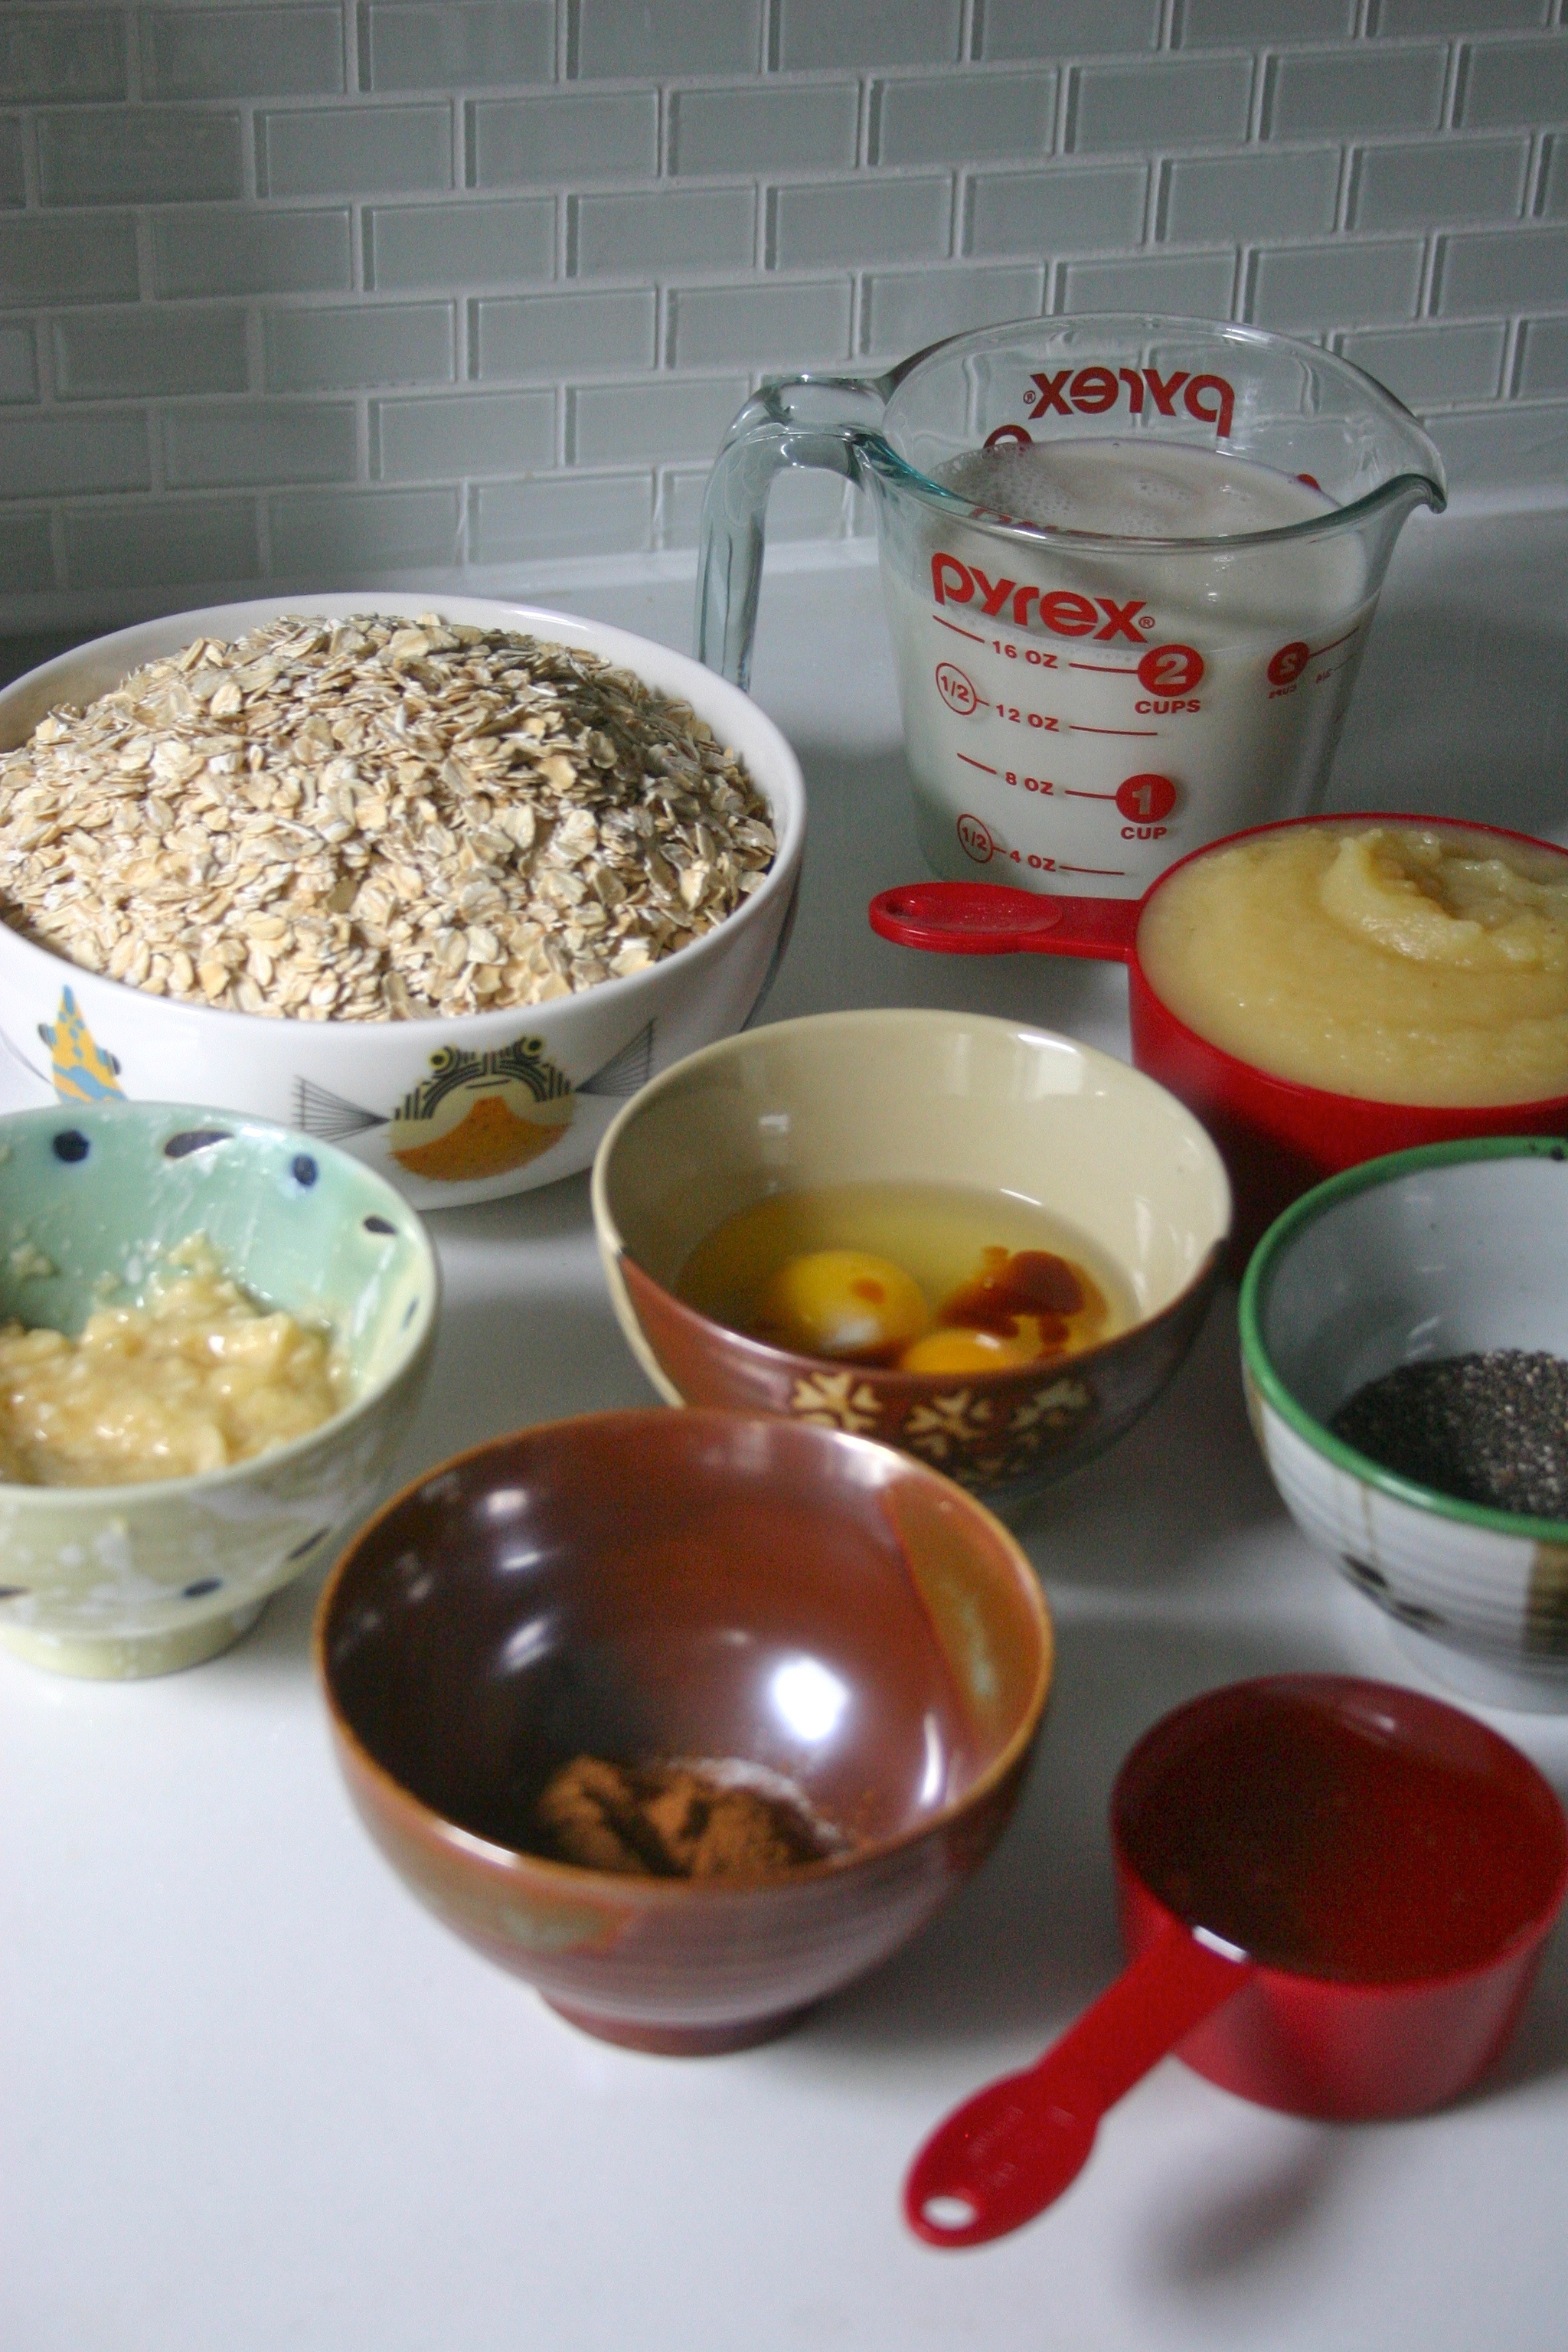
Ingredients
- 2 large eggs
- 2 cups unsweetened applesauce
- 5 cups rolled oats (gluten free)
- 1/4 cup chia seeds
- 1 banana, mashed
- 2 1/2 cups almond milk (or milk of choice)
- 1/2 cup of honey
- 1 Tbsp cinnamon
- 1 tsp vanilla, gluten free
- 3 tsp baking powder, gluten free
- 1 tsp salt
- toppings of choice: dried cranberries, chopped almonds, peanut butter, chocolate chips etc.
Preheat oven to 350˚F. Line cupcake pan with liners or grease pan. I was out of cupcake liners, so I cut little parchment circles and placed them in each cup after greasing it with canola oil. This helped the oatmeal to be removed cleanly and easily from the pans. You can use cooking spray, just make sure it has no flour if doing this recipe to be gluten free.
Mix the eggs, vanilla, banana, apple sauce, and honey together in a bowl.
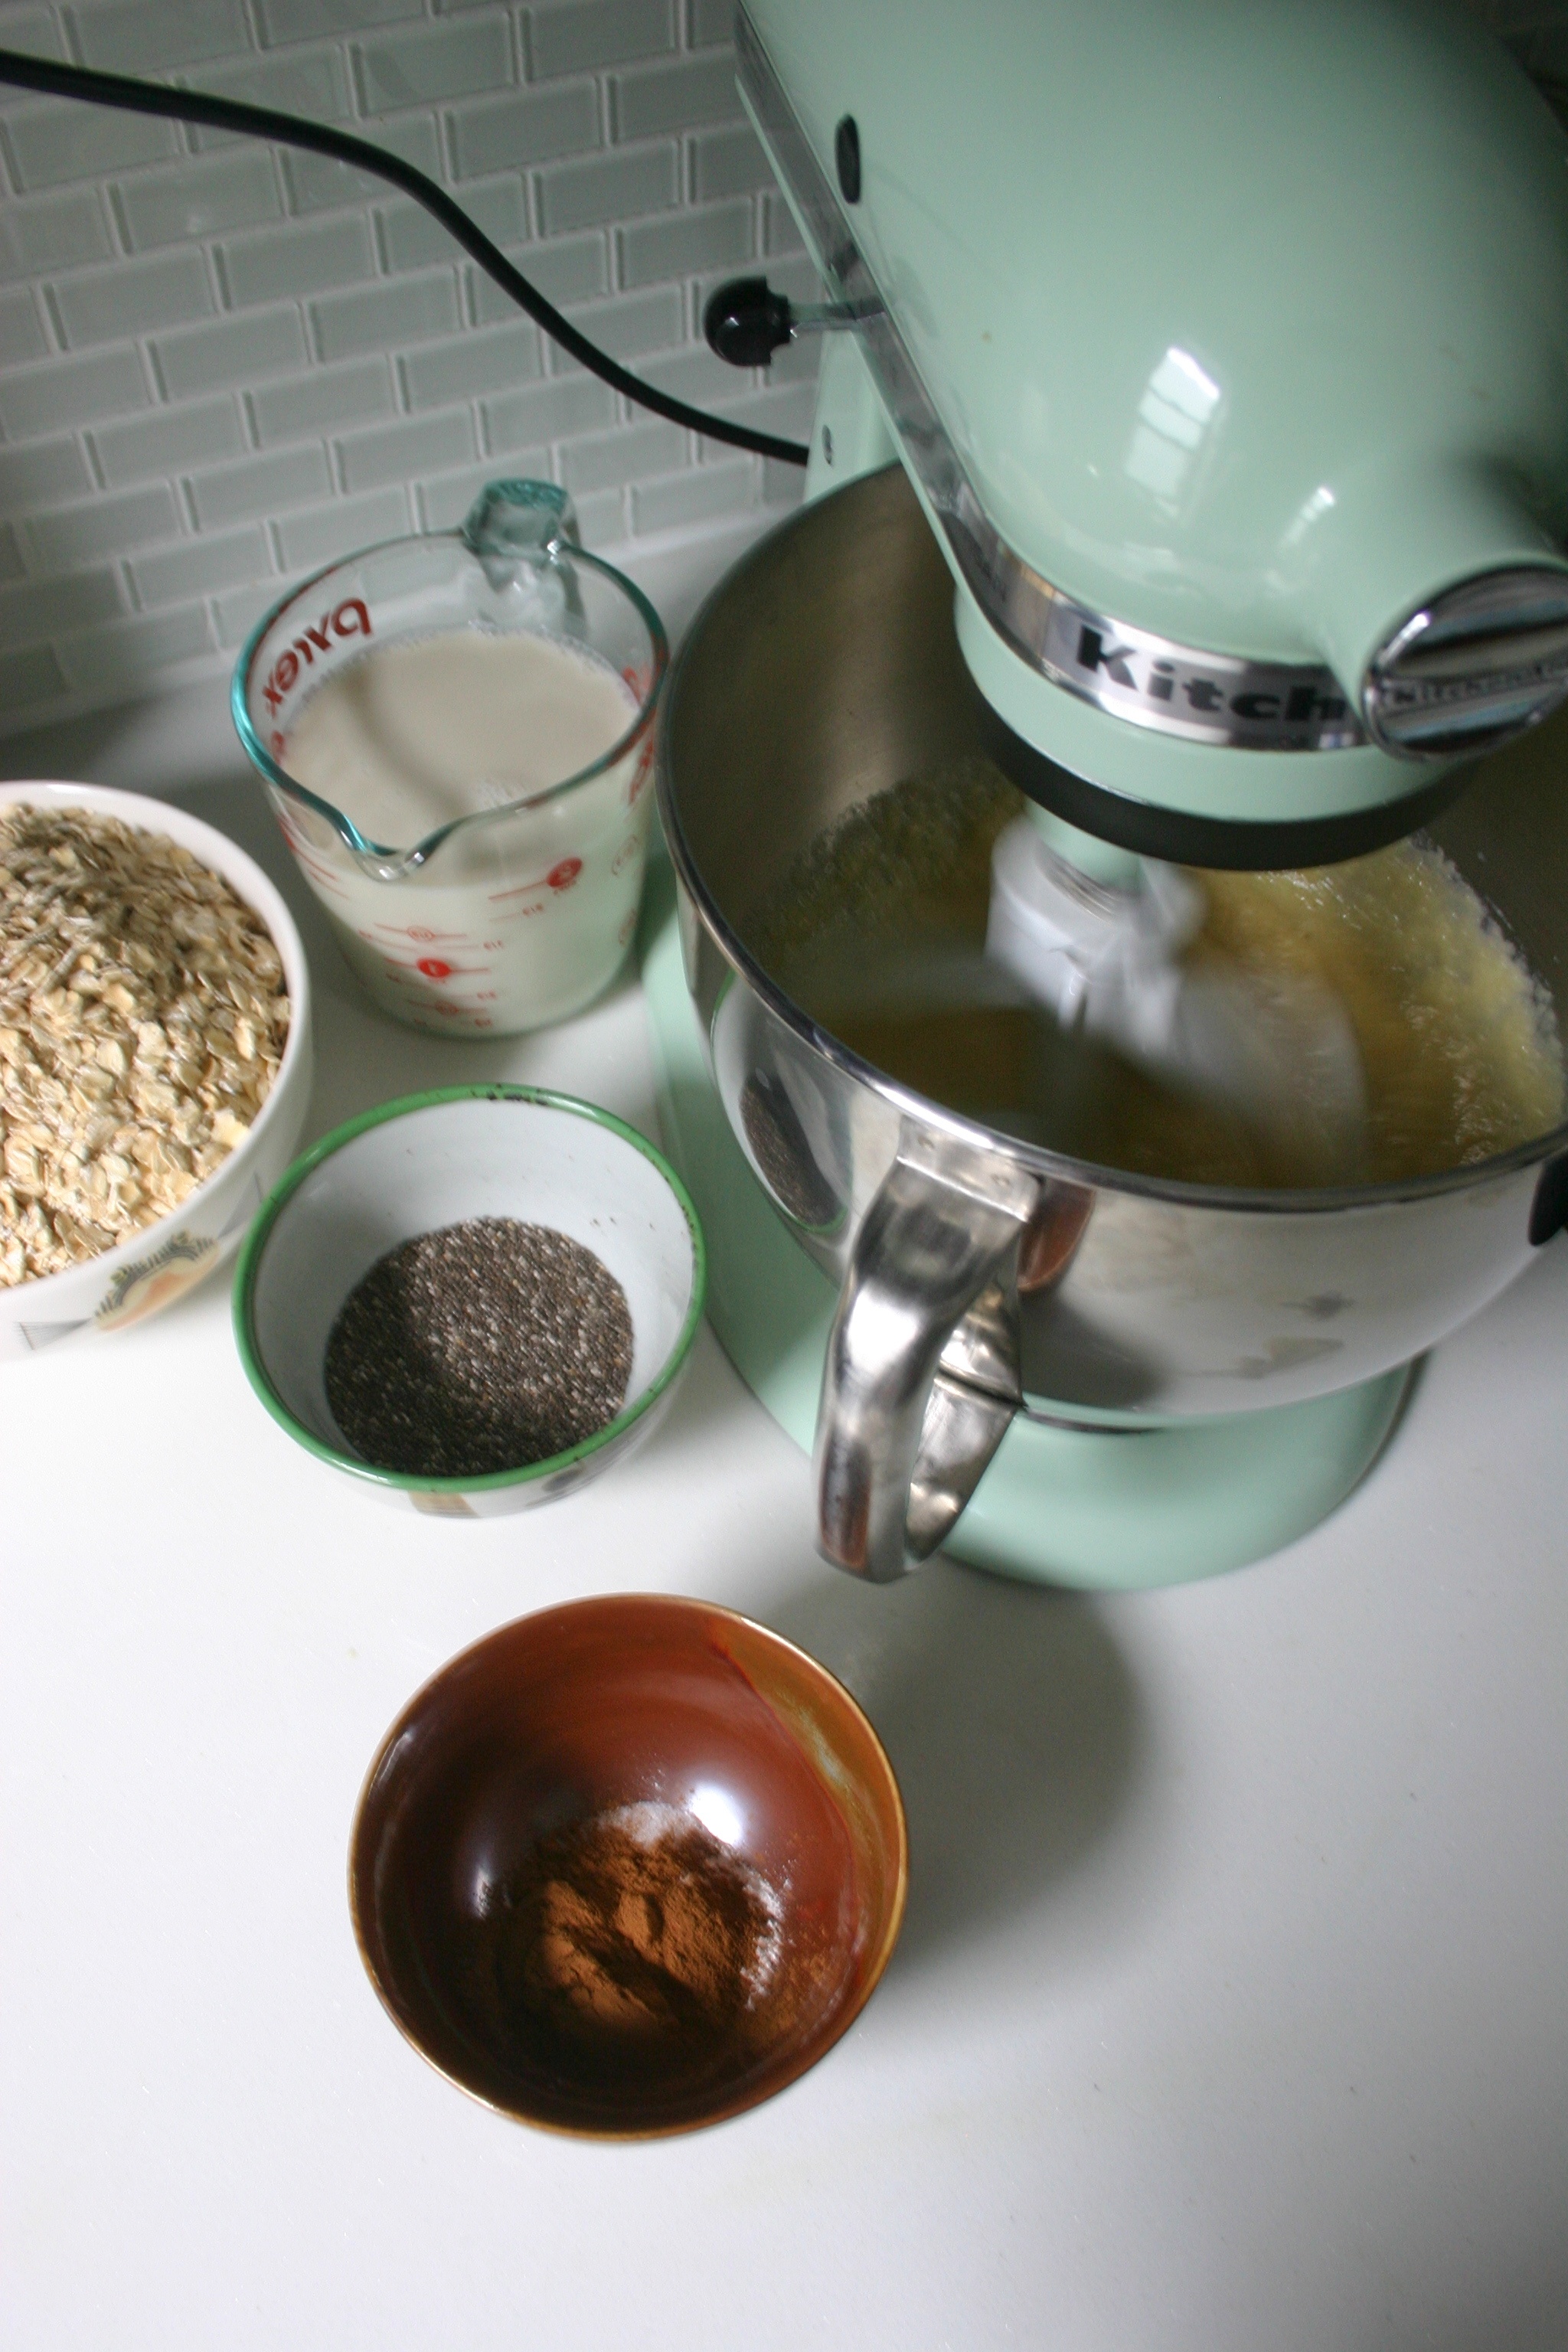
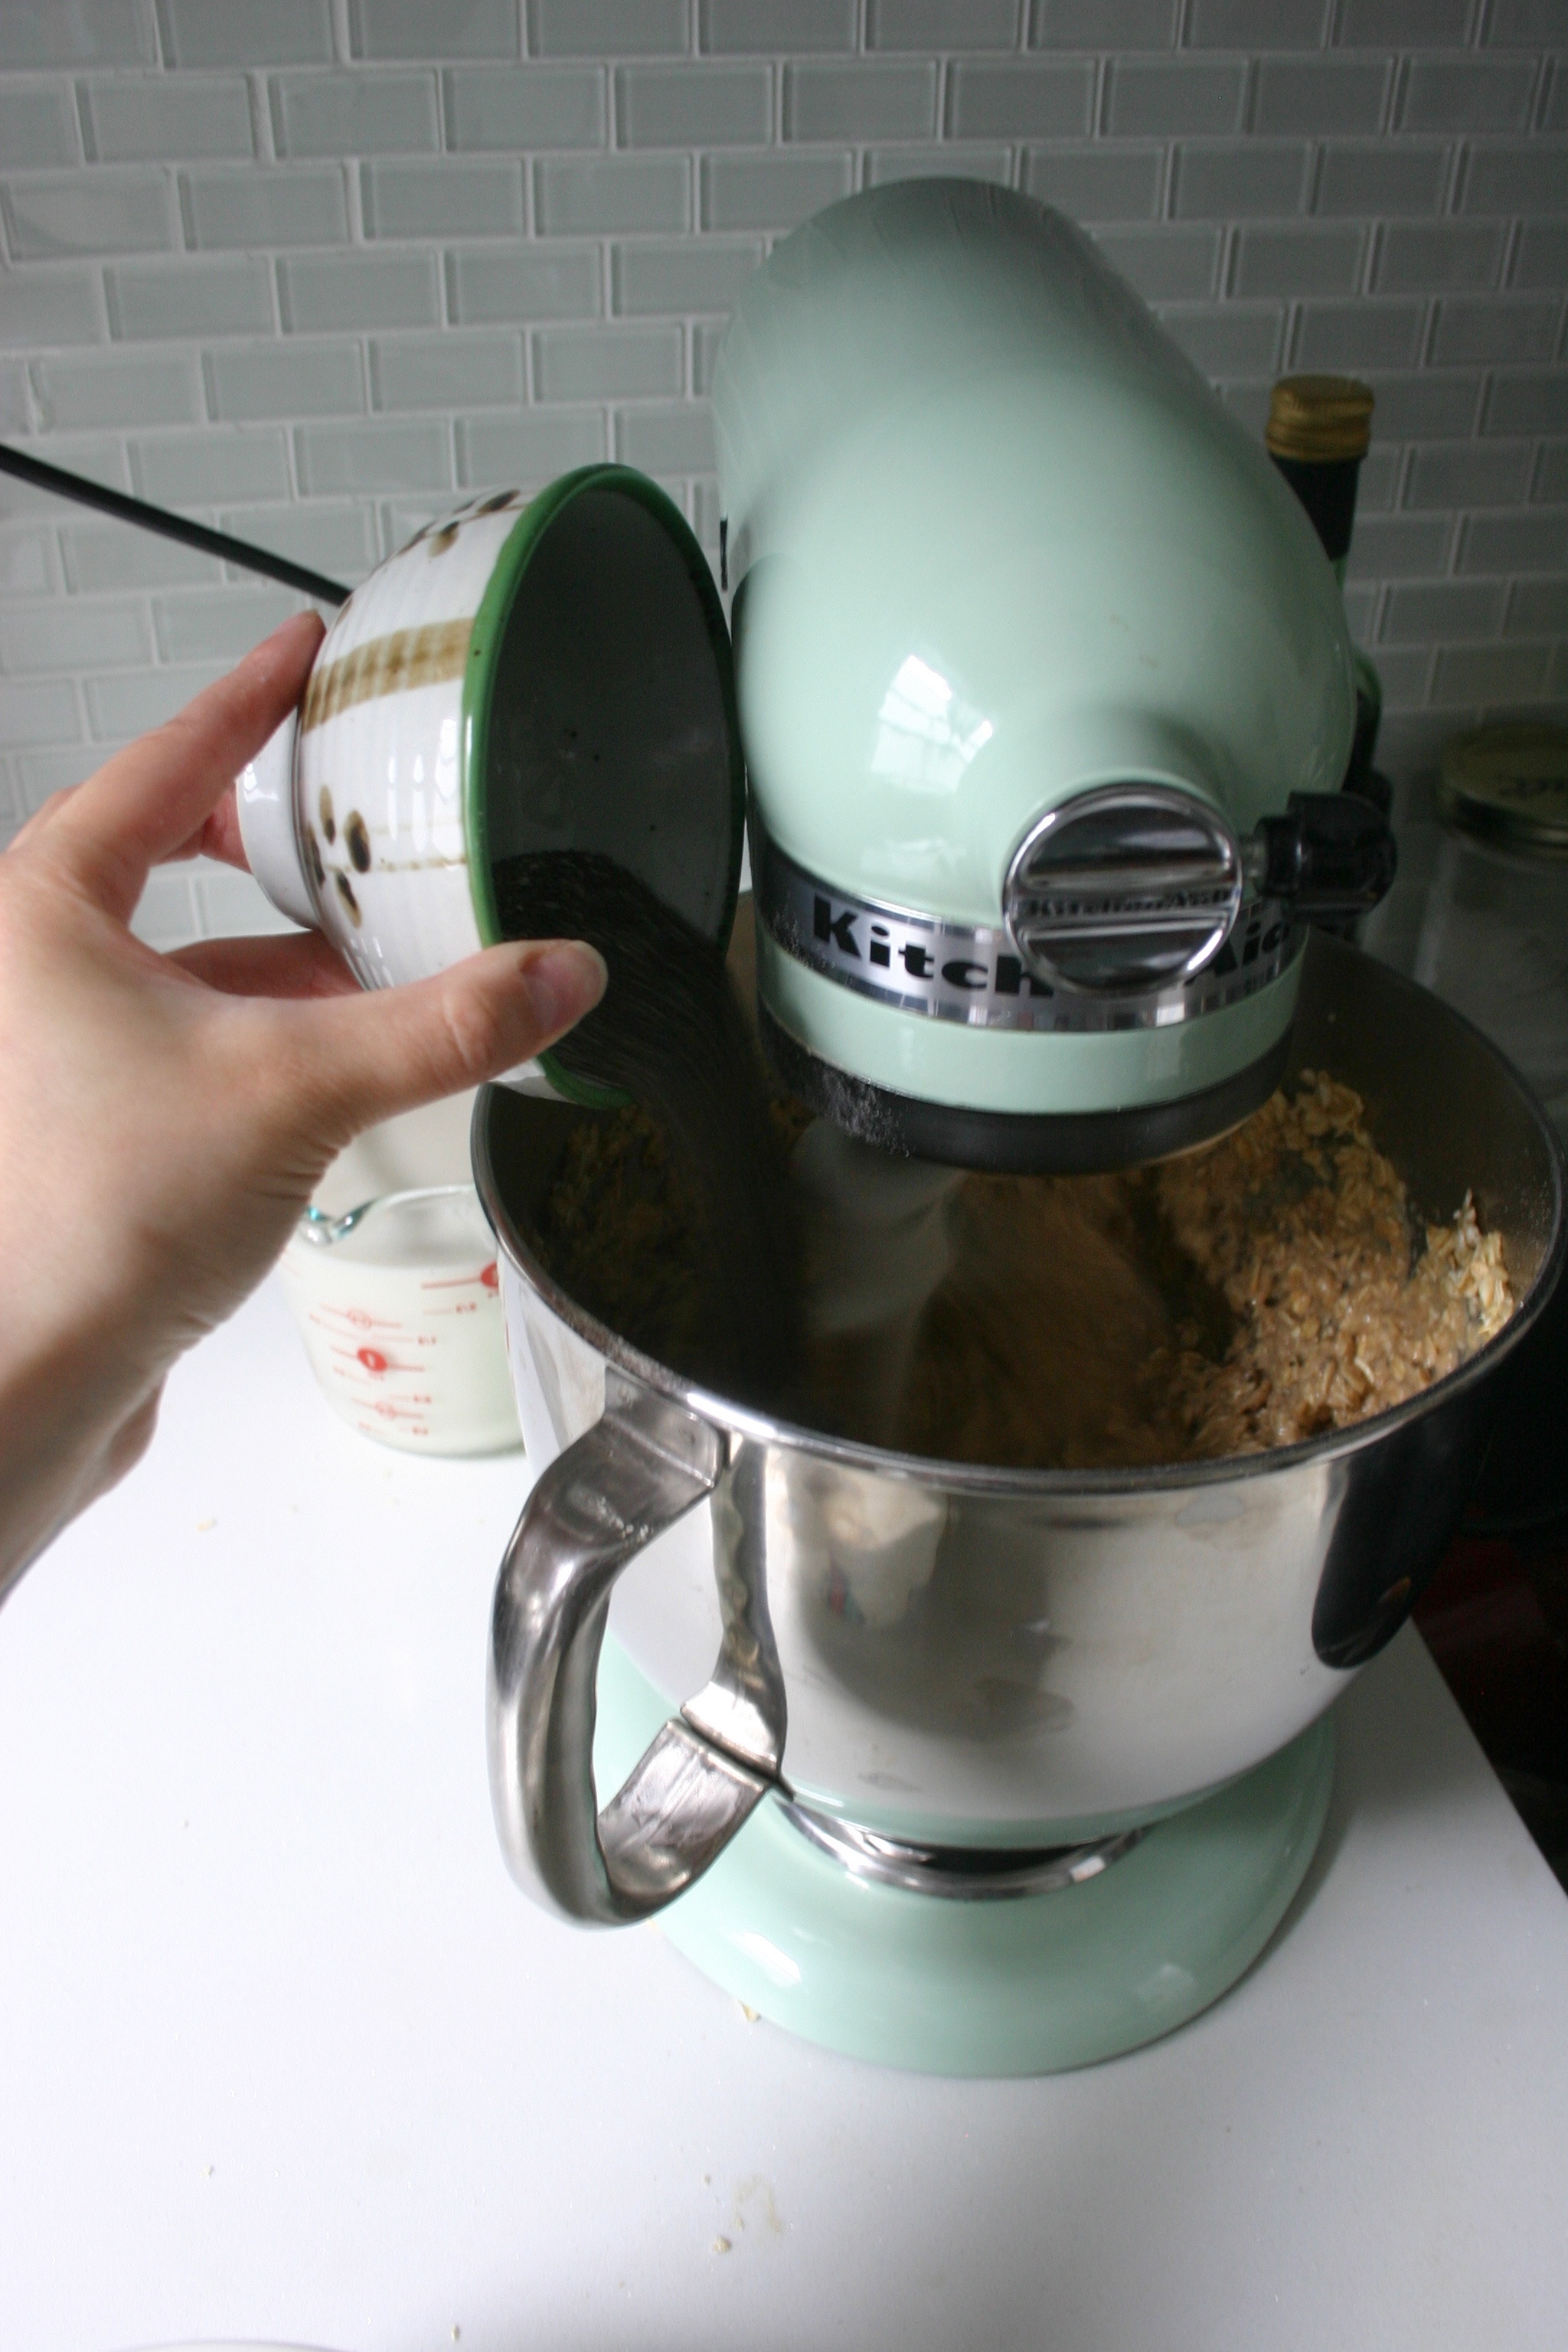
NOTE: You don't have to use a mixer for this recipe. I did because I still haven't brought my mixing bowls over from my old place and my mixer is the only thing big enough to hold the recipe. (side note: first new post in my new apartment! How nice of a coincidence is it that my mixer matches the backsplash!!)
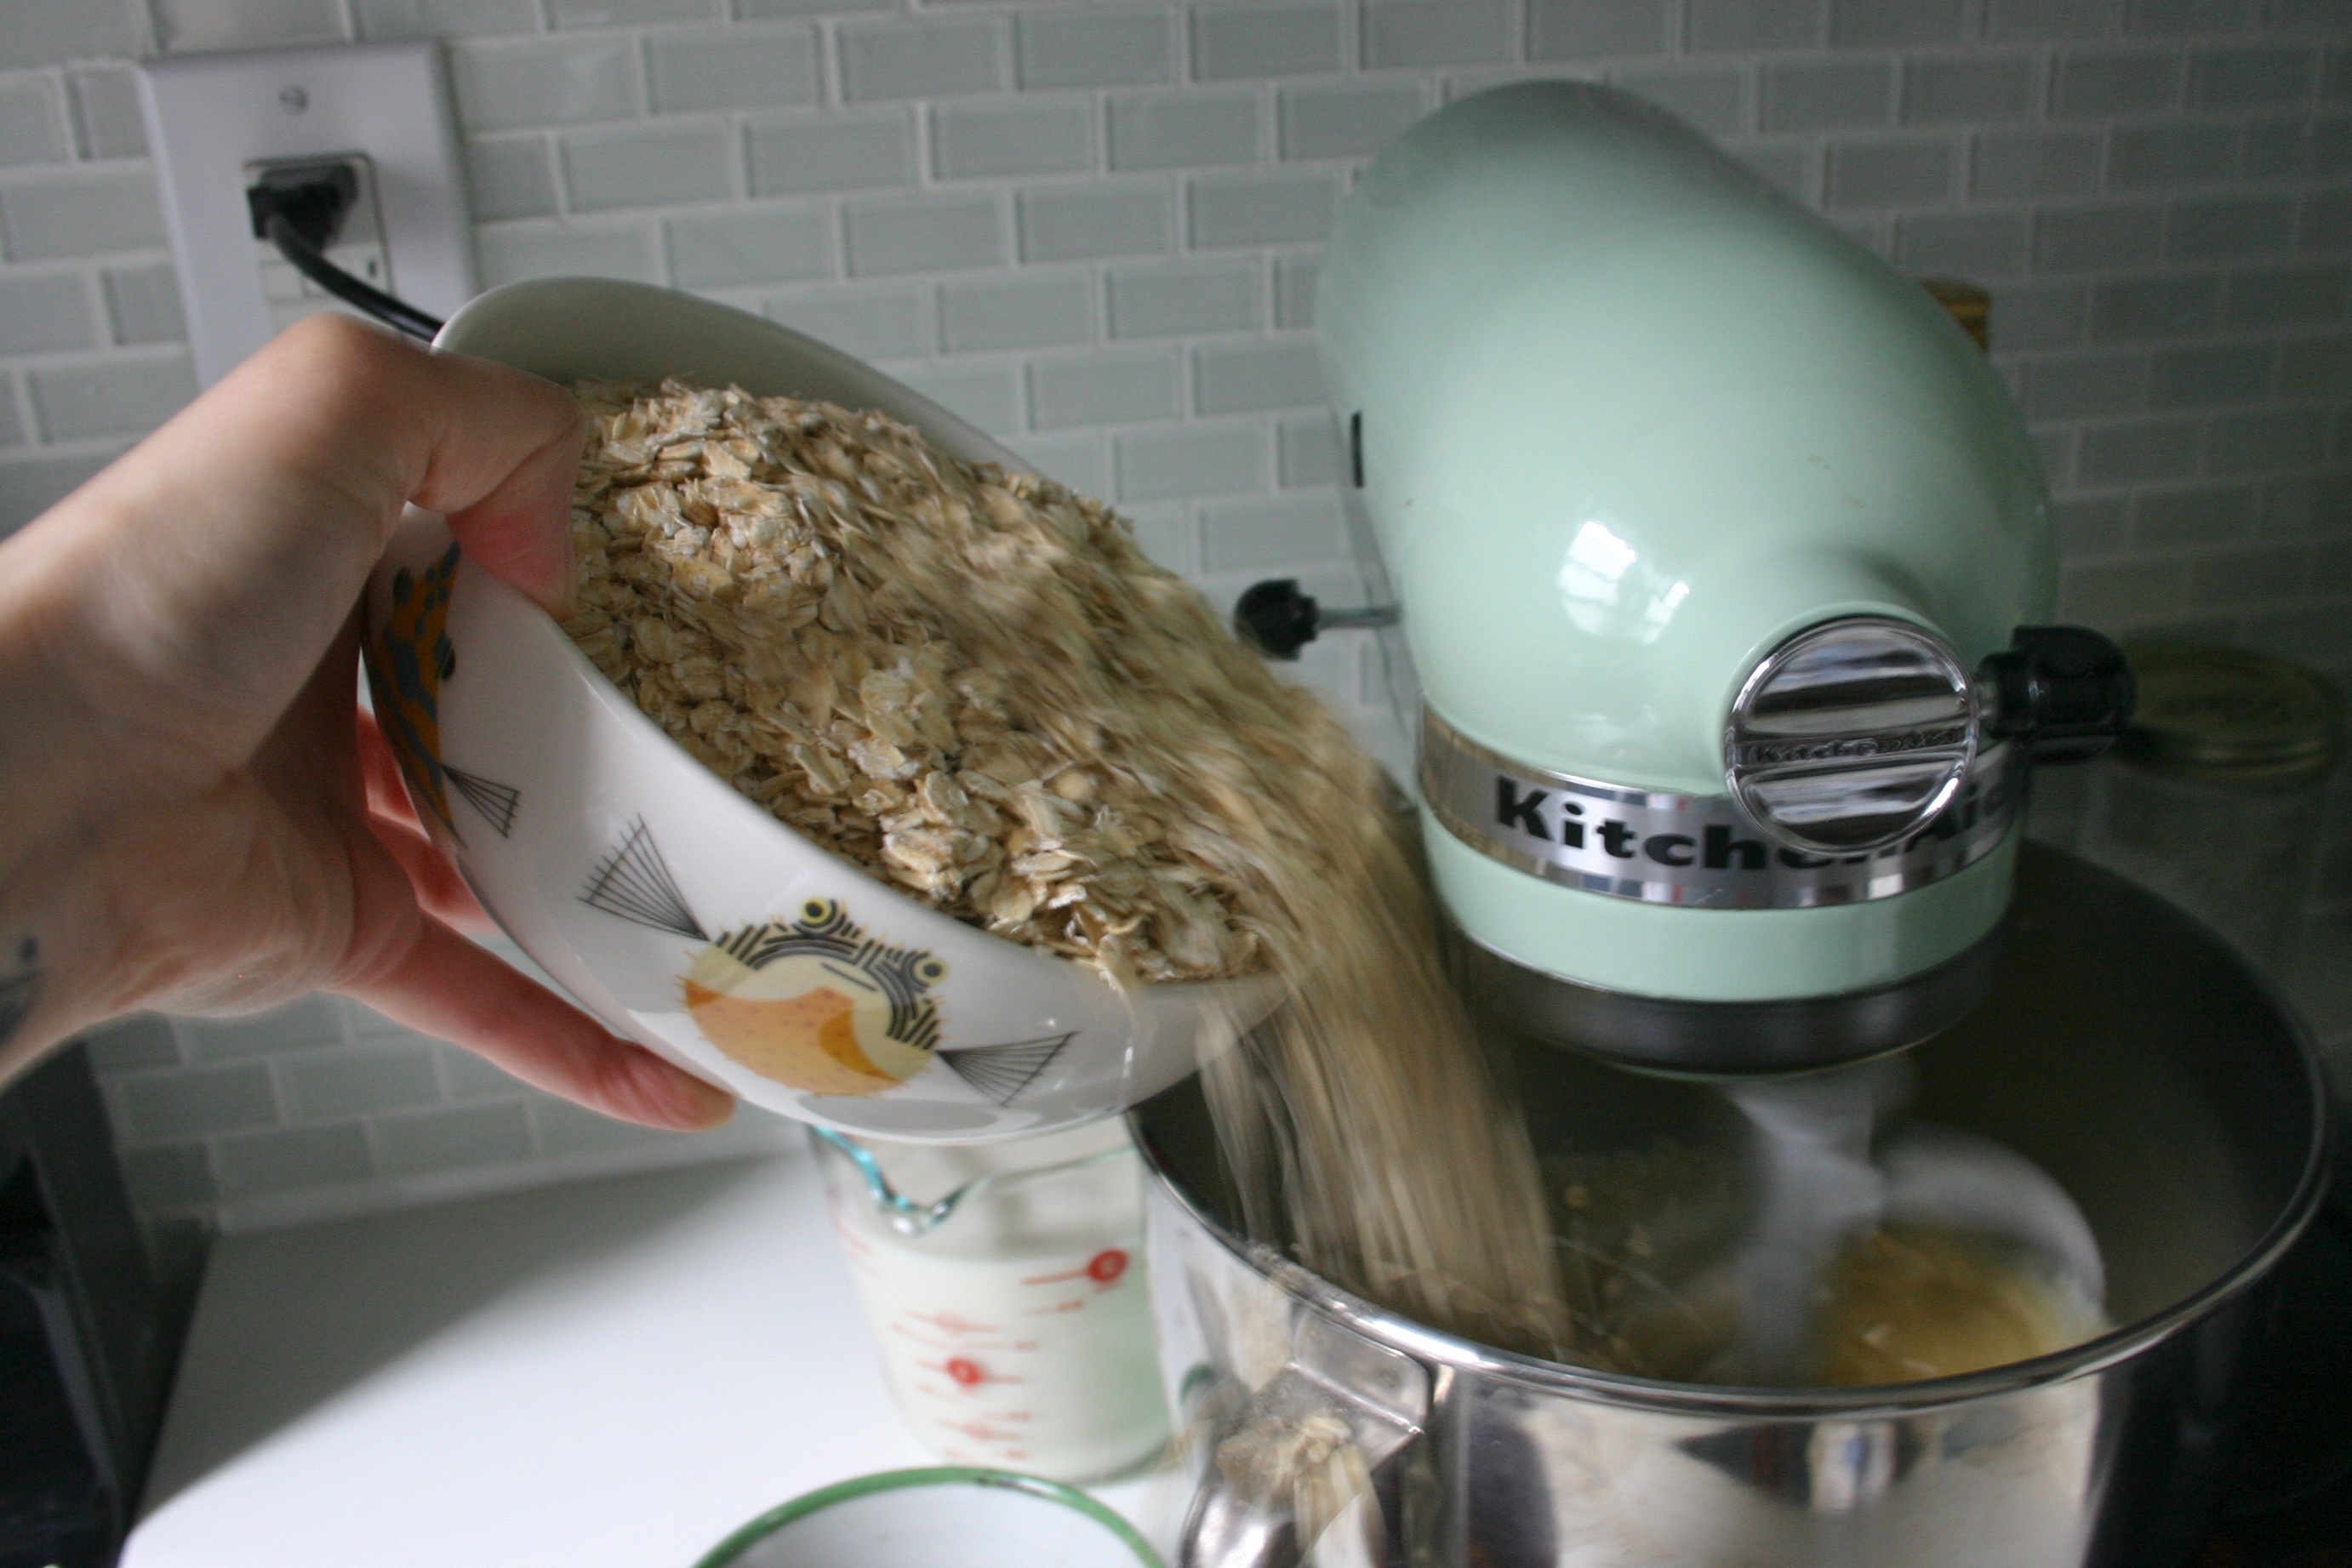
Add the oats, baking powder, salt and cinnamon. Make sure to incorporate all the ingredients, and if you're using a mixture scrape down the sides if need be.
Add the chia seeds and mix until evenly distributed.
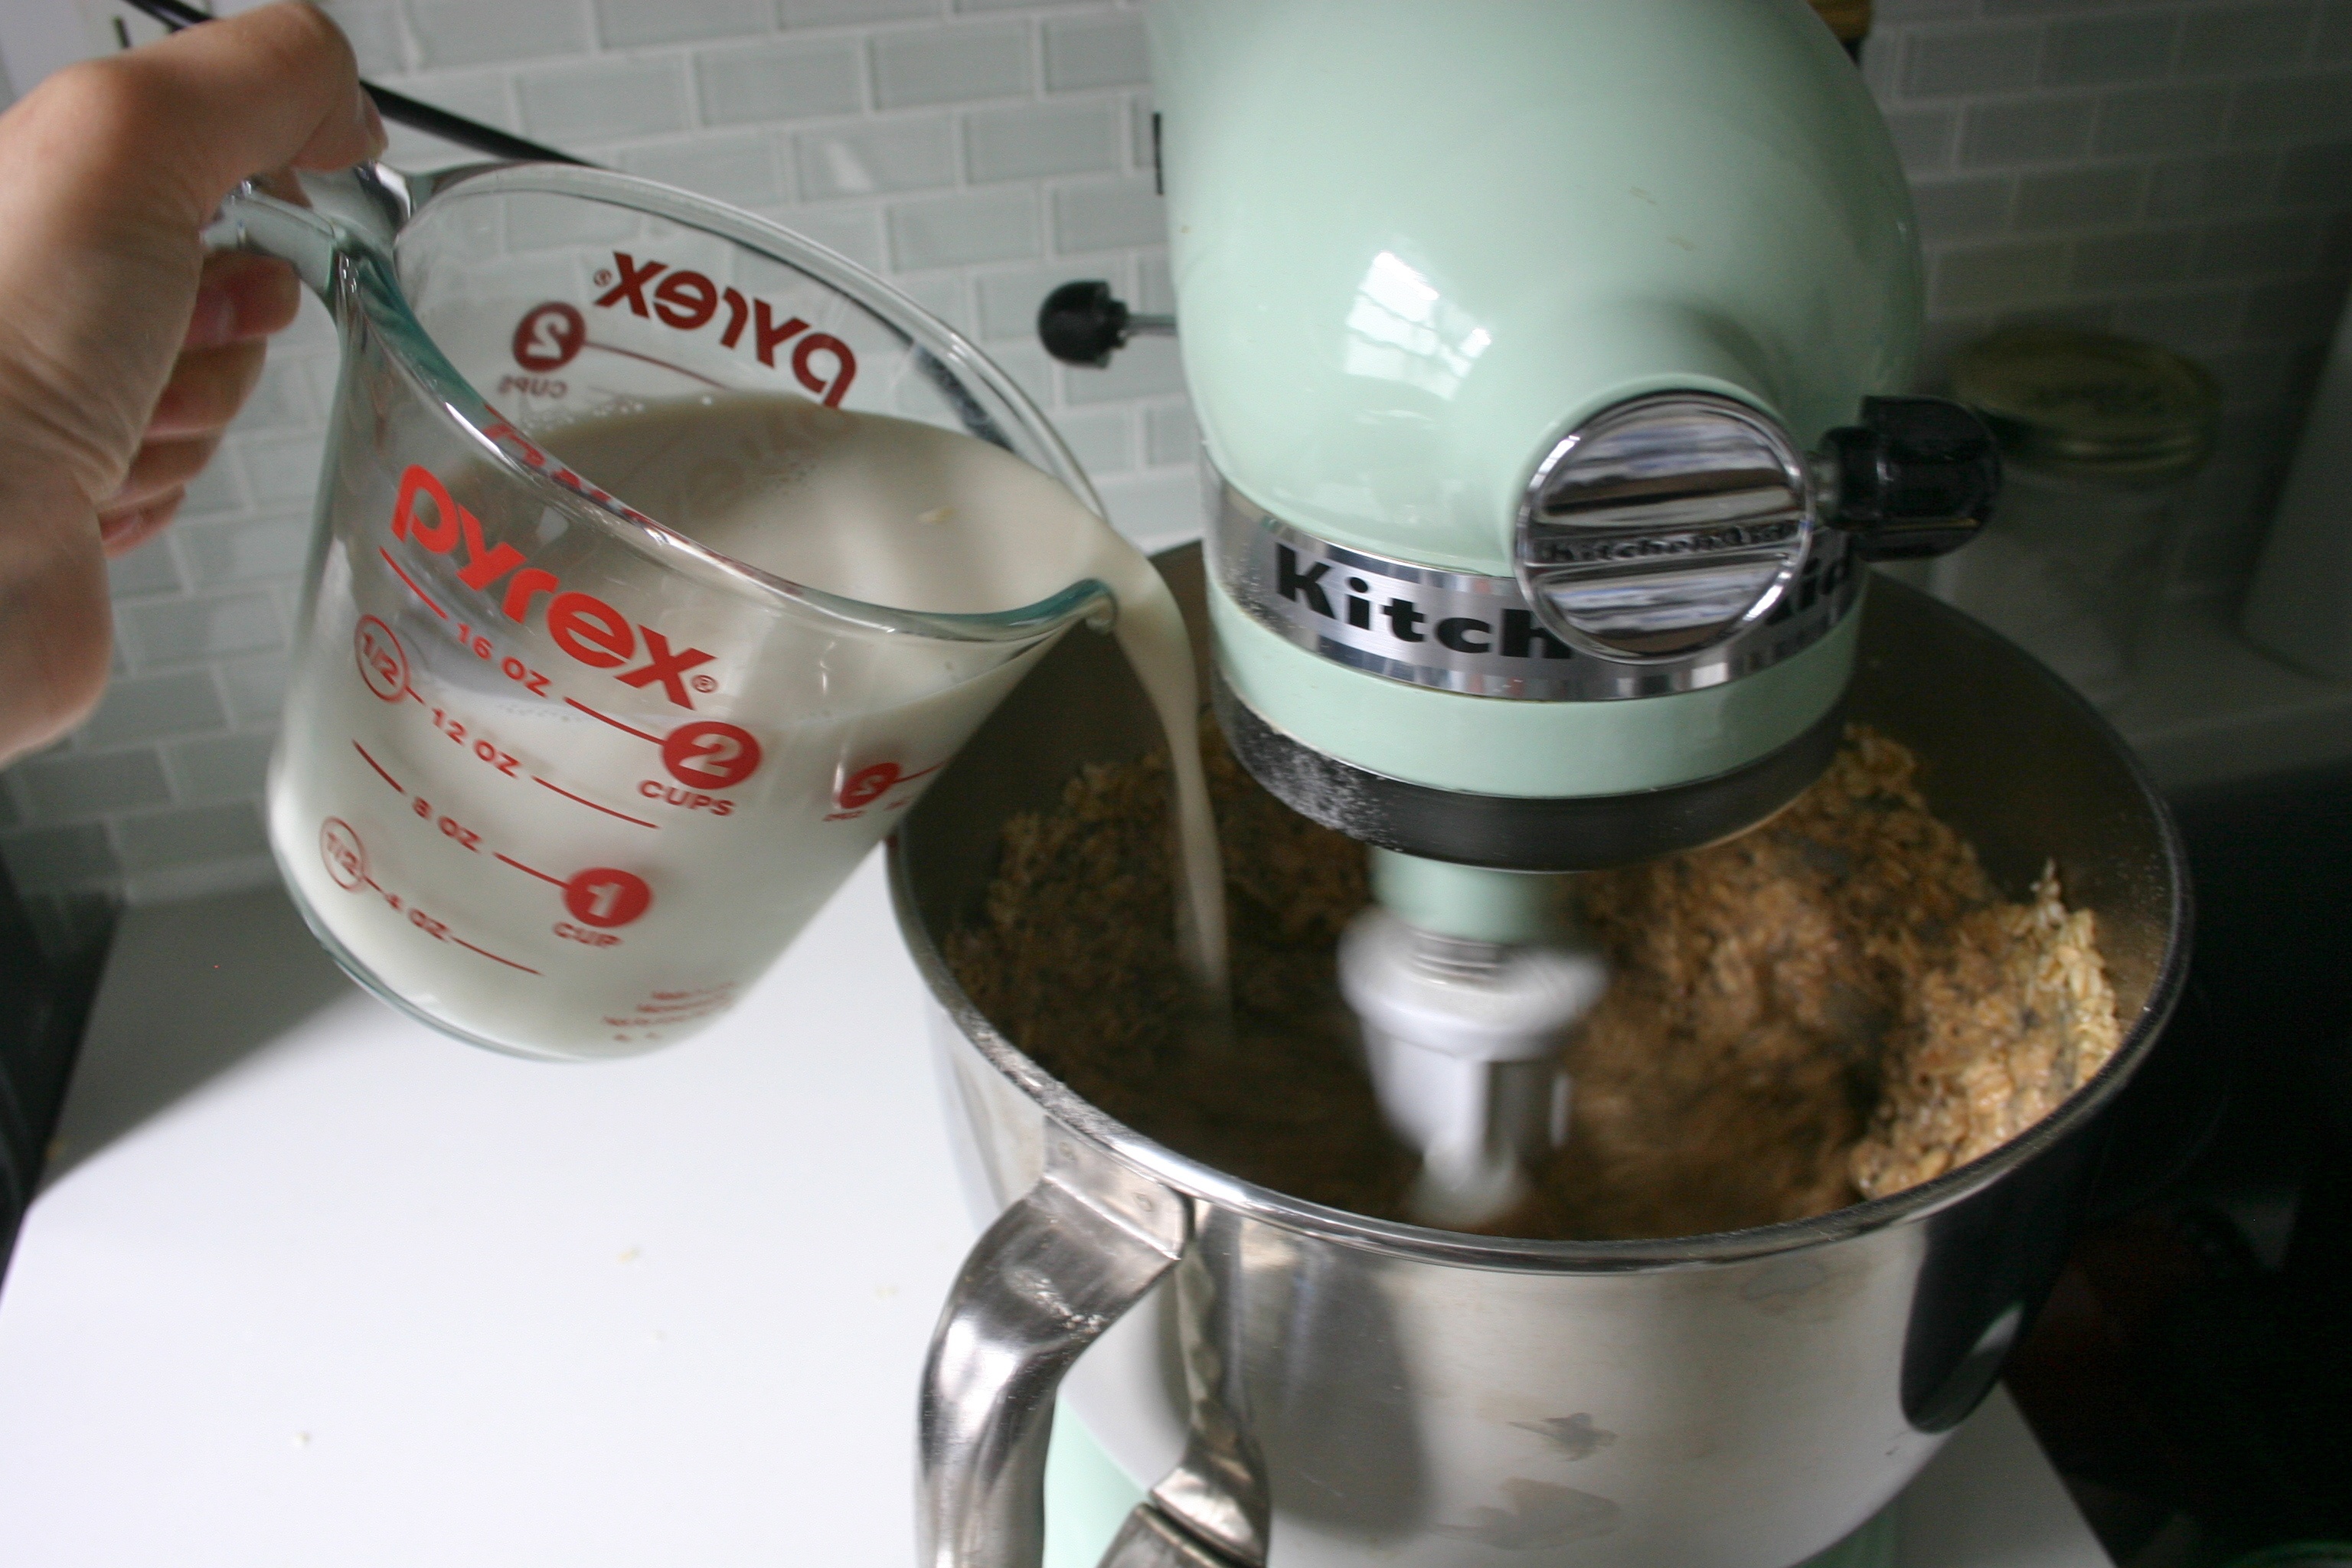
Slowly add the almond milk and mix until incorporated.
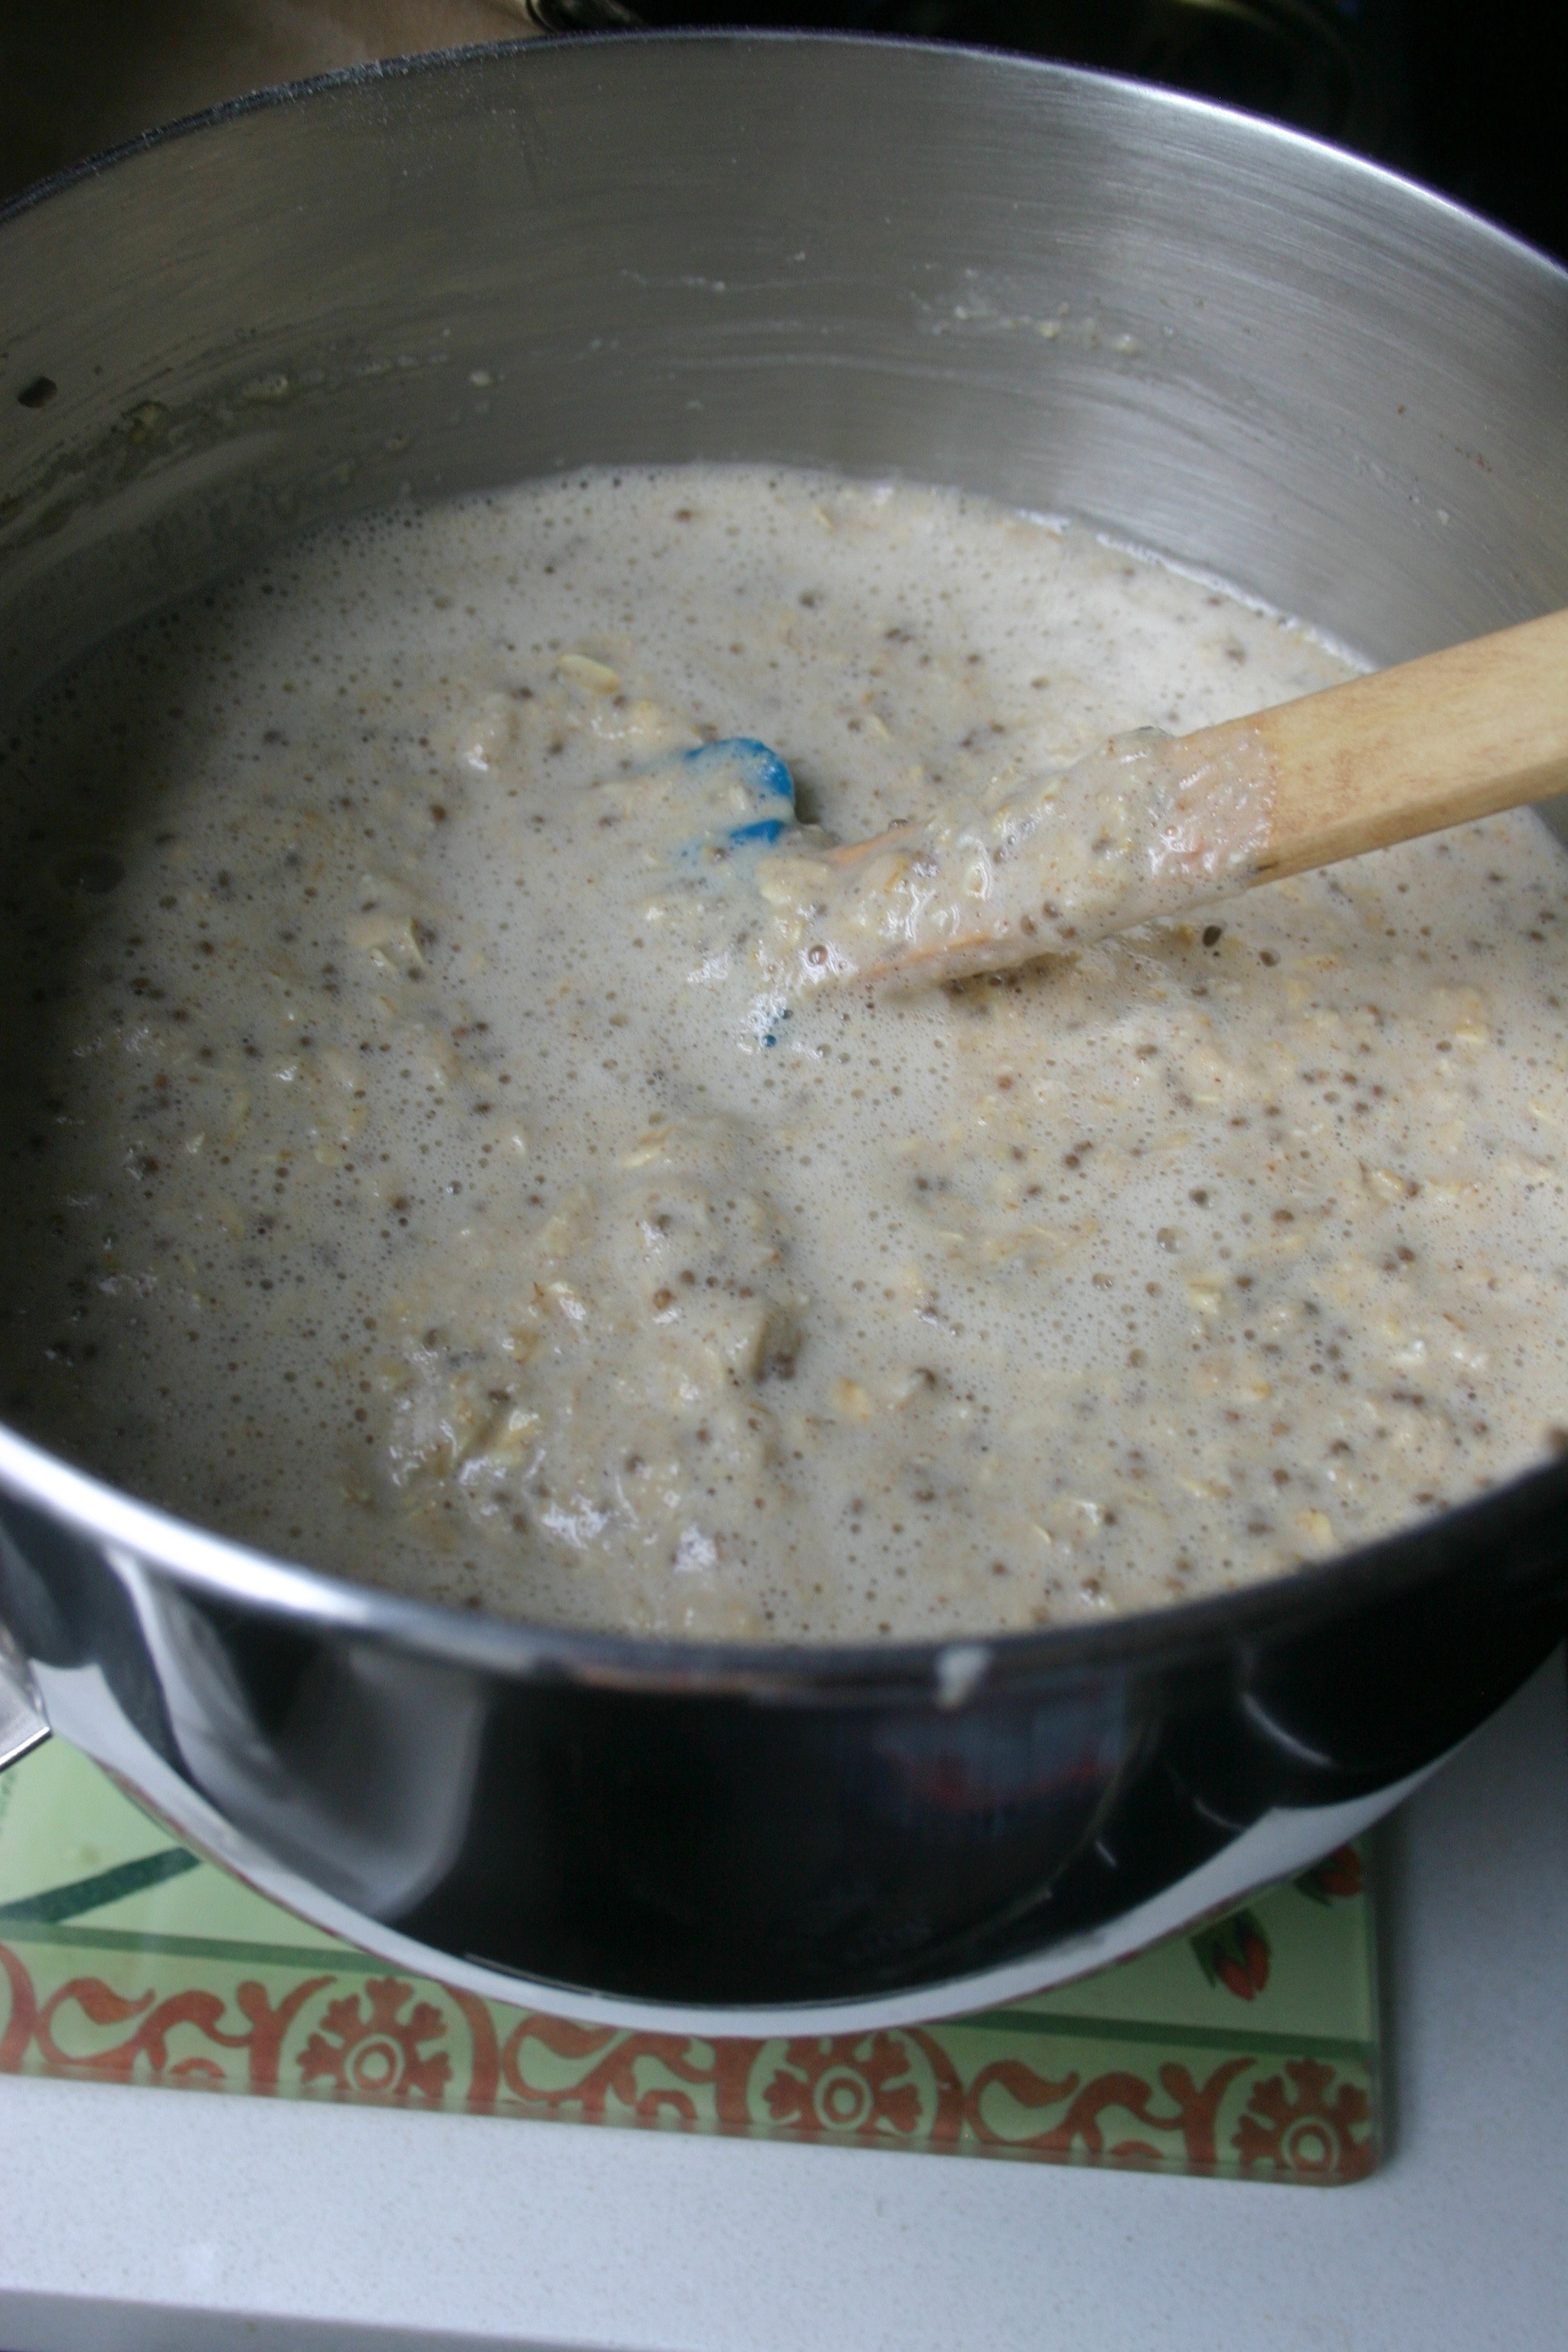
The batter will be slightly runny but it's supposed to be. This is the consistency and appearance you should look for.
I used a cookie scoop to scoop the batter into the cupcake pan. I used a scoop and a half.
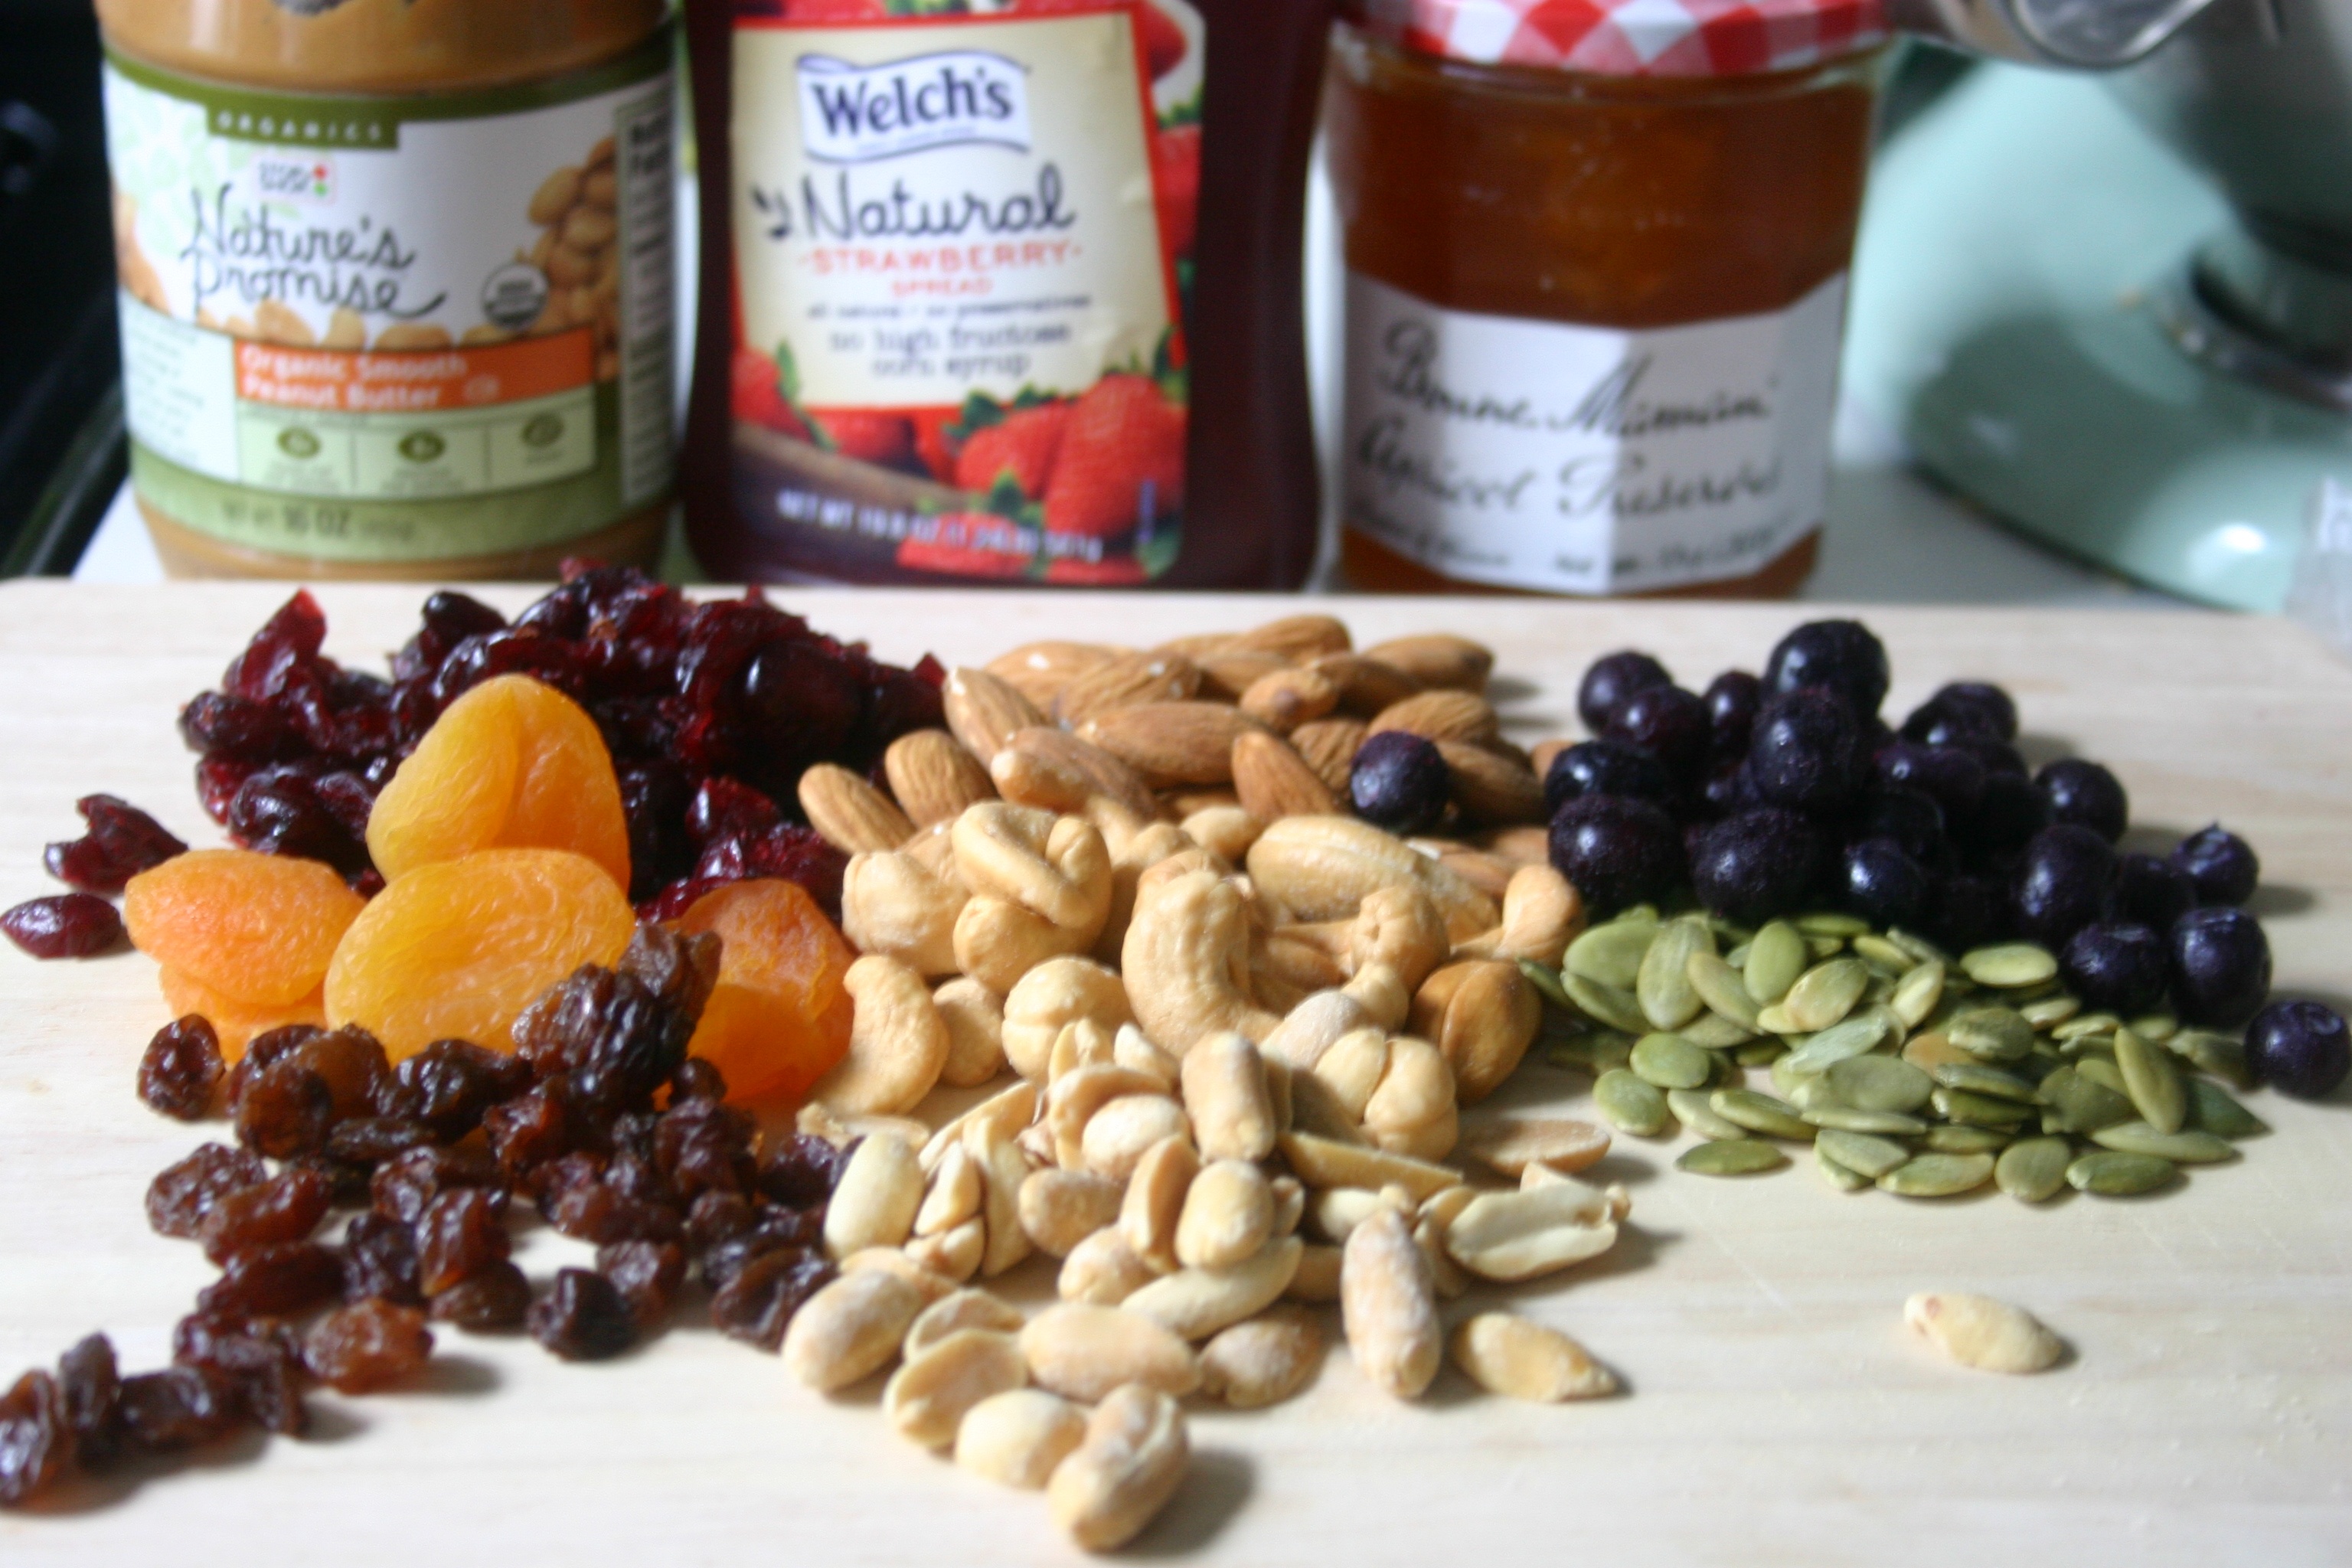
Now the fun part! The toppings! Here are the combinations I used:
Bake for 15-18 minutes or until a toothpick comes of clean when inserted in the center. Allow oatmeal to cool for around 5-10 minutes before attempting to remove. If you didn't use cupcake liners, you may need to run a knife along the edges of the pan. Since I used parchment circles the popped out just fine.
Allow to cool on a rack. If you're going to freeze them, allow them to cool completely.
I froze mine, then once frozen individually wrapped them in plastic wrap. This way I can take one out every morning before I leave for work, and by lunch it would be defrosted. It works perfectly.
So what kind of toppings would you like to try?
- 5 cups rolled oats (gluten free)
- 1/4 cup chia seeds
- 1 banana, mashed
- 2 1/2 cups almond milk (or milk of choice)
- 1/2 cup of honey
- 1 Tbsp cinnamon
- 1 tsp vanilla, gluten free
- 3 tsp baking powder, gluten free
- 1 tsp salt
- toppings of choice: dried cranberries, chopped almonds, peanut butter, chocolate chips etc.
Preheat oven to 350˚F. Line cupcake pan with liners or grease pan. I was out of cupcake liners, so I cut little parchment circles and placed them in each cup after greasing it with canola oil. This helped the oatmeal to be removed cleanly and easily from the pans. You can use cooking spray, just make sure it has no flour if doing this recipe to be gluten free.
Mix the eggs, vanilla, banana, apple sauce, and honey together in a bowl.
NOTE: You don't have to use a mixer for this recipe. I did because I still haven't brought my mixing bowls over from my old place and my mixer is the only thing big enough to hold the recipe. (side note: first new post in my new apartment! How nice of a coincidence is it that my mixer matches the backsplash!!)
Add the oats, baking powder, salt and cinnamon. Make sure to incorporate all the ingredients, and if you're using a mixture scrape down the sides if need be.
Add the chia seeds and mix until evenly distributed.
Slowly add the almond milk and mix until incorporated.
The batter will be slightly runny but it's supposed to be. This is the consistency and appearance you should look for.
I used a cookie scoop to scoop the batter into the cupcake pan. I used a scoop and a half.
Now the fun part! The toppings! Here are the combinations I used:
Make sure you slightly press the toppings into the oatmeal. If you want to make the PB&J stuffed ones do one scoop of batter, than about 1/2 tsp peanut butter, 1/2 tsp of jelly, then top with the rest of the batter.
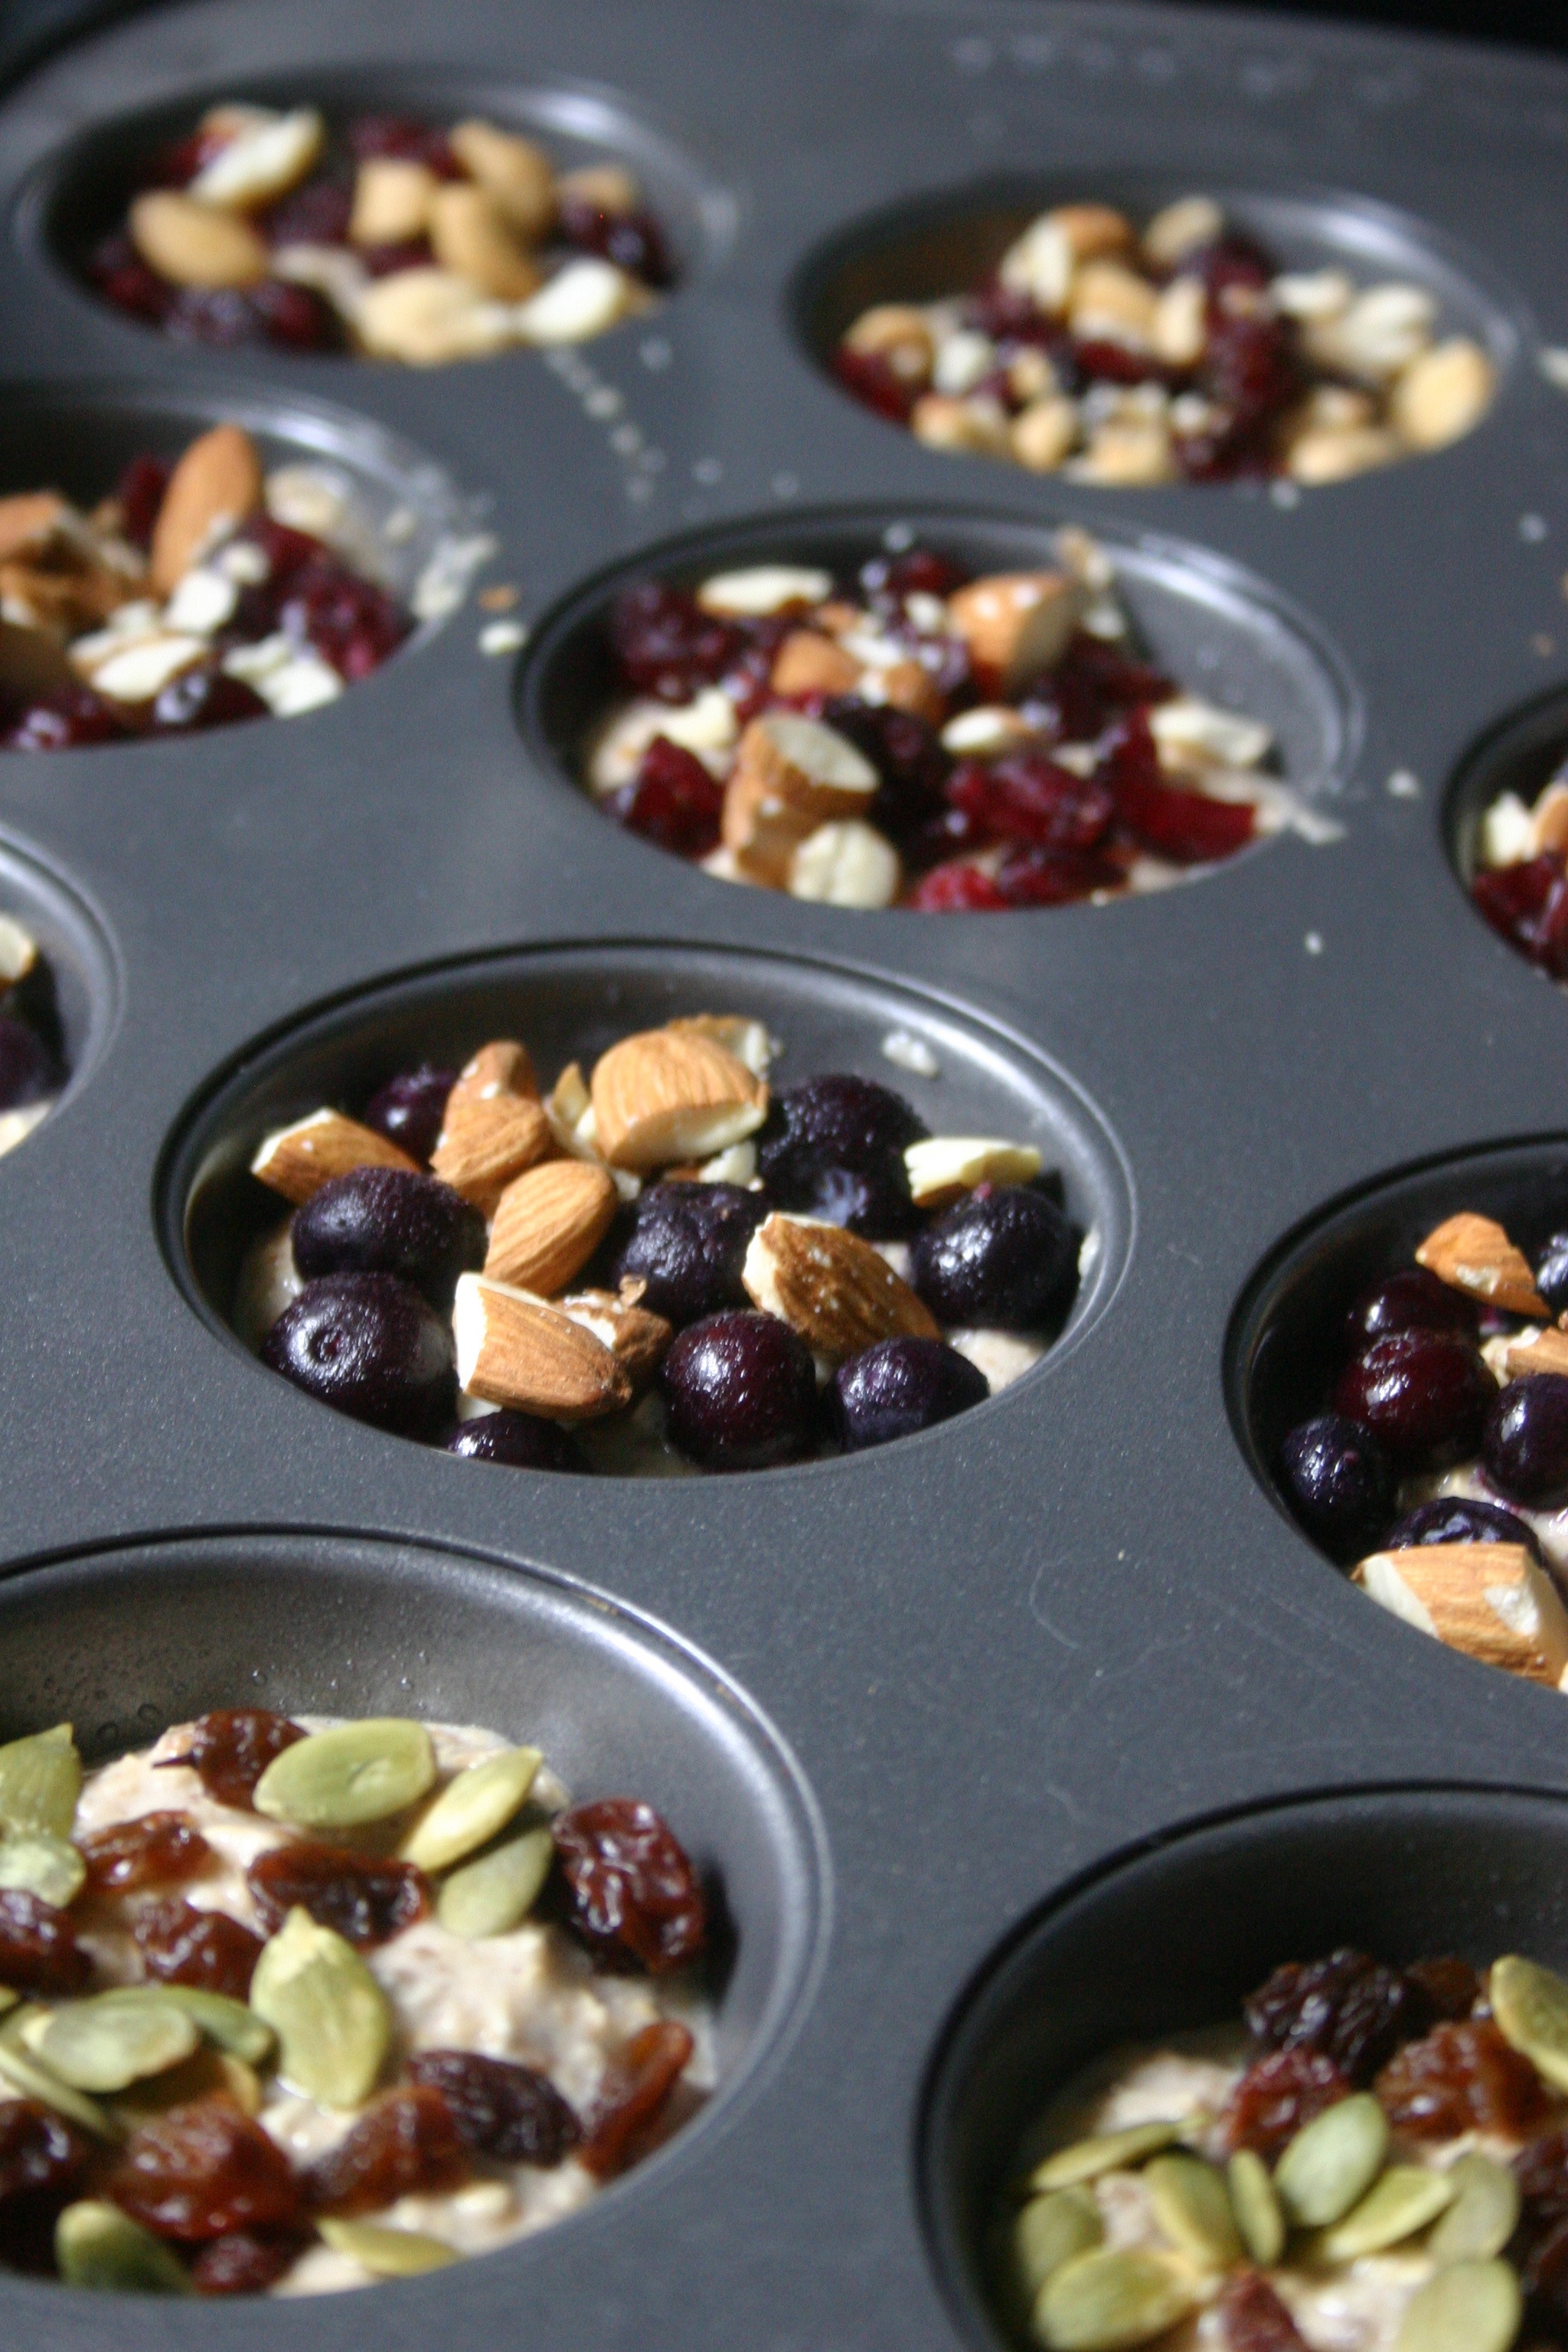
- Blueberry Almond
- Cranberry Blueberry
- Cranberry Almond
- Cranberry Cashew
- Cranberry Pepita
- Cinnamon Raisin
- Raisin Pepita
- Raisin Peanut
- Apricot Almond
- Apricot Peanut
- Peanut Butter and Apricot Preserve topped
- Peanut Butter and Apricot Preserve filled topped with Peanuts
- Peanut Butter and Strawberry Jam
- Peanut Butter and Strawberry Jam filled topped with Peanuts
Bake for 15-18 minutes or until a toothpick comes of clean when inserted in the center. Allow oatmeal to cool for around 5-10 minutes before attempting to remove. If you didn't use cupcake liners, you may need to run a knife along the edges of the pan. Since I used parchment circles the popped out just fine.
Allow to cool on a rack. If you're going to freeze them, allow them to cool completely.
I froze mine, then once frozen individually wrapped them in plastic wrap. This way I can take one out every morning before I leave for work, and by lunch it would be defrosted. It works perfectly.
So what kind of toppings would you like to try?





No comments:
Post a Comment